Sony HT-DDW830 Operating Instructions - Page 19
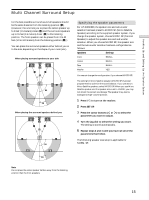
Turn on the receiver and select the programme, source., Press POWER on the subwoofer., Play - remote control
 |
View all Sony HT-DDW830 manuals
Add to My Manuals
Save this manual to your list of manuals |
Page 19 highlights
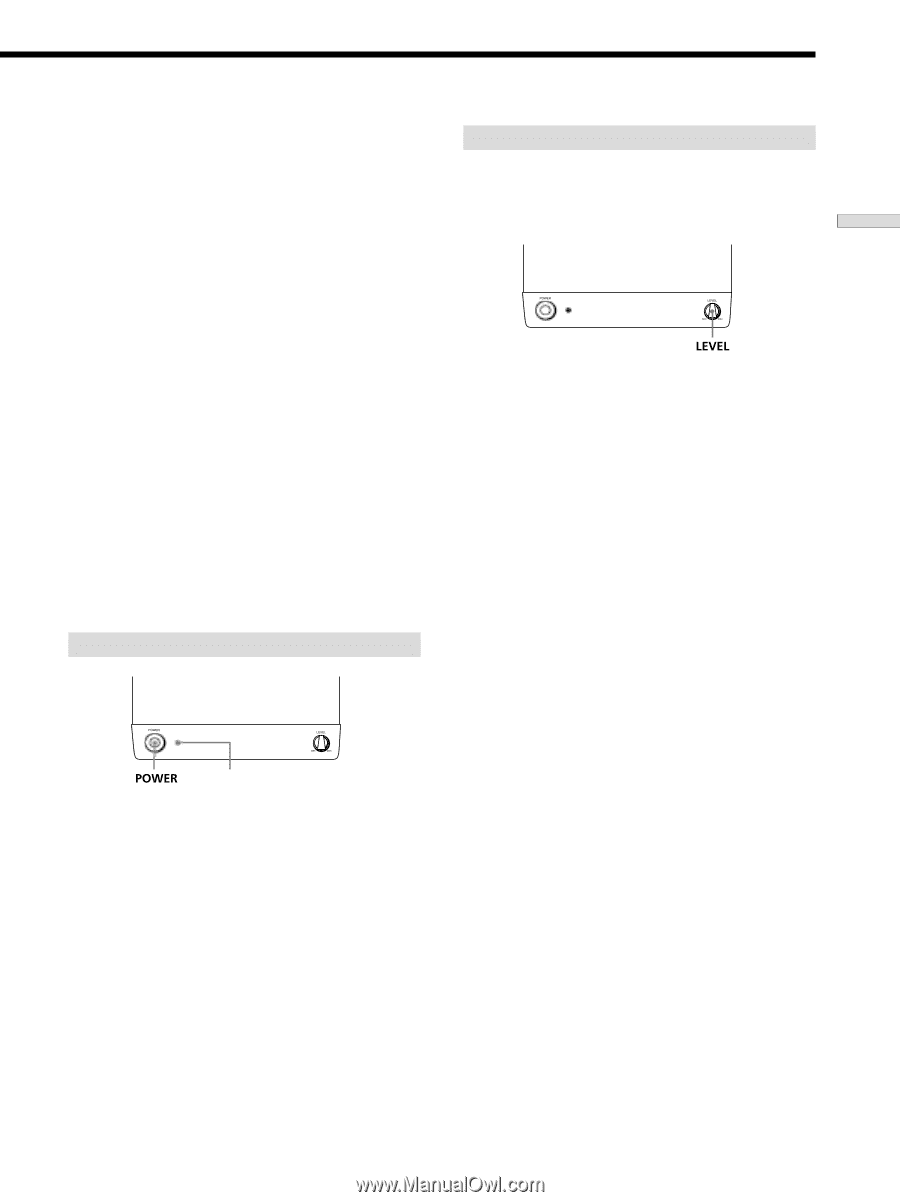
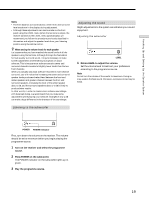
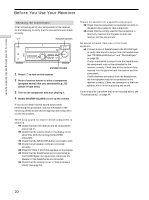
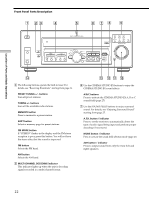
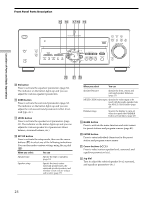
Hooking Up and Setting Up the Speaker System Notes • The front balance, surround balance, center level, and surround level are shown in the display during adjustment. • Although these adjustments can also be made via the front panel using the LEVEL menu (when the test tone is output, the receiver switches to the LEVEL menu automatically), we recommend you follow the procedure previously described in this section and adjust the speaker levels from your listening position using the remote control. z When setting the volume levels for each speaker Let's assume that you have matched the sound levels of all the speakers using the test tone. Although this lays the foundation for high quality surround sound, it may be necessary to make further adjustments while listening to playback of actual software. This is because most software contains center and surround channels recorded at slightly lower levels than the two front channels. When you actually play back software recorded in multi channel surround, you will notice that increasing the center and surround speaker levels produces a better blend between the front and center speakers and greater cohesion between the front and surround speakers. Increasing the level of the center speaker about 1 dB, and the surround speakers about 1~2 dB is likely to produce better results. In other words, in order to create a more cohesive soundstage with balanced dialog, we recommend that you make some adjustments while playing your software. Changes of only 1 dB can make a huge difference in the character of the soundstage. Listening to the subwoofer Adjusting the sound Slight adjustments to the system can enhance your sound enjoyment. Adjusting the subwoofer 1 Rotate LEVEL to adjust the volume. Set the volume level to best suit your preference according to the programme source. Note Do not turn the volume of the woofer to maximum. Doing so may weaken the bass sound. Moreover, extraneous noise may be heard. POWER indicator First, turn down the volume on the receiver. The volume should be set to minimum before you begin playing the programme source. 1 Turn on the receiver and select the programme source. 2 Press POWER on the subwoofer. The POWER indicator on the subwoofer lights up in green. 3 Play the programme source. 19
-
 1
1 -
2
-
3
-
4
-
5
-
6
-
7
-
8
-
9
-
10
-
11
-
12
-
13
-
 14
14 -
 15
15 -
 16
16 -
 17
17 -
 18
18 -
 19
19 -
 20
20 -
 21
21 -
 22
22 -
 23
23 -
 24
24 -
25
-
26
-
27
-
28
-
29
-
30
-
31
-
32
-
33
-
34
-
35
-
36
-
37
-
38
-
39
-
40
-
41
-
42
-
43
-
44
-
45
-
46
-
47
-
48
-
49
-
50
-
51
-
52
-
53
-
54
-
55
 |
 |