Sony KLV-15SR1 Operating Instructions (SU-W100) - Page 4
Installation, Step 1: Check the parts, Step 2: Decide the installation location, For Sony Dealers - wall mount for
 |
View all Sony KLV-15SR1 manuals
Add to My Manuals
Save this manual to your list of manuals |
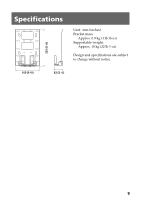
Page 4 highlights
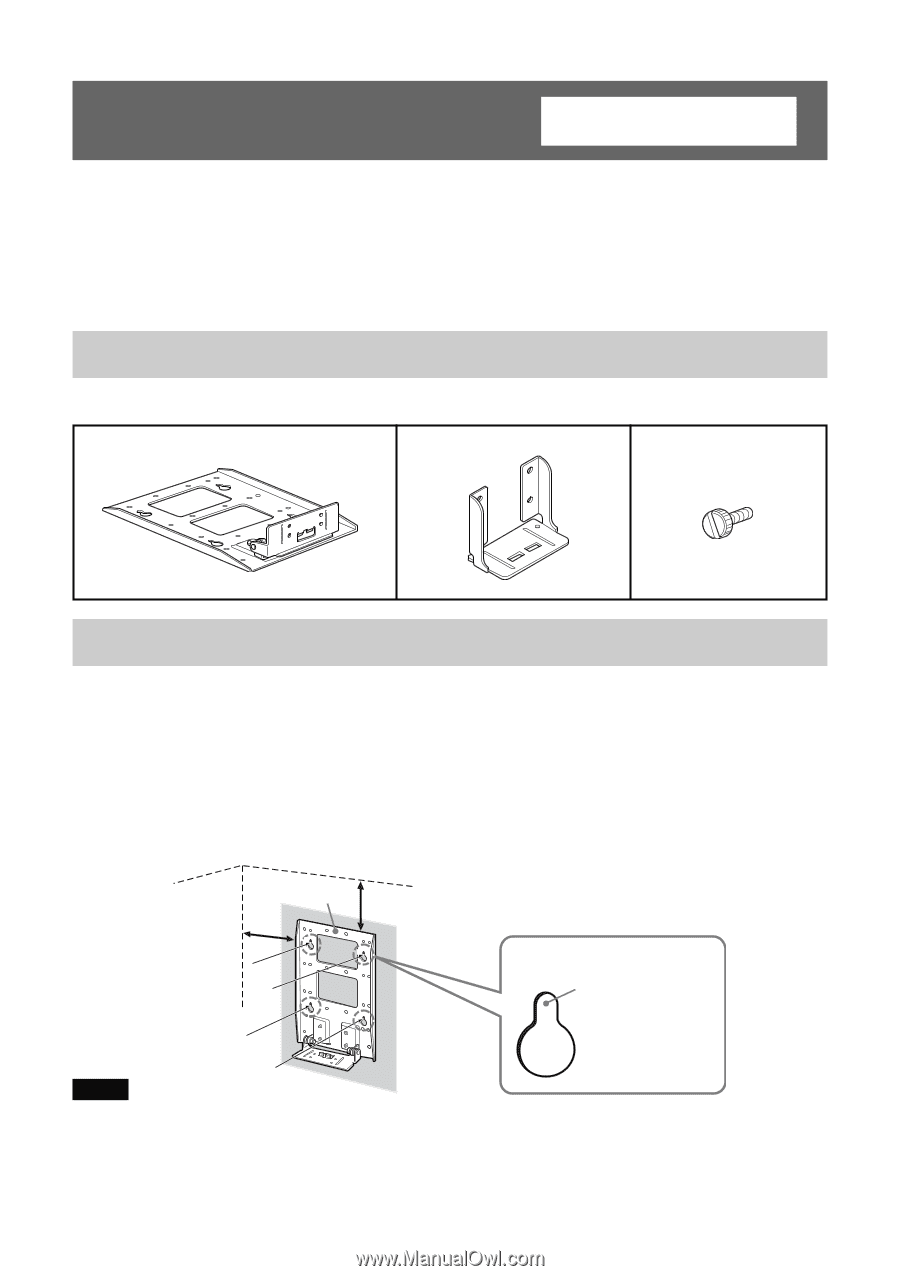
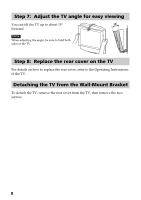
Installation For Sony Dealers For the installation, have ready six commercially available mounting screws, anchor bolts, etc. that are appropriate for the wall. The type and length of the screws required depend on the material and strength of the wall. If you do not know which material your wall is made of, consult your Sony dealer or qualified service personnel. Step 1: Check the parts Check all the parts are included in the package. Bracket A (1) Bracket B (1) Screw (2) Step 2: Decide the installation location Decide the location on the wall to install the TV. Then, place bracket A on the installation location and mark the four screw holes on the wall using a pencil. Before marking, make sure that the distance between the upper edge of bracket A and the ceiling and that between the side edge of bracket A and the side wall are 20 cm (7 7/8 inches) or more. Ceiling Bracket A 20 cm (7 7/8 inches) or more 20 cm (7 7/8 inches) or more Mark this portion using a pencil. Note Wall Attach bracket A level with the floor. 4
-
 1
1 -
 2
2 -
 3
3 -
 4
4 -
 5
5 -
 6
6 -
 7
7 -
 8
8 -
 9
9 -
 10
10 -
11
-
12
-
13
-
14
-
15
-
16
-
17
-
18
-
19
-
20
-
21
-
22
-
23
-
24
-
25
-
26
-
27
-
28
 |
 |