Sony STR-DA3600ES Operating Instructions (Large File - 16.4 MB) - Page 104
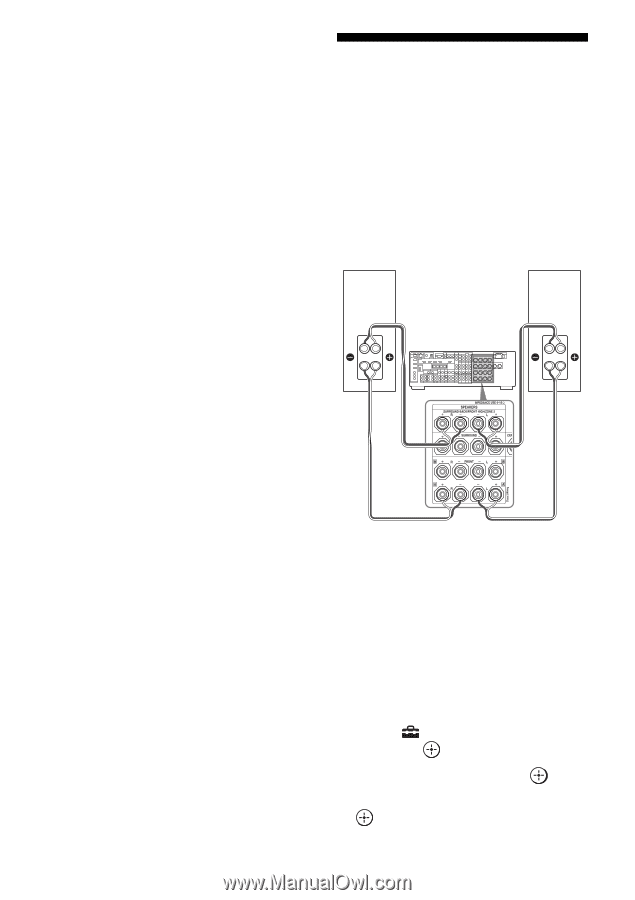
Using a bi-amplifier connection, To connect speakers, To set up speakers
 |
View all Sony STR-DA3600ES manuals
Add to My Manuals
Save this manual to your list of manuals |
Page 104 highlights
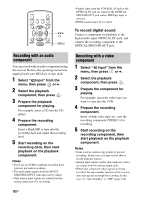
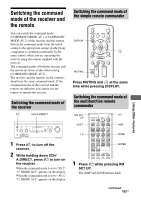
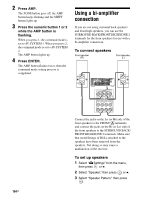
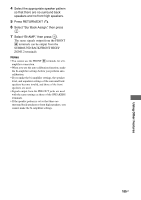
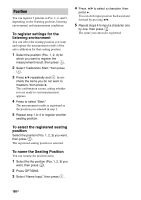
2 Press AMP. The ZONE button goes off, the AMP button keeps flashing and the SHIFT button lights up. 3 Press the numeric button 1 or 2 while the AMP button is flashing. When you press 1, the command mode is set to AV SYSTEM 1. When you press 2, the command mode is set to AV SYSTEM 2. The AMP button lights up. 4 Press ENTER. The AMP button flashes twice, then the command mode setting process is completed. Using a bi-amplifier connection If you are not using surround back speakers and front high speakers, you can use the SURROUND BACK/FRONT HIGH/ZONE 2 terminals for the front speakers for use with a bi-amplifier connection. To connect speakers Front speaker (R) Front speaker (L) Hi Hi Lo Lo 104GB Connect the jacks on the Lo (or Hi) side of the front speakers to the FRONT A terminals, and connect the jacks on the Hi (or Lo) side of the front speakers to the SURROUND BACK/ FRONT HIGH/ZONE 2 terminals. Make sure that metal fittings of Hi/Lo attached to the speakers have been removed from the speakers. Not doing so may cause a malfunction of the receiver. To set up speakers 1 Select " Settings" from the menu, then press or b. 2 Select "Speaker," then press or b. 3 Select "Speaker Pattern," then press .
-
 1
1 -
2
-
3
-
4
-
5
-
6
-
7
-
8
-
9
-
10
-
11
-
12
-
13
-
14
-
15
-
16
-
17
-
18
-
19
-
20
-
21
-
22
-
23
-
24
-
25
-
26
-
27
-
28
-
29
-
30
-
31
-
32
-
33
-
34
-
35
-
36
-
37
-
38
-
39
-
40
-
41
-
42
-
43
-
44
-
45
-
46
-
47
-
48
-
49
-
50
-
51
-
52
-
53
-
54
-
55
-
56
-
57
-
58
-
59
-
60
-
61
-
62
-
63
-
64
-
65
-
66
-
67
-
68
-
69
-
70
-
71
-
72
-
73
-
74
-
75
-
76
-
77
-
78
-
79
-
80
-
81
-
82
-
83
-
84
-
85
-
86
-
87
-
88
-
89
-
90
-
91
-
92
-
93
-
94
-
95
-
96
-
97
-
98
-
 99
99 -
 100
100 -
 101
101 -
 102
102 -
 103
103 -
 104
104 -
 105
105 -
 106
106 -
 107
107 -
 108
108 -
 109
109 -
110
-
111
-
112
-
113
-
114
-
115
-
116
-
117
-
118
-
119
-
120
-
121
-
122
-
123
-
124
-
125
-
126
-
127
-
128
-
129
-
130
-
131
-
132
-
133
-
134
-
135
-
136
-
137
-
138
-
139
-
140
-
141
-
142
-
143
-
144
-
145
-
146
-
147
-
148
-
149
-
150
-
151
-
152
-
153
-
154
-
155
-
156
-
157
-
158
-
159
-
160
-
161
-
162
 |
 |