Sony STR-DG2100 Operating Instructions - Page 83
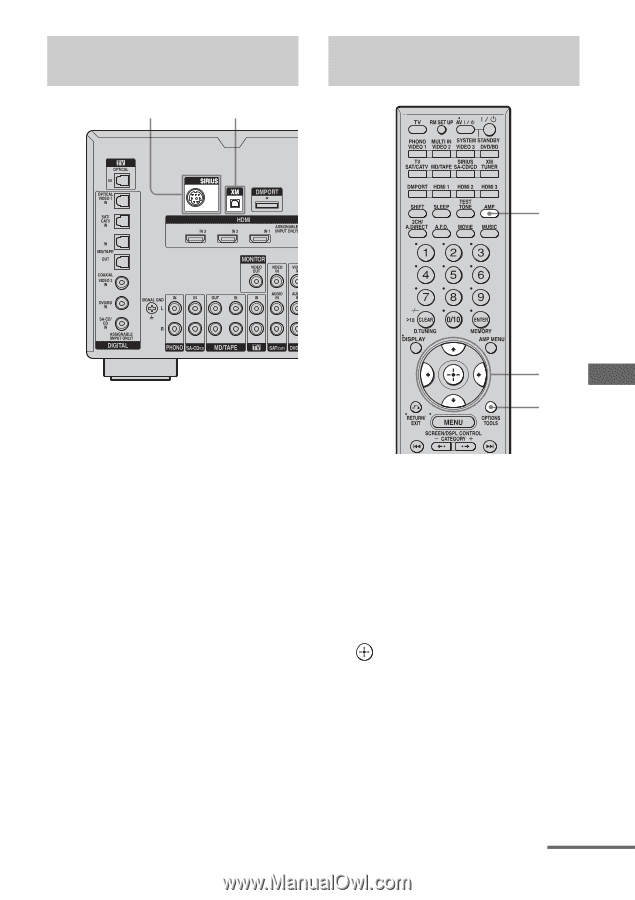
Connecting the XM Radio or, SIRIUS Satellite Radio, SIRIUS ID number, To connect to the XM jack
 |
View all Sony STR-DG2100 manuals
Add to My Manuals
Save this manual to your list of manuals |
Page 83 highlights
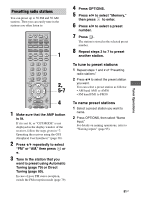
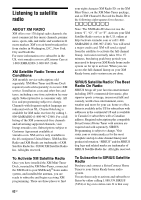
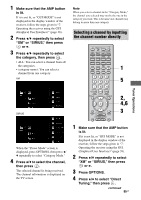
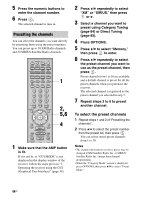
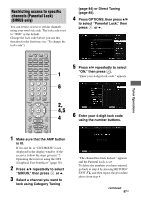
Connecting the XM Radio or SIRIUS Satellite Radio SIRIUS jack XM jack Checking the XM Radio ID or SIRIUS ID number 1 Tuner Operations To connect to the XM jack Before operating the system, connect the XM Mini Tuner and Home Dock to the XM jack. Note To ensure optimal reception of XM's satellite signal, move your antenna to various window locations around your home to see where the best reception will be received. Most XM customers place the antenna in a south-facing window with a clear view to the sky. To connect to the SIRIUS jack Connect the SiriusConnect Home Tuner. When you use the SiriusConnect Home Tuner with this receiver, be sure to connect the AC power adaptor supplied with the tuner to a wall outlet. Keep the SiriusConnect Home Tuner, antenna, and AC power adaptor away from the speaker cords and the power cord to avoid picking up noise. 2-3 3 1 Make sure that the AMP button is lit. If it is not lit, or "GUI MODE" is not displayed in the display window of the receiver, follow the steps given in "7: Operating the receiver using the GUI (Graphical User Interface)" (page 38). 2 Press V/v repeatedly to select "XM" or "SIRIUS," then press or b. continued 83GB
-
 1
1 -
2
-
3
-
4
-
5
-
6
-
7
-
8
-
9
-
10
-
11
-
12
-
13
-
14
-
15
-
16
-
17
-
18
-
19
-
20
-
21
-
22
-
23
-
24
-
25
-
26
-
27
-
28
-
29
-
30
-
31
-
32
-
33
-
34
-
35
-
36
-
37
-
38
-
39
-
40
-
41
-
42
-
43
-
44
-
45
-
46
-
47
-
48
-
49
-
50
-
51
-
52
-
53
-
54
-
55
-
56
-
57
-
58
-
59
-
60
-
61
-
62
-
63
-
64
-
65
-
66
-
67
-
68
-
69
-
70
-
71
-
72
-
73
-
74
-
75
-
76
-
77
-
 78
78 -
 79
79 -
 80
80 -
 81
81 -
 82
82 -
 83
83 -
 84
84 -
 85
85 -
 86
86 -
 87
87 -
 88
88 -
89
-
90
-
91
-
92
-
93
-
94
-
95
-
96
-
97
-
98
-
99
-
100
-
101
-
102
-
103
-
104
-
105
-
106
-
107
-
108
-
109
-
110
-
111
-
112
-
113
-
114
-
115
-
116
-
117
-
118
-
119
-
120
-
121
-
122
-
123
-
124
-
125
-
126
-
127
-
128
-
129
-
130
-
131
-
132
-
133
-
134
 |
 |