TP-Link TL-WR710N User Guide - Page 247
Access Control
 |
View all TP-Link TL-WR710N manuals
Add to My Manuals
Save this manual to your list of manuals |
Page 247 highlights
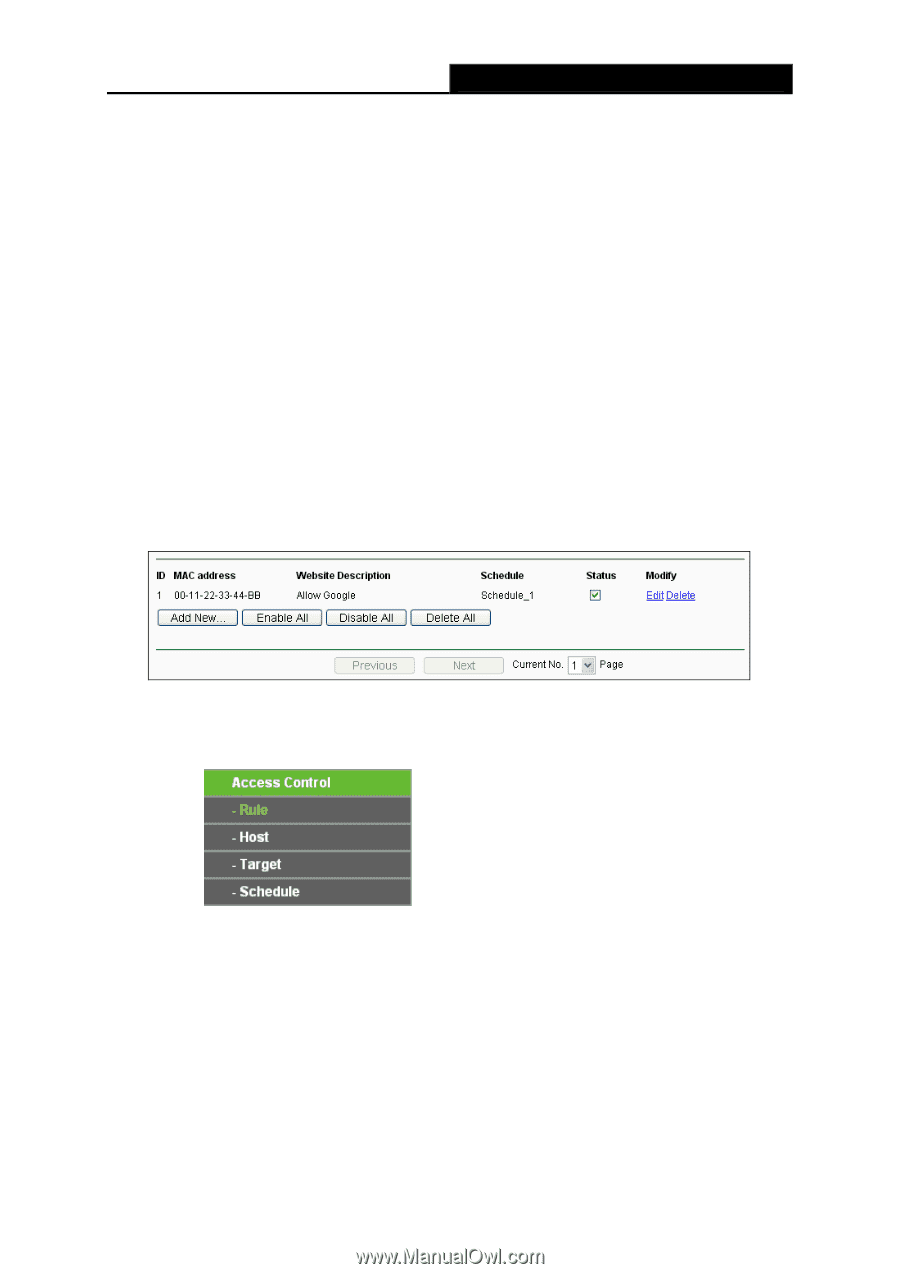
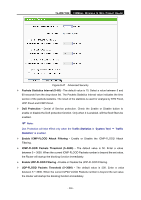
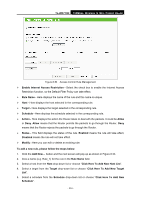
TL-WR710N 150Mbps Wireless N Mini Pocket Router 2. Click "Access Restriction → Schedule" on the left to enter the Schedule Settings page. Click Add New... button to create a new schedule with Schedule Description is Schedule_1, Day is Sat and Time is all day-24 hours. 3. Click "Parental Control" menu on the left to go back to the Add or Modify Parental Control Entry page: z Click Add New... button. z Enter 00-11-22-33-44-AA in the MAC Address of Child PC field. z Enter "Allow Google" in the Website Description field. z Enter "www.google.com" in the Allowed Domain Name field. z Select "Schedule_1" you create just now from the Effective Time drop-down list. z In Status field, select Enable. 4. Click Save to complete the settings. Then you will go back to the Parental Control Settings page and see the following list, as shown in Figure 8-52. 8.12 Access Control Figure 8-52 Figure 8-53 The Access Control menu There are four submenus under the Access Restriction menu as shown in Figure 8-53: Rule, Host, Target and Schedule. Click any of them, and you will be able to configure the corresponding function. 8.12.1 Rule Choose menu "Access Control→ Rule", you can view and set Access Restriction rules in the screen as shown in Figure 8-54. - 233 -
-
 1
1 -
2
-
3
-
4
-
5
-
6
-
7
-
8
-
9
-
10
-
11
-
12
-
13
-
14
-
15
-
16
-
17
-
18
-
19
-
20
-
21
-
22
-
23
-
24
-
25
-
26
-
27
-
28
-
29
-
30
-
31
-
32
-
33
-
34
-
35
-
36
-
37
-
38
-
39
-
40
-
41
-
42
-
43
-
44
-
45
-
46
-
47
-
48
-
49
-
50
-
51
-
52
-
53
-
54
-
55
-
56
-
57
-
58
-
59
-
60
-
61
-
62
-
63
-
64
-
65
-
66
-
67
-
68
-
69
-
70
-
71
-
72
-
73
-
74
-
75
-
76
-
77
-
78
-
79
-
80
-
81
-
82
-
83
-
84
-
85
-
86
-
87
-
88
-
89
-
90
-
91
-
92
-
93
-
94
-
95
-
96
-
97
-
98
-
99
-
100
-
101
-
102
-
103
-
104
-
105
-
106
-
107
-
108
-
109
-
110
-
111
-
112
-
113
-
114
-
115
-
116
-
117
-
118
-
119
-
120
-
121
-
122
-
123
-
124
-
125
-
126
-
127
-
128
-
129
-
130
-
131
-
132
-
133
-
134
-
135
-
136
-
137
-
138
-
139
-
140
-
141
-
142
-
143
-
144
-
145
-
146
-
147
-
148
-
149
-
150
-
151
-
152
-
153
-
154
-
155
-
156
-
157
-
158
-
159
-
160
-
161
-
162
-
163
-
164
-
165
-
166
-
167
-
168
-
169
-
170
-
171
-
172
-
173
-
174
-
175
-
176
-
177
-
178
-
179
-
180
-
181
-
182
-
183
-
184
-
185
-
186
-
187
-
188
-
189
-
190
-
191
-
192
-
193
-
194
-
195
-
196
-
197
-
198
-
199
-
200
-
201
-
202
-
203
-
204
-
205
-
206
-
207
-
208
-
209
-
210
-
211
-
212
-
213
-
214
-
215
-
216
-
217
-
218
-
219
-
220
-
221
-
222
-
223
-
224
-
225
-
226
-
227
-
228
-
229
-
230
-
231
-
232
-
233
-
234
-
235
-
236
-
237
-
238
-
239
-
240
-
241
-
 242
242 -
 243
243 -
 244
244 -
 245
245 -
 246
246 -
 247
247 -
 248
248 -
 249
249 -
 250
250 -
 251
251 -
 252
252 -
253
-
254
-
255
-
256
-
257
-
258
-
259
-
260
-
261
-
262
-
263
-
264
-
265
-
266
-
267
-
268
-
269
-
270
-
271
-
272
-
273
-
274
-
275
-
276
-
277
-
278
-
279
-
280
-
281
-
282
-
283
-
284
 |
 |