Toshiba D-VR5SU User Manual - Page 78
Dubbing a tape onto a disc - dubbing tape to dvd
 |
View all Toshiba D-VR5SU manuals
Add to My Manuals
Save this manual to your list of manuals |
Page 78 highlights
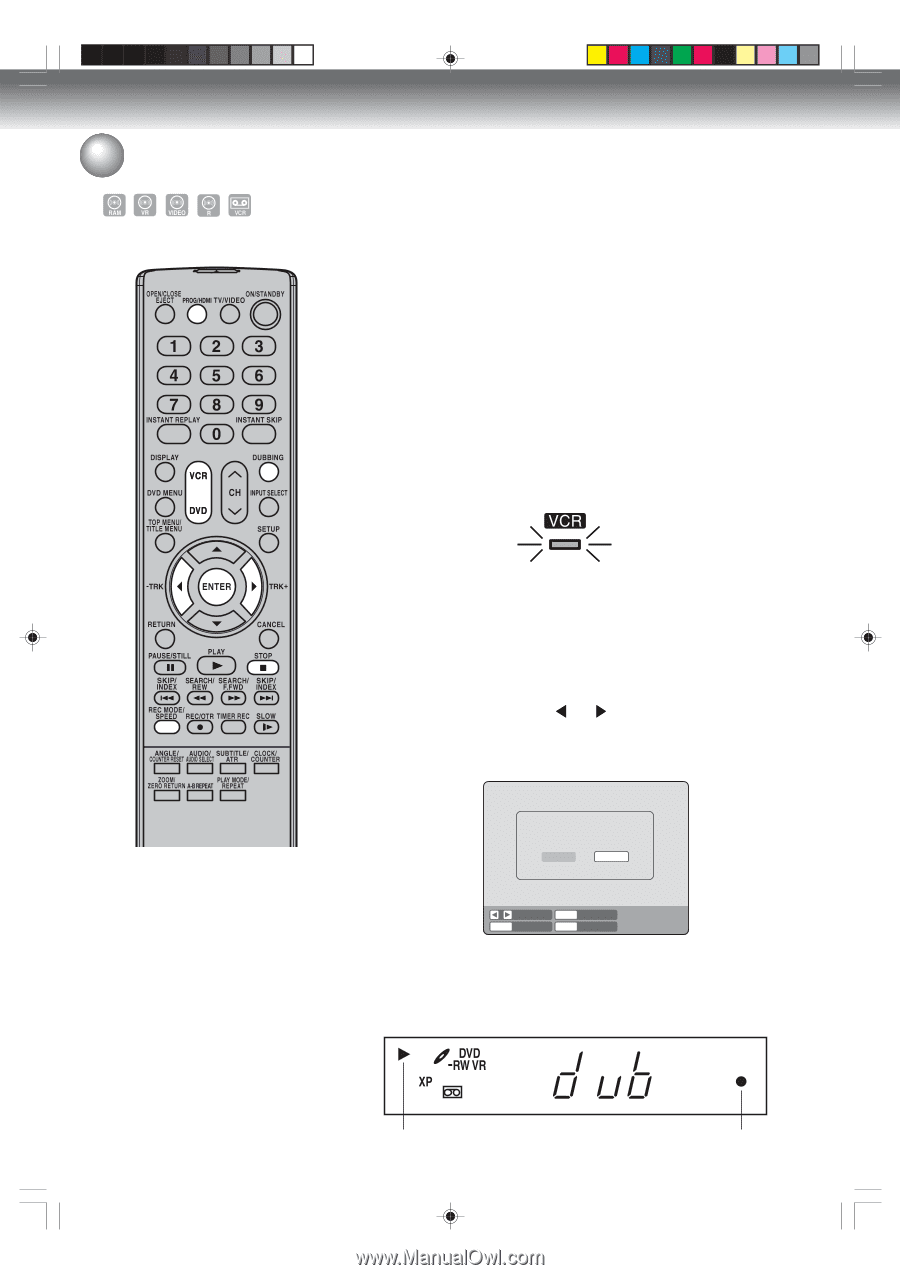
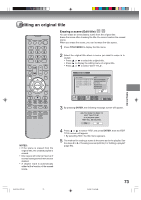
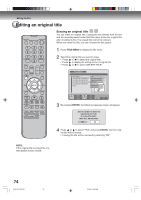
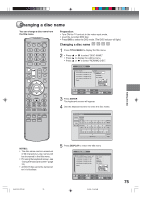
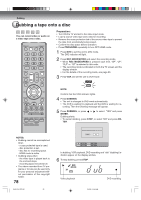
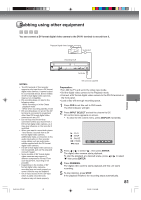
Dubbing Dubbing a tape onto a disc You can record video or audio on a video tape onto a disc. Preparation: • Turn ON the TV and set to the video input mode. • Load a source video tape and a disc for recording. • Remove the erase protection tab of the source video tape to prevent the data from accidentally being erased. • Confirm the disc space before operation. • Press PROG/HDMI repeatedly to turn OFF HDMI mode. 1 Press DVD to set this unit to DVD mode. The DVD indicator will light. 2 Press REC MODE/SPEED and select the recording mode. • When REC MODE/SPEED is pressed each time, "SP", "LP", "SLP" or "XP" is selected in this order. • The recording mode is indicated on both the TV screen and the display window. • For the details of the recording mode, see page 55. 3 Press VCR and set the unit to VCR mode. NOTE: Confirm that the VCR indicator lights. 4 Press DUBBING. • The unit is changed to DVD mode automatically. • The VCR is waiting for playback and the DVD is waiting for recording. Then the following message will appear. 5 Press DUBBING, or press or to select "YES" and press ENTER. Dubbing starts. • To cancel dubbing, press STOP, or select "NO" and press ENTER. NOTES: • Dubbing cannot be accomplished when - a copy protected tape is used. - disc protection is set. - disc has no recording space. - HDMI mode is active. • Dubbing stops when - the video tape is played back to the end and stops. - recording space becomes full. • The videos recorded from TV programs or movies can be used only for your personal enjoyment without permission of the copyright holder. 78 2J40101A P72-81 78 CONFIRM DUBBING FROM VCR TO DVD YES NO ENTER SELECT ENTER DUBBING STOP YES NO In dubbing, VCR playback, DVD recording and "dub" (dubbing) indicator appear on the display window. 6 To stop dubbing, press STOP. Video playback DVD recording 3/4/06, 10:46 AM
-
 1
1 -
2
-
3
-
4
-
5
-
6
-
7
-
8
-
9
-
10
-
11
-
12
-
13
-
14
-
15
-
16
-
17
-
18
-
19
-
20
-
21
-
22
-
23
-
24
-
25
-
26
-
27
-
28
-
29
-
30
-
31
-
32
-
33
-
34
-
35
-
36
-
37
-
38
-
39
-
40
-
41
-
42
-
43
-
44
-
45
-
46
-
47
-
48
-
49
-
50
-
51
-
52
-
53
-
54
-
55
-
56
-
57
-
58
-
59
-
60
-
61
-
62
-
63
-
64
-
65
-
66
-
67
-
68
-
69
-
70
-
71
-
72
-
 73
73 -
 74
74 -
 75
75 -
 76
76 -
 77
77 -
 78
78 -
 79
79 -
 80
80 -
 81
81 -
 82
82 -
 83
83 -
84
-
85
-
86
-
87
-
88
-
89
-
90
-
91
-
92
 |
 |