Toshiba SD-KV540-S-TU Owners Manual - Page 15
Initial Settings - VCR
 |
View all Toshiba SD-KV540-S-TU manuals
Add to My Manuals
Save this manual to your list of manuals |
Page 15 highlights
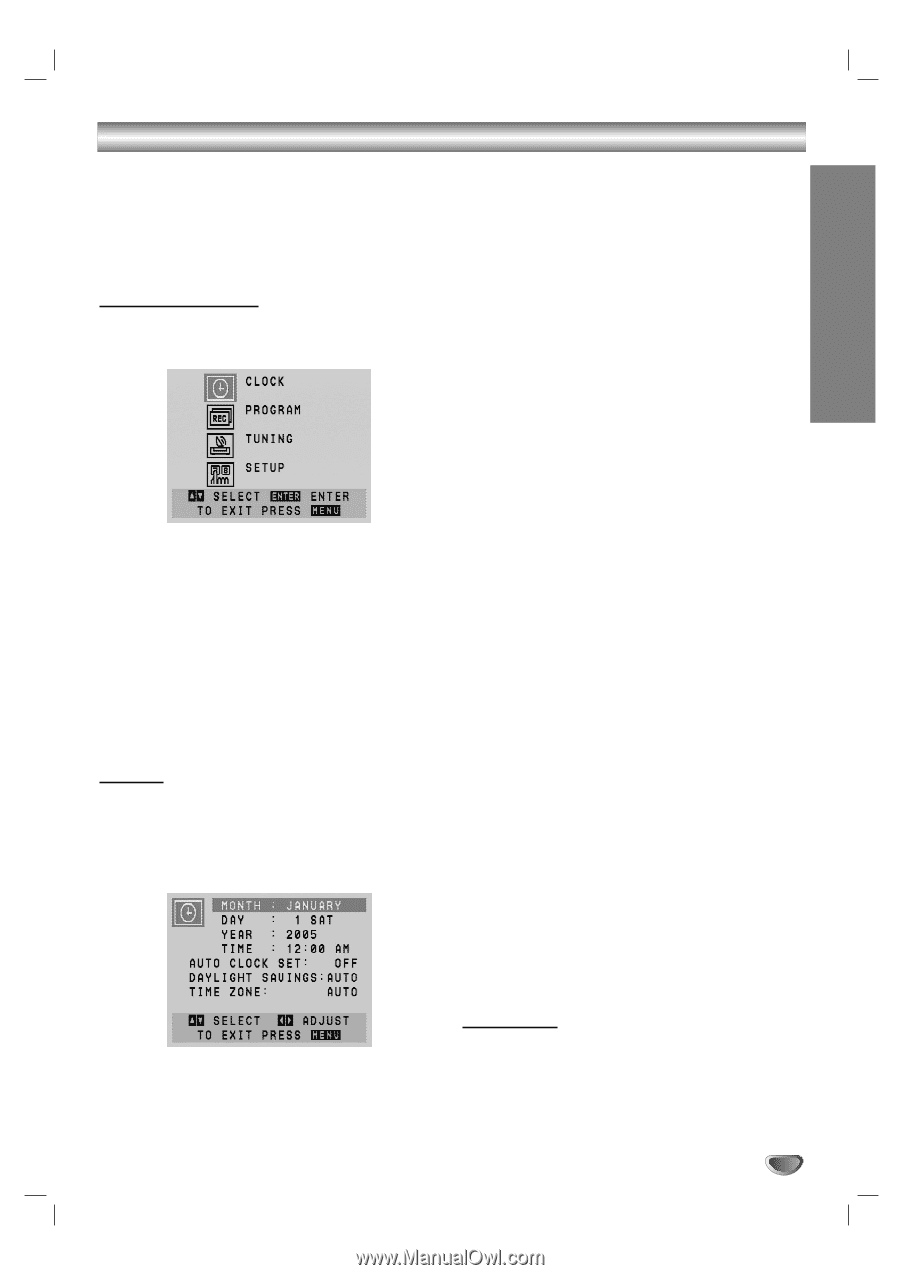
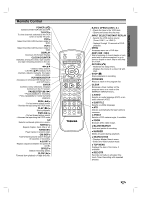
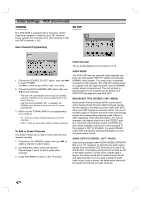
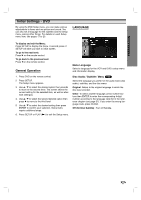
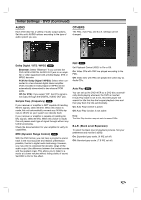
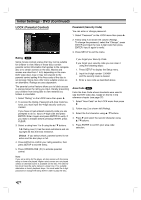
PREPARATION Initial Settings - VCR By using the VCR Setup menu, you can make various adjustments to items such as clock setting, and timer recordings. Your DVD+VCR allows remote control adjustment of several features. General Operation 1. Press VCR on the remote control. 2. Press VCR MENU and the MAIN menu will appear. • AUTO CLOCK SET The Auto Clock Set feature is set to ON at the factory. In the ON setting, the DVD+VCR looks for a channel carrying XDS (Extended Data Services) information. XDS updates the clock using the Coordinated Universal Time. - Use b/B to choose ON or OFF. • DAYLIGHT SAVINGS You can turn Daylight Savings On or Off manually. If you choose "AUTO", the DVD+VCR sets the clock using the DST information broadcast in the signal (channel). - Use b/B to choose AUTO, ON or OFF. • TIME ZONE You can set your local Time Zone manually. If you choose "AUTO", the DVD+VCR sets the clock using the first Coordinated Universal Time information it finds in a broadcast signal. -Use b/B to choose the correct time zone (AUTO, EASTERN, CENTRAL, MOUNTAIN, PACIFIC, ALASKA or HAWAII). 3. Use v/V to select the desired menu, then press ENTER. 4. Use v/V to choose a desired option on the selected Menu. Then use b/B to choose a desired setting. 5. Press VCR MENU when finished. Note: Menus remain on-screen for 3 minutes. CLOCK The DVD+VCR gives you two ways to set the time and date: the Auto Clock feature or Manually. Auto Clock Set Notes: • The Auto Clock feature enables the DVD+VCR to set up the clock while the DVD+VCR is turned off. • There are cases where the TV station does not send or sends wrong date and/or time information and the DVD+VCR sets the incorrect time. If this happens we recommend that you set the clock manually. Manual Clock Set Use v/V/b/B to enter the necessary information. • MONTH : Choose the month. • DAY : Choose the date. The day of the week will display automatically. • YEAR : Choose the year. • TIME : Choose the time. Press and hold b/B to advance clock continuously. Notes: • If setting the clock manually, "AUTO CLOCK SET" must set to "OFF". If it is set to "ON", an incorrect date and/or time will be entered again when the DVD+VCR is turned off. • The clock uses the 12-hour system. Be sure to set AM and PM correctly (AM does not appear). PROGRAM The Timer Recording function allows you to record up to 8 programs within a period of one year. (See pages 2425). 15
-
 1
1 -
2
-
3
-
4
-
5
-
6
-
7
-
8
-
9
-
 10
10 -
 11
11 -
 12
12 -
 13
13 -
 14
14 -
 15
15 -
 16
16 -
 17
17 -
 18
18 -
 19
19 -
 20
20 -
21
-
22
-
23
-
24
-
25
-
26
-
27
-
28
-
29
-
30
-
31
-
32
-
33
-
34
-
35
-
36
-
37
-
38
-
39
-
40
-
41
-
42
-
43
 |
 |