Vizio XRU9M User Guide - Page 4
Initial Setup, Setup - remote codes
 |
View all Vizio XRU9M manuals
Add to My Manuals
Save this manual to your list of manuals |
Page 4 highlights
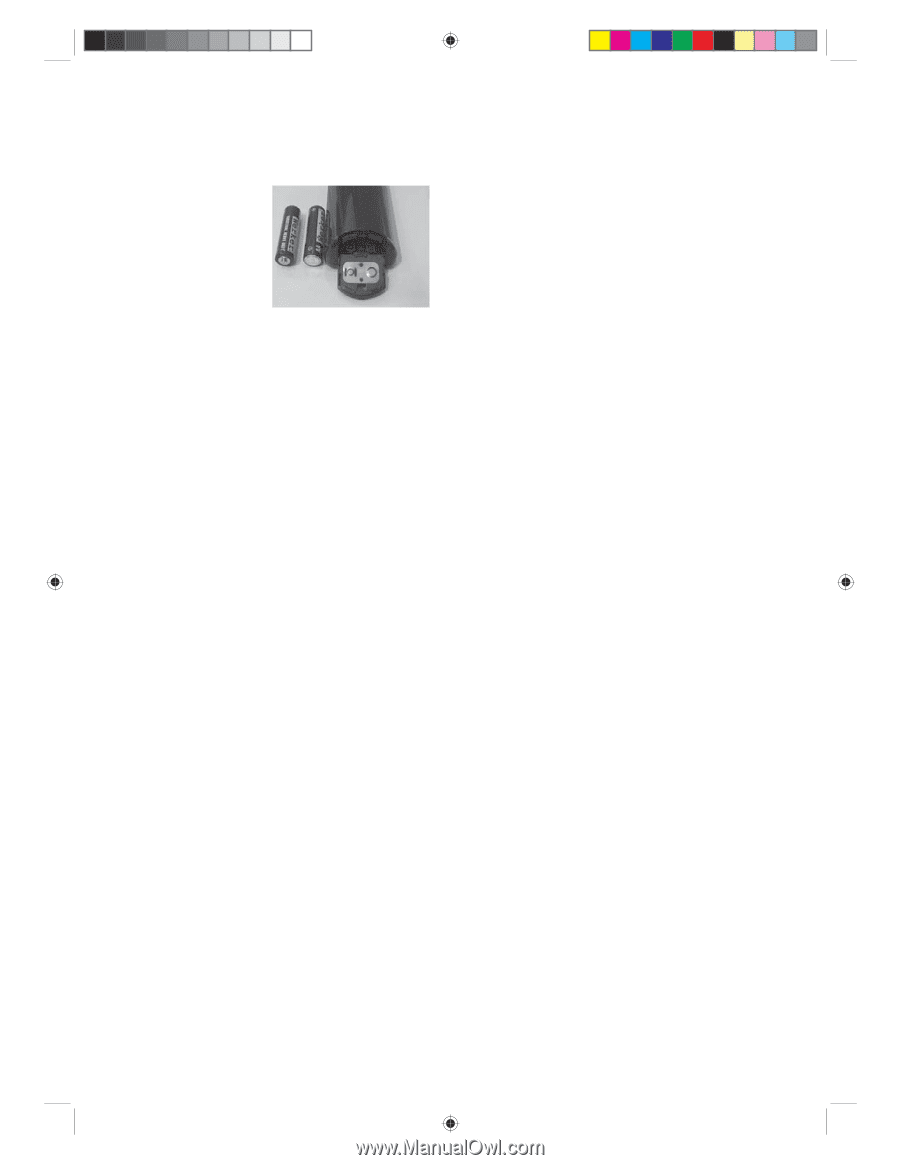
Initial Setup Setup Insertion of Batteries in the Remote Control Insert two AAA batteries into the remote control. Make sure that you match the (+) and (-) symbols on the batteries with the (+) and (-) symbols inside the battery compartment. Reattach the battery cover. Precautionary Tips for Inserting the Batteries • Only use AAA batteries. • Do not mix new and old batteries. This may result in cracking or leakage that may pose a fire risk or lead to personal injury. • Inserting the batteries incorrectly may also result in cracking or leakage that may pose a fire risk or lead to personal injury. • Dispose of the batteries in accordance with local laws and regulations. • Keep the batteries away from children and pets. Battery Saver Your remote automatically turns off if the buttons are depressed more than 30 seconds. Code Saver You will have up to 10 minutes to change the batteries in your remote without losing codes you have programmed. However, to avoid losing your codes, do not press any buttons until batteries are installed in the remote. Programming for BLU-RAY or DVD 1. Manually turn on your DVD player. 2. Press the DVD button on the remote control. 3. Press and hold the SET button until the LED LIGHT flashes twice. 4. Find the programming code for your DVD player in the code list (on separate sheet) and enter it using the Number Buttons. If the code is accepted, the LED flashes twice after the last digit is entered. If the LED does not flash twice, repeat Steps 2 through 4 with the next code listed for the component and manufacturer. 5. Point the remote control at the DVD player and press the POWER button. The DVD player should turn off. Note: • If your DVD player does not respond, try all the codes for your DVD player brand. If the codes do not work, or your brand is not listed, see "Searching for Component Codes, page 11." • Sometimes a code listed will only include limited functions. Try other codes that may include more functionality. 6 XRU9M OM 2-6-10.indd 6-7 7 2/6/2010 1:51:43 PM
-
 1
1 -
 2
2 -
 3
3 -
 4
4 -
 5
5 -
 6
6 -
 7
7 -
 8
8 -
 9
9
 |
 |