Whirlpool WDE101LVQ Owners Manual - Page 11
Awarning - appliances
 |
UPC - 883049148014
View all Whirlpool WDE101LVQ manuals
Add to My Manuals
Save this manual to your list of manuals |
Page 11 highlights
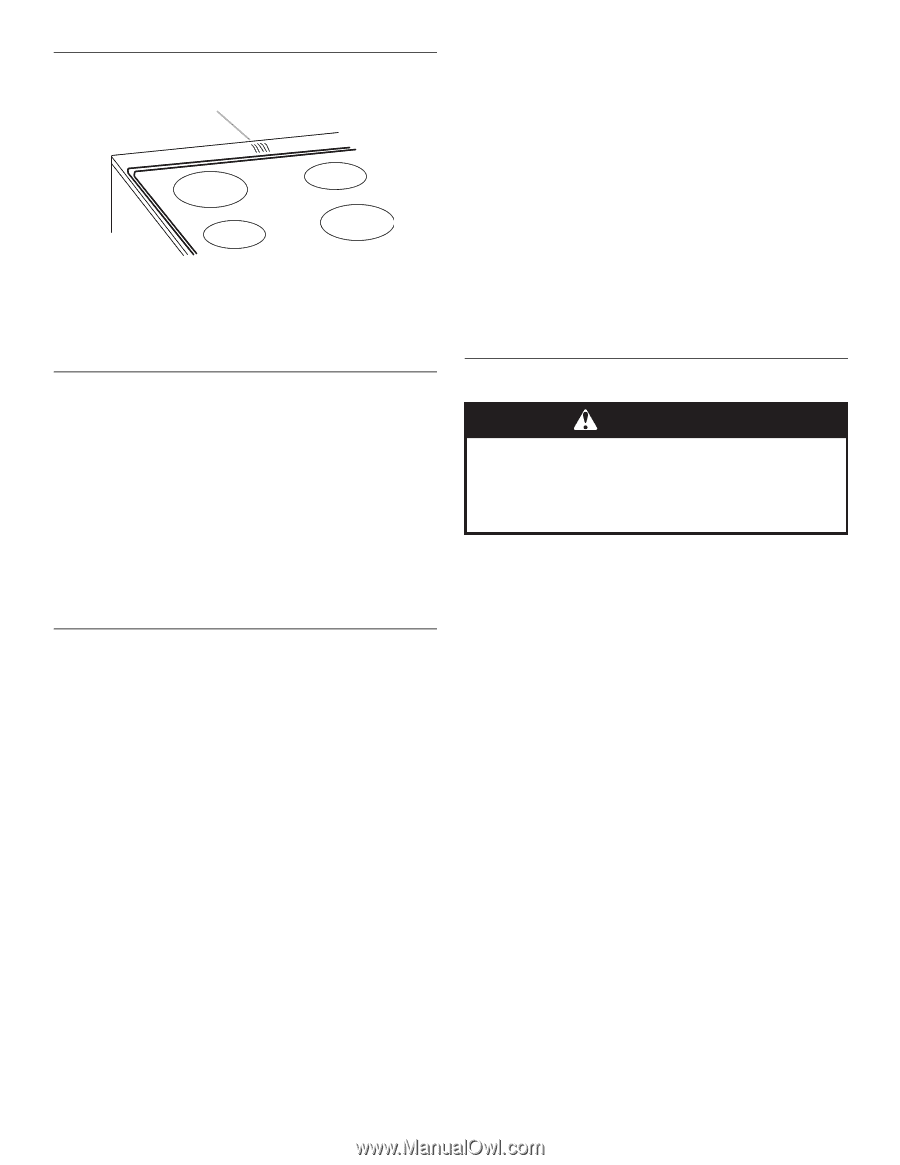
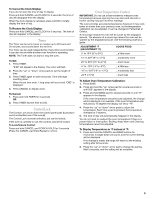
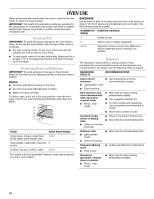
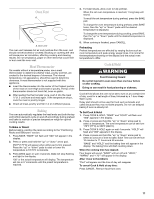
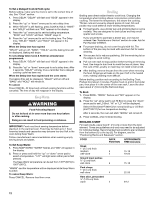
Oven Vent A A. Oven vent The oven vent releases hot air and moisture from the oven, and should not be blocked or covered. Blocking or covering the vent will cause poor air circulation, affecting cooking and cleaning results. Do not set plastics, paper or other items that could melt or burn near the oven vent. Meat Thermometer On models without a temperature probe, use a meat thermometer to determine whether meat, poultry and fish, are cooked to the desired degree of doneness. The internal temperature, not appearance, should be used to determine doneness. A meat thermometer is not supplied with this appliance. ■ Insert the thermometer into the center of the thickest portion of the meat or inner thigh and breast of poultry. The tip of the thermometer should not touch fat, bone or gristle. ■ After reading the thermometer once, push it into the meat ½" (1.3 cm) more and read again. If the temperature drops, cook the meat or poultry longer. ■ Check all meat, poultry and fish in 2 or 3 different places. Baking The oven automatically regulates the heat levels and both the top and bottom elements cycle on and off accordingly during preheat and bake to maintain a precise temperature range for optimal cooking results. To Bake or Roast: Before baking, position the racks according to the "Positioning Racks and Bakeware" section. 1. Press BAKE. "BAKE" will flash and "000" will appear in the display. 2. Press or press and hold the "up" or "down" arrow pad. 350°F (175°C) will appear when either pad is first pressed. Press the "up" or "down" pads to raise or lower the temperature in 5°F/5°C increments. 3. Press BAKE again or wait 4 seconds. Bake will stop flashing and light in the display. 100° or the actual temperature will display. The temperature will rise in 5° increments until the preset temperature is reached. 4. For best results, allow oven to fully preheat. When the set oven temperature is reached, 1 long beep will sound. To recall the set temperature during preheat, press the BAKE pad. To change the oven temperature during preheat, press BAKE twice, then the "up" or "down" pads until the desired temperature is displayed. To change the oven temperature during cooking, press BAKE, then the "up" or "down" pads until the desired temperature is displayed. 5. When cooking is finished, press CANCEL. Preheating Preheat temperatures are affected by varying factors such as room temperature and peak energy usage times. It is normal for the temperature showing on the display and the actual oven temperature to differ. Cook & Hold WARNING Food Poisoning Hazard Do not let food sit in oven more than one hour before or after cooking. Doing so can result in food poisoning or sickness. Cook & Hold allows the oven to be set to turn on at a certain time of day, cook for a set length of time, followed by a 1-hour Keep Warm cycle. Delay start should not be used for food such as breads and cakes because they may not bake properly. Do not use delayed baking if oven is already hot. To Set Cook & Hold: 1. Press COOK & HOLD. "BAKE" and "HOLD" will flash and "000" appears in the display. 2. Press or press and hold the "up" or "down" arrow pad to select a temperature. The oven temperature can be set from 170°F (77°C) to 550°F (288°C). 3. Press COOK & HOLD again or wait 4 seconds. "HOLD" will flash and "000" appears in the display. 4. Press or press and hold the "up" or "down" arrow pad to select an amount of time to bake. Bake Time can be set from 10 minutes to 11 hours and 59 minutes. "BAKE" and "HOLD" and the baking time will appear in the display. The baking time will start counting down. When the cooking time has elapsed: Four beeps will sound, "BAKE" will turn off and "HOLD," "WARM," and "170°" will appear in the display. After 1 hour in Hold Warm: "End" will appear and the time of day will reappear. To cancel Cook & Hold at any time: Press CANCEL. Remove food from oven. 11
-
 1
1 -
2
-
3
-
4
-
5
-
 6
6 -
 7
7 -
 8
8 -
 9
9 -
 10
10 -
 11
11 -
 12
12 -
 13
13 -
 14
14 -
 15
15 -
 16
16 -
17
-
18
-
19
-
20
 |
 |