Xerox 3100MFP/S User Guide - Phaser 3100 MFP/S - Page 43
Connections - phaser driver
 |
UPC - 095205741988
View all Xerox 3100MFP/S manuals
Add to My Manuals
Save this manual to your list of manuals |
Page 43 highlights
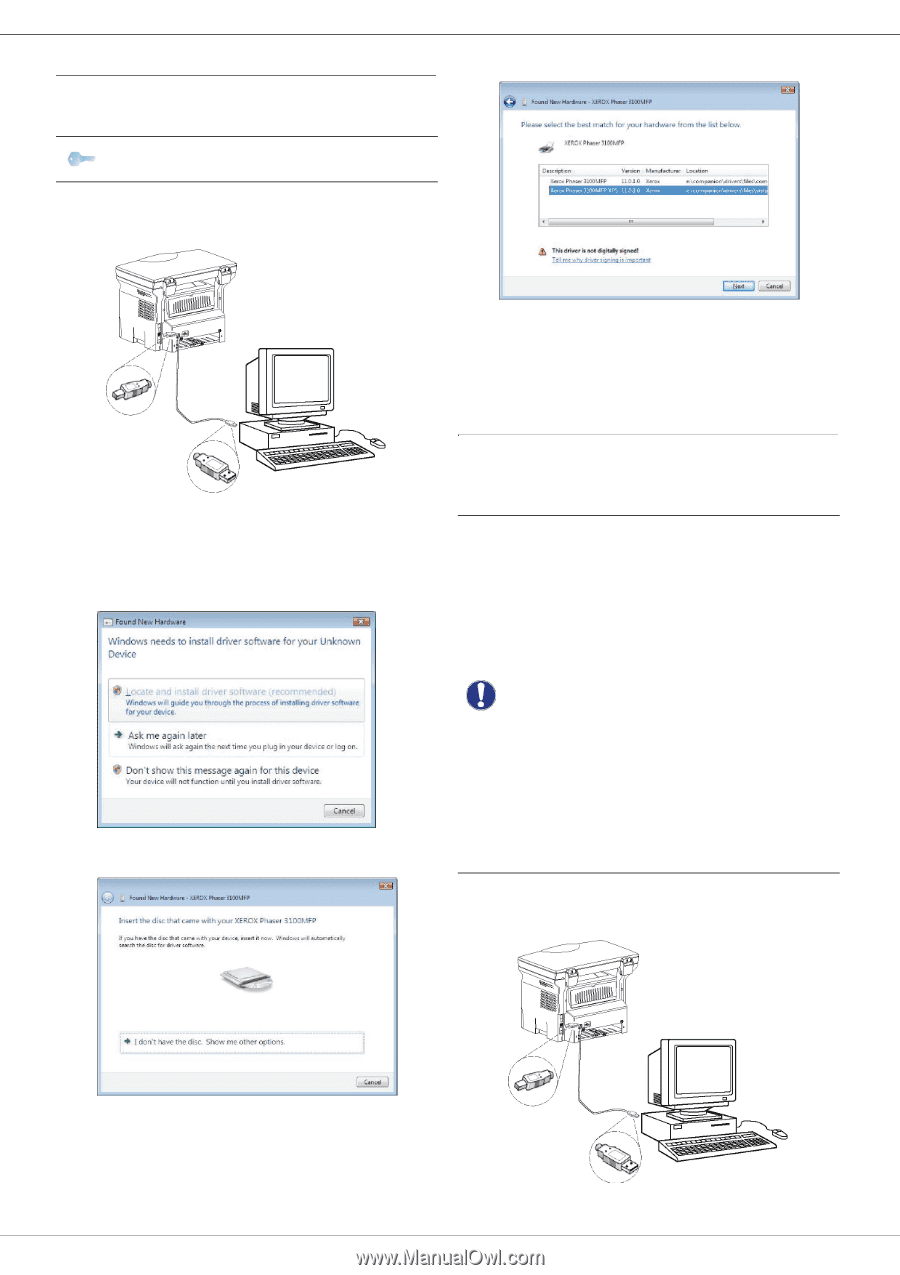
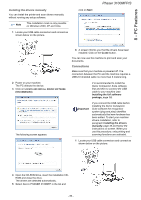
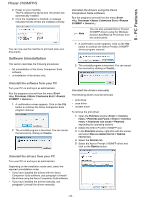
8 - PC Features Installing the drivers manually You can install the printer and scan drivers manually without running any setup software. Note This installation mode is only possible on Windows 2000, XP and Vista. 1 Locate your USB cable connectors and connect as shown below on the picture. click on NEXT. Phaser 3100MFP/S 2 Power on your machine. The PC detects the device. 3 Click on LOCATE AND INSTALL DRIVER SOFTWARE (RECOMMENDED). The following screen appears: 6 A screen informs you that the drivers have been installed. Click on the CLOSE button. You can now use the machine to print and scan your documents. Connections Make sure that your machine is powered off. The connection between the PC and the machine requires a USB 2.0 shielded cable no more than 3 meters long. It is recommended to install the Xerox Companion Suite software first and then to connect the USB cable to your machine (see Installing the full software package, page 36). Important If you connect the USB cable before installing the Xerox Companion Suite software the recognition system (plug and play) identifies automatically that new hardware has been added. To start your machine drivers installation, refer to paragraph Installing the drivers manually, page 39 and follow the instructions on screen. When you use this procedure, only printing and scanning functions are activated. 1 Locate your USB cable connectors and connect as shown below on the picture. 4 Open the CD-ROM drive, insert the installation CDROM and close the drive. The drivers are detected automatically. 5 Select XEROX PHASER 3100MFP in the list and - 39 -
-
 1
1 -
2
-
3
-
4
-
5
-
6
-
7
-
8
-
9
-
10
-
11
-
12
-
13
-
14
-
15
-
16
-
17
-
18
-
19
-
20
-
21
-
22
-
23
-
24
-
25
-
26
-
27
-
28
-
29
-
30
-
31
-
32
-
33
-
34
-
35
-
36
-
37
-
 38
38 -
 39
39 -
 40
40 -
 41
41 -
 42
42 -
 43
43 -
 44
44 -
 45
45 -
 46
46 -
 47
47 -
 48
48 -
49
-
50
-
51
-
52
-
53
-
54
-
55
-
56
 |
 |