Xerox 850DX Xerox Wide Format 88XX Series Folder Operator Manual - Page 27
Length, U6.03, Feed In, Feed The Prints Always With The Title Block
 |
UPC - 042215454865
View all Xerox 850DX manuals
Add to My Manuals
Save this manual to your list of manuals |
Page 27 highlights
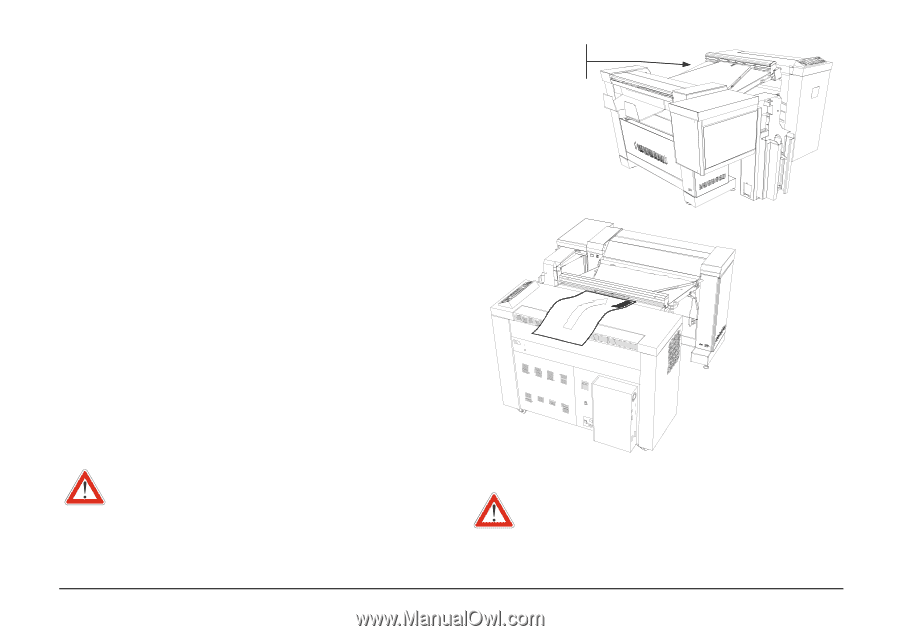
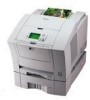
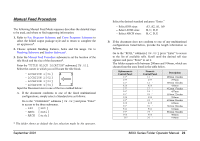
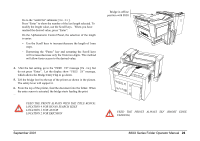
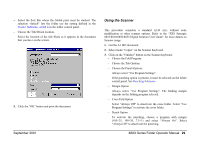
Go to the "LENGTH" submenu [ U6.03 ]. Press "Enter" to show the number of the last length selected. To modify the length value, use the Scroll keys. When you have reached the desired value, press "Enter". On the Alphanumeric Control Panel, the selection of the length is easier: − Use the Scroll keys to increase/decrease the length of 1mm steps. − Depressing the "Pause" key and actuating the Scroll keys will increase/decrease only the firsts two digits. This method will allow faster access to the desired value. 4. After the last setting, go to the "FEED IN" message [U6.06], but do not press "Enter". Let the display show "FEED IN" message, which allows the Bridge Entry Flap to go down. 5. Lift the bridge level to the top of the printer as shown in the picture. The safety lever will support it. 6. From the top of the printer, feed the document into the folder. When the entry sensor is actuated, the bridge starts feeding the print. 112763 FEED THE PRINTS ALWAYS WITH THE TITLE BLOCK: LOCATION 4 FOR ISO/AN SI/ARCH SIZES LOCATION 1 FOR AFNOR LOCATION 2 FOR ERICSSON Bridge in offline position with 8830 FEED THE PRINTS ALWAYS SEF (SHORT EDGE FEEDING) September 2001 88XX Series Folder Operator Manual 26
-
 1
1 -
2
-
3
-
4
-
5
-
6
-
7
-
8
-
9
-
10
-
11
-
12
-
13
-
14
-
15
-
16
-
17
-
18
-
19
-
20
-
21
-
 22
22 -
 23
23 -
 24
24 -
 25
25 -
 26
26 -
 27
27 -
 28
28 -
 29
29 -
 30
30 -
 31
31 -
 32
32 -
33
-
34
-
35
-
36
-
37
-
38
-
39
-
40
-
41
-
42
-
43
-
44
-
45
-
46
-
47
-
48
-
49
-
50
-
51
 |
 |