Yamaha DGC1B Disklavier Mark III Series DGC1B Basic Operation Manual - Page 53
Displaying Ensemble Voices, Selecting Tracks for the Piano Parts, display appears.
 |
View all Yamaha DGC1B manuals
Add to My Manuals
Save this manual to your list of manuals |
Page 53 highlights
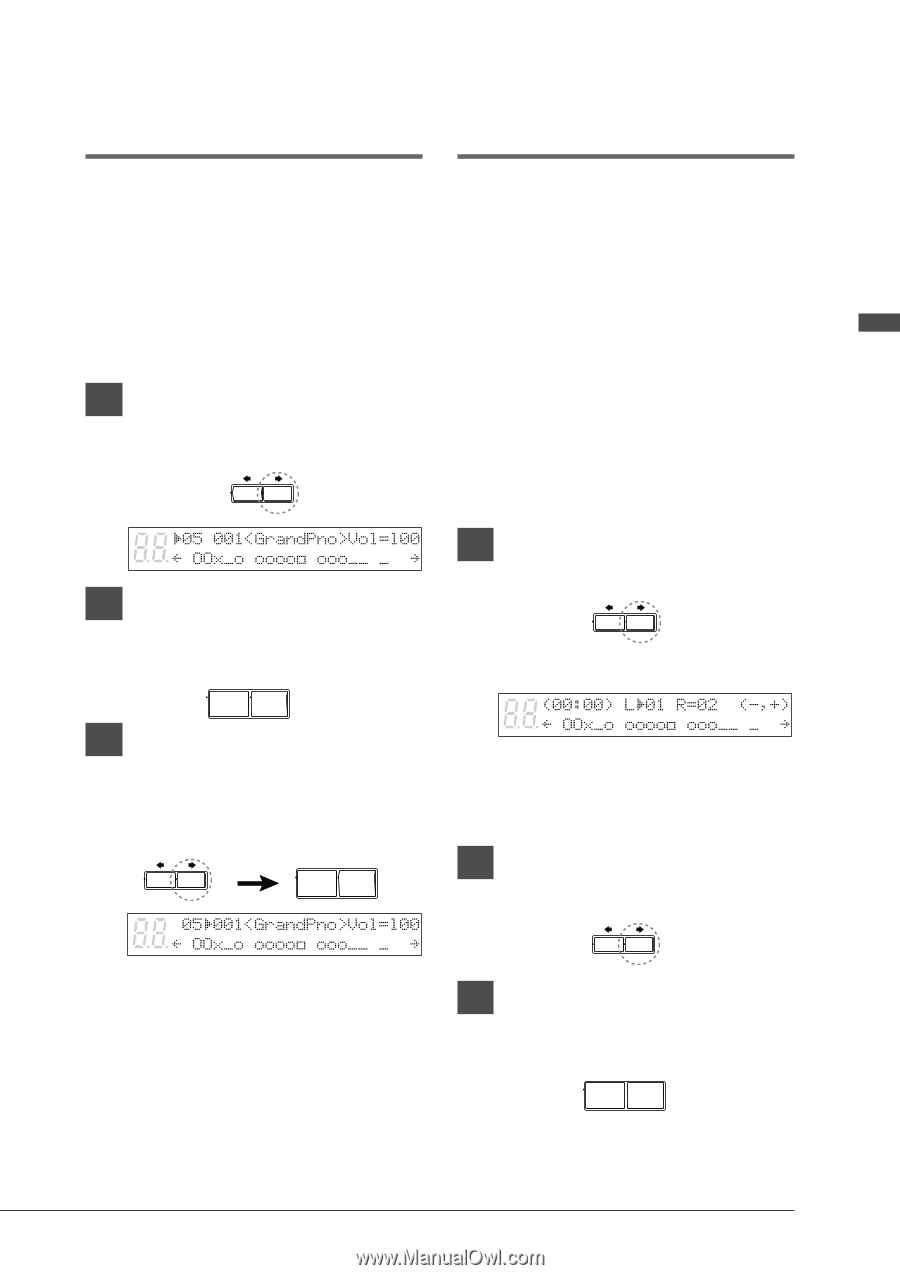
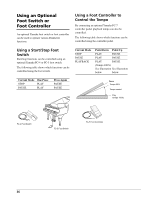
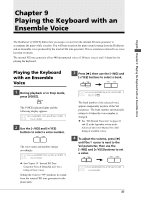
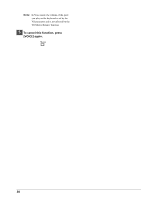
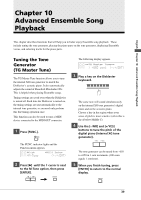
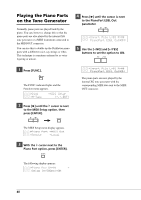
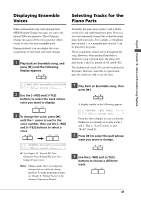
English Chapter 10: Advanced Ensemble Song Playback Displaying Ensemble Voices When an Ensemble song starts playing back, MIDI Program Change messages are sent to the internal XG tone generator. These Program Change messages tell the tone generator which voices to select for each ensemble track. During playback, you can display the voice assignments of each track and make changes. 1 Play back an Ensemble song, and press [>] until the following display appears. Selecting Tracks for the Piano Parts Normally, the piano plays tracks 1 and 2 which are the left- and right-hand piano parts. However, you can temporarily change this so that the piano plays different tracks. For example, a vibraphone part on track 5, or a marimba part on track 7 can be played by the piano. These assignments remain active throughout the song. However, when another PianoSoft or Disklavier song is played back, the piano will play tracks 1 and 2 as normal (L=01 and R=02). The rhythm track (track 10) can also be played on the piano. However, since this is a percussion part, the results are odd, to say the least. 2 Use the [-/NO] and [+/YES] buttons to select the track whose voice you want to display. -/NO +/YES 3 To change the voice, press [>] until the c cursor is next to the voice number, then use the [-/NO] and [+/YES] buttons to select a voice. -/NO +/YES 1 Play back an Ensemble song, then press [>]. A display similar to the following appears. From the above display we can see that the Disklavier is currently set to play tracks 1 and 2. That is, "L=01" (track 1), and "R=02" (track 2). 2 Press [>] to select the part whose track you want to change. ☛ See Chapter 14 "Internal XG Tone Generator Voice & Drum Kit List" for a listing of basic voices. Note: Changes made above are temporary changes that are valid only during playback. To make permanent changes, see Chapter 8 "Editing Tracks" in the Advanced Operation Manual. 3 Use the [-/NO] and [+/YES] buttons to choose a different track. -/NO +/YES 41
-
 1
1 -
2
-
3
-
4
-
5
-
6
-
7
-
8
-
9
-
10
-
11
-
12
-
13
-
14
-
15
-
16
-
17
-
18
-
19
-
20
-
21
-
22
-
23
-
24
-
25
-
26
-
27
-
28
-
29
-
30
-
31
-
32
-
33
-
34
-
35
-
36
-
37
-
38
-
39
-
40
-
41
-
42
-
43
-
44
-
45
-
46
-
47
-
 48
48 -
 49
49 -
 50
50 -
 51
51 -
 52
52 -
 53
53 -
 54
54 -
 55
55 -
 56
56 -
 57
57 -
 58
58 -
59
-
60
-
61
-
62
-
63
-
64
-
65
-
66
-
67
-
68
-
69
-
70
-
71
-
72
-
73
-
74
 |
 |