Yamaha PSR-300 Owner's Manual - Page 12
AUTO ACCOMPANIMENT, Setting the Accompaniment, Volume, Setting the Tempo, Fingered Accompaniment
 |
View all Yamaha PSR-300 manuals
Add to My Manuals
Save this manual to your list of manuals |
Page 12 highlights
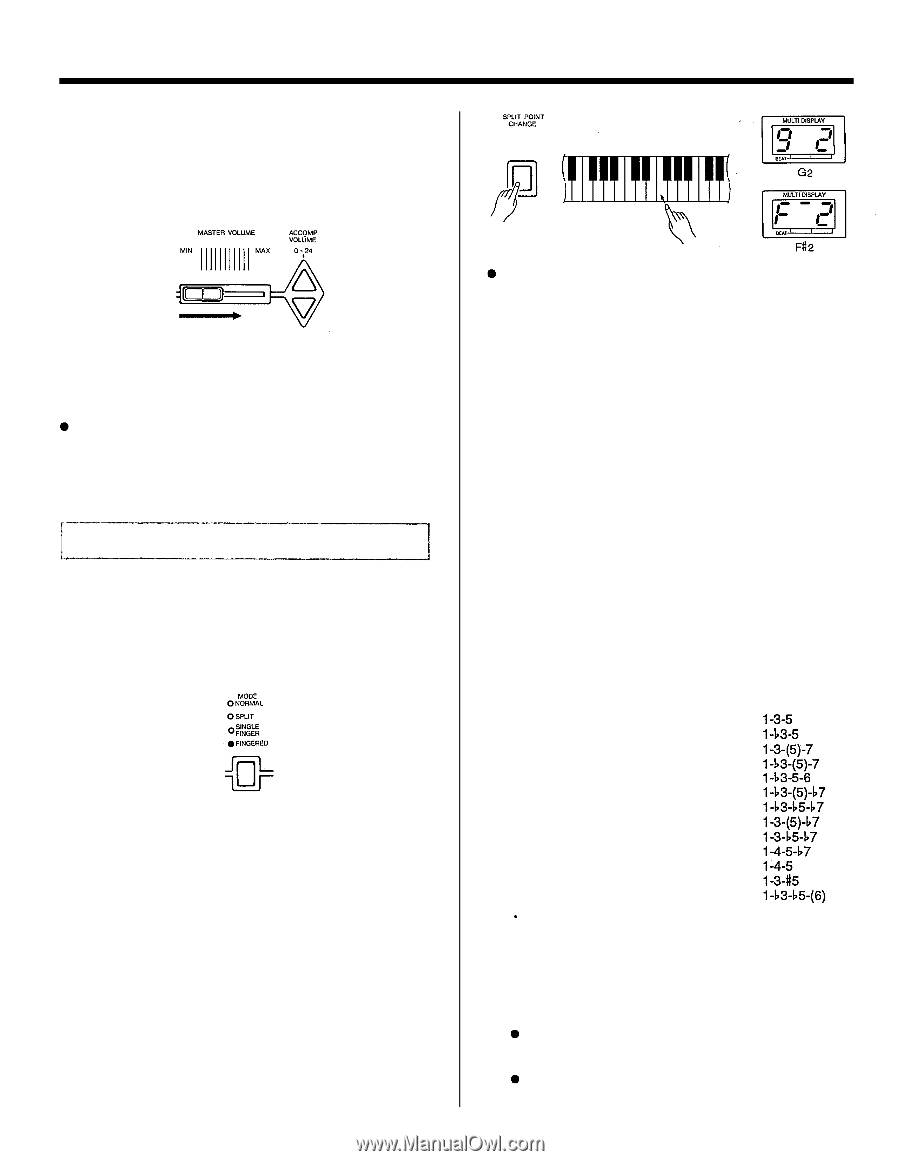
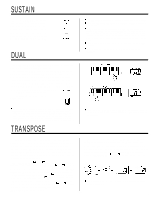
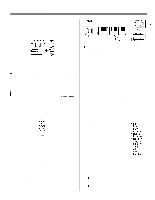
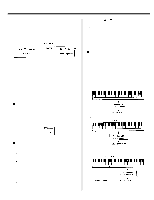
AUTO ACCOMPANIMENT Setting the Accompaniment Volume Set the volume of the Auto Accompaniment sound using the ACCOMPANIMENT VOLUME buttons. The MASTER VOLUME control can be used to set the overall volume level. Setting the Tempo Use the TEMPO buttons to set the desired accompaniment tempo (see "Setting the Tempo" on page 7 for details). The [INTRO/FILL IN] button can be used in the Auto Accompaniment mode to create pattern variations in the same way that it is with rhythm accompaniment patterns (refer to "Adding Fill-ins" on page 8 for details). Fingered Accompaniment The FINGERED mode is ideal if you already know how to play chords on a keyboard, since it allows you to supply your own chords for the Auto Accompaniment feature. 1. Press the [MODE] button as many times as necessary until the FINGERED indicator lights - this selects the FINGERED mode. 2. If necessary, set the split point as described below: Setting the FINGERED Mode Split Point: The split point for the FINGERED mode is initially set at the G2 key. It can be set to any other key by pressing the desired split-point key while holding the [SPLIT POINT CHANGE] button. The split point is shown on the MULTI DISPLAY for as long as the [SPLIT POINT CHANGE] button is held. The G2 key, for example, would be displayed as "g 2". F#2 would be displayed as "F-2". The sharp is indicated by the lit bar between the "F" and the "2." The FINGERED mode split point is retained in memory and will be recalled whenever the FINGERED mode is selected. A method of initializing the FINGERED mode split point to its original default value is described on page 6. 10 The PSR-200/300 memorizes separate SINGLE FINGER, FINGERED, and SPLIT mode split points. The corresponding split point is automatically recalled when one of these modes is selected. 3. Select the desired accompaniment style in the normal way. Although you can select the melody (upper keyboard) voice you intend to use, the PSR-200/PSR-300 automatically determines the voices to be used for the accompaniment part according the accompaniment style you select. 4. Press the [START/STOP] button, [SYNCHRO START/ ENDING] button or the [INTRO/FILL IN] buttons to determine how the accompaniment will be started (see page 7). If you press the [START/STOP] button or the [INTRO/ FILL IN] button, the rhythm will begin playing immediately without bass and chord accompaniment. 5. As soon as you play any chord in the Auto Accompaniment section of the keyboard, the PSR-200/PSR-300 will automatically begin to play the chord along with the selected rhythm and an appropriate bass line. The accompaniment will continue playing even if you release the Auto Accompaniment keys. The PSR-200/PSR-300 will accept the following chord types (see fingering chart on page 19): Chord Abbreviation Normal Voicing Major M Minor m Major seventh M7 Minor major seventh mM7 Minor sixth m6 Minor seventh m7 Minor seventh flatted fifth m7-5 Seventh 7 Seventh flatted fifth 7-5 Seventh suspended fourth 7sus4 Suspended fourth sus4 Augmented aug Diminished dim Notes in parentheses may be omitted. Minor sixth chords will only be properly detected if they are played in "root position". Seventh flatted fifth chords will only be recognized if either the root or flatted seventh is the lowest note. For diminished and augmented chords, the lowest key pressed is assumed to be the root. An octave - i.e. two notes played exactly one octave apart - will be detected as a chord suitable for major or minor, with the note played as the root note. All other FINGERED mode operations are the same as in the SINGLE FINGER mode.
-
 1
1 -
2
-
3
-
4
-
5
-
6
-
 7
7 -
 8
8 -
 9
9 -
 10
10 -
 11
11 -
 12
12 -
 13
13 -
 14
14 -
 15
15 -
 16
16 -
 17
17 -
18
-
19
-
20
-
21
-
22
-
23
-
24
-
25
-
26
-
27
-
28
-
29
 |
 |