Yamaha YPT-310 Owner's Manual - Page 29
Turn ACMP auto accompaniment on or off, depending on what you want to record.
 |
View all Yamaha YPT-310 manuals
Add to My Manuals
Save this manual to your list of manuals |
Page 29 highlights
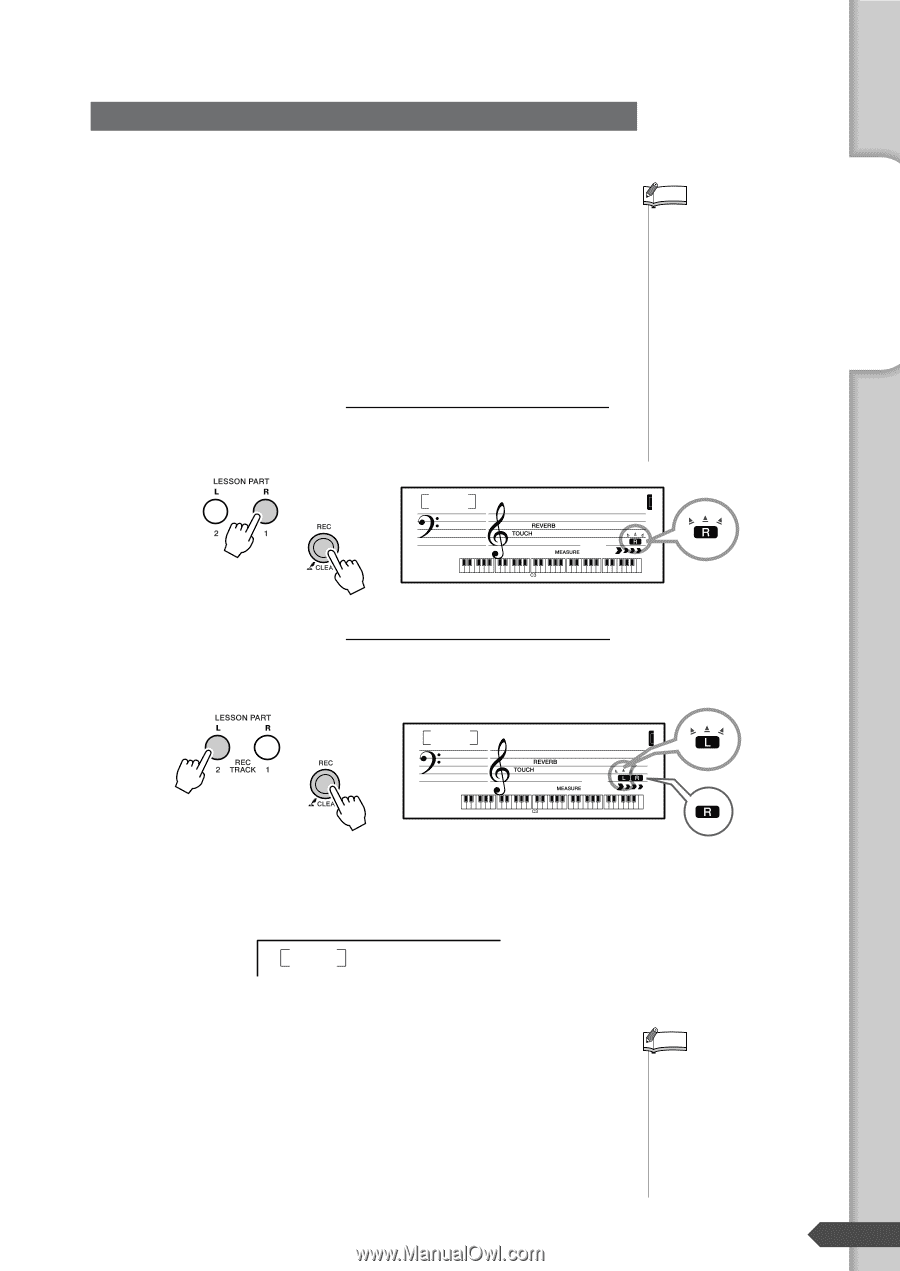
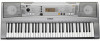
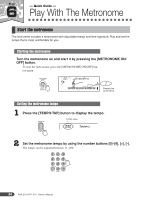
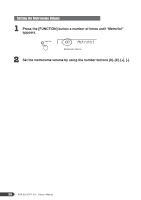
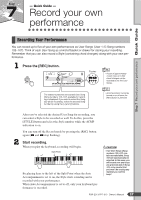
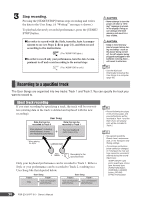
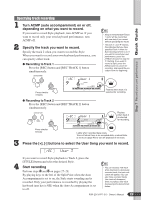
Step 7 Record your own performance Quick Guide Specifying track recording 1 Turn ACMP (auto accompaniment) on or off, depending on what you want to record. If you want to record Style playback, turn ACMP on. If you want to record only your own keyboard performance, turn ACMP off. 2 Specify the track you want to record. Specify the track 2 when you want to record the Style. When you want to record your own keyboard performance, you can specify either track. ● Recording to Track 1 Press the [REC] button and [REC TRACK 1] button simultaneously. NOTE • Keep in mind that both Tracks 1 and 2 will be overwritten with new data if you record without specifying the tracks. • The both "L" and "R" flashes, this indicates that you have specified Track 1 when the Auto Accompaniment is on. If you want to record your own performance, press the [TRACK 2] button to stop the "L" flashing. If you want to record a Style, press the [REC] button to cancel the recording, and repeat the procedure from the beginning. rEC User 1 001 Press simultaneously ● Recording to Track 2 Press the [REC] button and [REC TRACK 2] button simultaneously. rEC User 1 001 Flashes when track 1 is selected for recording. Flashes when track 2 is selected for recording. 3 Press simultaneously Lights when recorded data exists. Turns off when there is no recorded data, or when Mute is set to on (page 40) to turn off playback of the track. Press the [+], [-] buttons to select the User Song you want to record. rEC User 3 4 If you want to record Style playback to Track 2, press the [STYLE] button and select the desired Style. Start recording Perform steps 2 and 3 on pages 27-28. By playing keys to the left of the Split Point when the Auto Accompaniment is set to on, the Style starts sounding and is recorded. Only your performance is recorded by playing the keyboard (any key is OK) when the Auto Accompaniment is set to off. NOTE • You can record a new track while listening to a previously recorded track (the track indication will appear). You can also mute recorded tracks (the track will disappear) while recording a new track by pressing the desired track button. PSR-E313/YPT-310 Owner's Manual 29
-
 1
1 -
2
-
3
-
4
-
5
-
6
-
7
-
8
-
9
-
10
-
11
-
12
-
13
-
14
-
15
-
16
-
17
-
18
-
19
-
20
-
21
-
22
-
23
-
 24
24 -
 25
25 -
 26
26 -
 27
27 -
 28
28 -
 29
29 -
 30
30 -
 31
31 -
 32
32 -
 33
33 -
 34
34 -
35
-
36
-
37
-
38
-
39
-
40
-
41
-
42
-
43
-
44
-
45
-
46
-
47
-
48
-
49
-
50
-
51
-
52
-
53
-
54
-
55
-
56
-
57
-
58
-
59
-
60
-
61
-
62
-
63
-
64
-
65
-
66
-
67
-
68
-
69
-
70
-
71
-
72
-
73
-
74
-
75
-
76
-
77
-
78
-
79
-
80
-
81
-
82
-
83
-
84
-
85
-
86
-
87
-
88
-
89
-
90
 |
 |