1994 Chevrolet Lumina Owner's Manual - Page 149
1994 Chevrolet Lumina Manual
Page 149 highlights
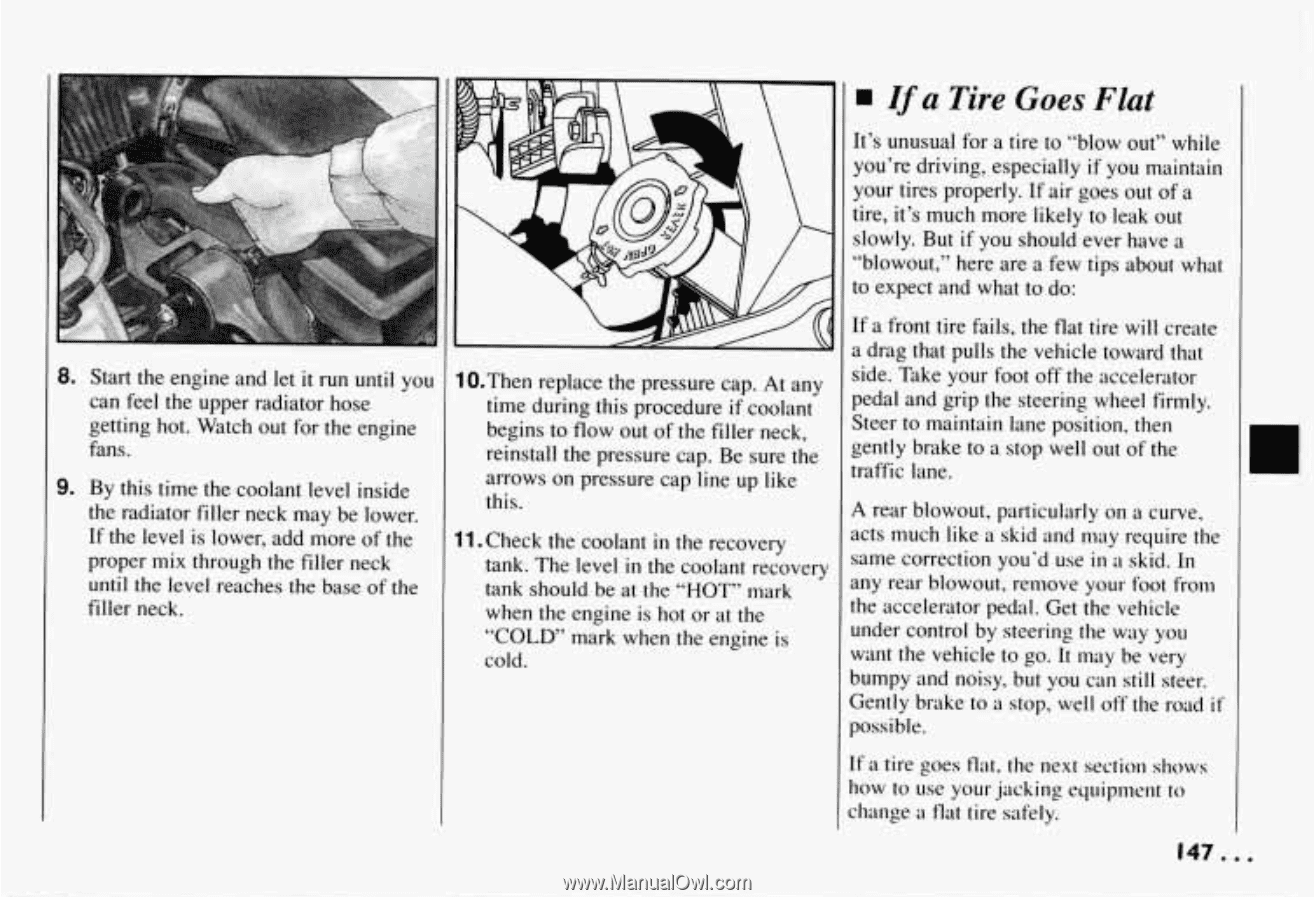
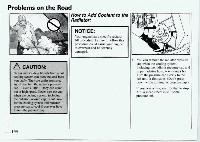
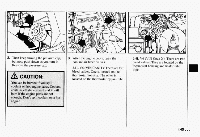
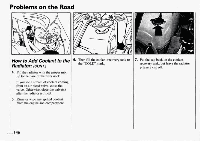
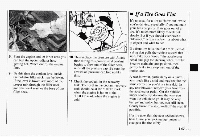
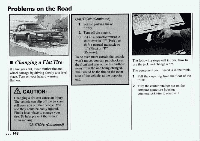
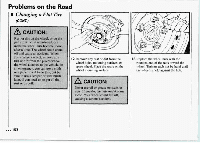
I a Tire Goes Flat f It's unusuql for a tire to "blow out" while you're driving, especially if you maintain your tires properly. If air goes out of a tire, it's much more likely to leak out slowly. But if you should ever have a "blowout," here are a few tips about what to expect and what to do: If a front tire fails, the flat tire will create a drag that pulls the vehicle toward that side. Take your foot off theaccelerator pedal and grip the steering wheel firmly. Steer to maintain lane position, then gently brake to a stop well out of the traffic lane. 8. Start the engine and let it run until you 1O.Then replace the pressure cap. At any can feel the upper radiator hose getting hot. Watch out for the engine fans. time during this procedure if coolant begins to flow out of the filler neck, reinstall the pressure cap. Be sure the arrows on pressure cap line up like this. 9. By this time the coolant level inside the radiator filler neck may be lower. If the level is lower,add more of the proper mix through the filler neck until the level reaches the base of the filler neck. A rear blowout, particularly on a curve, acts much like a skid and may require the 11.Check the coolant in the recovery tank: The level in the coolant recovery same correction you'd use in a skid. In any rear blowout, remove yourfoot from tank should be at the "HOT" mark the accelerator pedal. Get the vehicle when the engine is hot or at the under control by steering the way you "COLD" mark when the engine is want the vehicle to go. It may be very cold. bumpy and noisy, but you can still steer. Gently brake to a stop, well off the road if possible. If a tire goes flat, the next section shows how to use your jac,king equipment to Alange flat tiresafely. 147 ...
-
 1
1 -
2
-
3
-
4
-
5
-
6
-
7
-
8
-
9
-
10
-
11
-
12
-
13
-
14
-
15
-
16
-
17
-
18
-
19
-
20
-
21
-
22
-
23
-
24
-
25
-
26
-
27
-
28
-
29
-
30
-
31
-
32
-
33
-
34
-
35
-
36
-
37
-
38
-
39
-
40
-
41
-
42
-
43
-
44
-
45
-
46
-
47
-
48
-
49
-
50
-
51
-
52
-
53
-
54
-
55
-
56
-
57
-
58
-
59
-
60
-
61
-
62
-
63
-
64
-
65
-
66
-
67
-
68
-
69
-
70
-
71
-
72
-
73
-
74
-
75
-
76
-
77
-
78
-
79
-
80
-
81
-
82
-
83
-
84
-
85
-
86
-
87
-
88
-
89
-
90
-
91
-
92
-
93
-
94
-
95
-
96
-
97
-
98
-
99
-
100
-
101
-
102
-
103
-
104
-
105
-
106
-
107
-
108
-
109
-
110
-
111
-
112
-
113
-
114
-
115
-
116
-
117
-
118
-
119
-
120
-
121
-
122
-
123
-
124
-
125
-
126
-
127
-
128
-
129
-
130
-
131
-
132
-
133
-
134
-
135
-
136
-
137
-
138
-
139
-
140
-
141
-
142
-
143
-
 144
144 -
 145
145 -
 146
146 -
 147
147 -
 148
148 -
 149
149 -
 150
150 -
 151
151 -
 152
152 -
 153
153 -
 154
154 -
155
-
156
-
157
-
158
-
159
-
160
-
161
-
162
-
163
-
164
-
165
-
166
-
167
-
168
-
169
-
170
-
171
-
172
-
173
-
174
-
175
-
176
-
177
-
178
-
179
-
180
-
181
-
182
-
183
-
184
-
185
-
186
-
187
-
188
-
189
-
190
-
191
-
192
-
193
-
194
-
195
-
196
-
197
-
198
-
199
-
200
-
201
-
202
-
203
-
204
-
205
-
206
-
207
-
208
-
209
-
210
-
211
-
212
-
213
-
214
-
215
-
216
-
217
-
218
-
219
-
220
-
221
-
222
-
223
-
224
-
225
-
226
-
227
-
228
-
229
-
230
-
231
-
232
-
233
-
234
-
235
-
236
-
237
-
238
-
239
-
240
-
241
-
242
-
243
-
244
-
245
-
246
-
247
-
248
-
249
-
250
-
251
-
252
-
253
-
254
-
255
-
256
-
257
-
258
-
259
-
260
 |
 |