1999 Chevrolet Lumina Owner's Manual - Page 256
1999 Chevrolet Lumina Manual
Page 256 highlights
yellowblue Center High-Mounted Stoplamp To reach the center high-mounted stoplamp, you must go through the trunk. 3. Push in the bulb, turn it counterclockwise and pull it out of the socket. 4. Push the new bulb into the socket and turn it clockwise. 5. Replace the bulb and socket in the assembly. Tail/Stop/Turn Signal Lamp 1. Open the trunk. Remove the convenience net if you have one. Unhook the net from the upper wing nut. 2. Remove the upper convenience net wing nut, if equipped. 1. Open the trunk lid. Locate the stoplamp behind the rear seats, in front of the trunk hinges. 2. Turn the socket counterclockwise until it stops and pull the bulb and socket out of the assembly. 3. Pull the carpet away from the rear of the vehicle. 6-36
-
 1
1 -
2
-
3
-
4
-
5
-
6
-
7
-
8
-
9
-
10
-
11
-
12
-
13
-
14
-
15
-
16
-
17
-
18
-
19
-
20
-
21
-
22
-
23
-
24
-
25
-
26
-
27
-
28
-
29
-
30
-
31
-
32
-
33
-
34
-
35
-
36
-
37
-
38
-
39
-
40
-
41
-
42
-
43
-
44
-
45
-
46
-
47
-
48
-
49
-
50
-
51
-
52
-
53
-
54
-
55
-
56
-
57
-
58
-
59
-
60
-
61
-
62
-
63
-
64
-
65
-
66
-
67
-
68
-
69
-
70
-
71
-
72
-
73
-
74
-
75
-
76
-
77
-
78
-
79
-
80
-
81
-
82
-
83
-
84
-
85
-
86
-
87
-
88
-
89
-
90
-
91
-
92
-
93
-
94
-
95
-
96
-
97
-
98
-
99
-
100
-
101
-
102
-
103
-
104
-
105
-
106
-
107
-
108
-
109
-
110
-
111
-
112
-
113
-
114
-
115
-
116
-
117
-
118
-
119
-
120
-
121
-
122
-
123
-
124
-
125
-
126
-
127
-
128
-
129
-
130
-
131
-
132
-
133
-
134
-
135
-
136
-
137
-
138
-
139
-
140
-
141
-
142
-
143
-
144
-
145
-
146
-
147
-
148
-
149
-
150
-
151
-
152
-
153
-
154
-
155
-
156
-
157
-
158
-
159
-
160
-
161
-
162
-
163
-
164
-
165
-
166
-
167
-
168
-
169
-
170
-
171
-
172
-
173
-
174
-
175
-
176
-
177
-
178
-
179
-
180
-
181
-
182
-
183
-
184
-
185
-
186
-
187
-
188
-
189
-
190
-
191
-
192
-
193
-
194
-
195
-
196
-
197
-
198
-
199
-
200
-
201
-
202
-
203
-
204
-
205
-
206
-
207
-
208
-
209
-
210
-
211
-
212
-
213
-
214
-
215
-
216
-
217
-
218
-
219
-
220
-
221
-
222
-
223
-
224
-
225
-
226
-
227
-
228
-
229
-
230
-
231
-
232
-
233
-
234
-
235
-
236
-
237
-
238
-
239
-
240
-
241
-
242
-
243
-
244
-
245
-
246
-
247
-
248
-
249
-
250
-
 251
251 -
 252
252 -
 253
253 -
 254
254 -
 255
255 -
 256
256 -
 257
257 -
 258
258 -
 259
259 -
 260
260 -
 261
261 -
262
-
263
-
264
-
265
-
266
-
267
-
268
-
269
-
270
-
271
-
272
-
273
-
274
-
275
-
276
-
277
-
278
-
279
-
280
-
281
-
282
-
283
-
284
-
285
-
286
-
287
-
288
-
289
-
290
-
291
-
292
-
293
-
294
-
295
-
296
-
297
-
298
-
299
-
300
-
301
-
302
-
303
-
304
-
305
-
306
-
307
-
308
-
309
-
310
-
311
-
312
-
313
-
314
-
315
-
316
-
317
-
318
-
319
-
320
-
321
-
322
-
323
-
324
-
325
-
326
-
327
-
328
-
329
-
330
-
331
-
332
-
333
-
334
-
335
-
336
 |
 |
yellow
blue
6-36
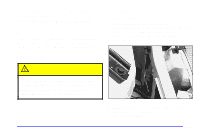
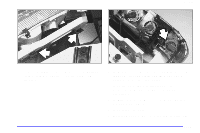
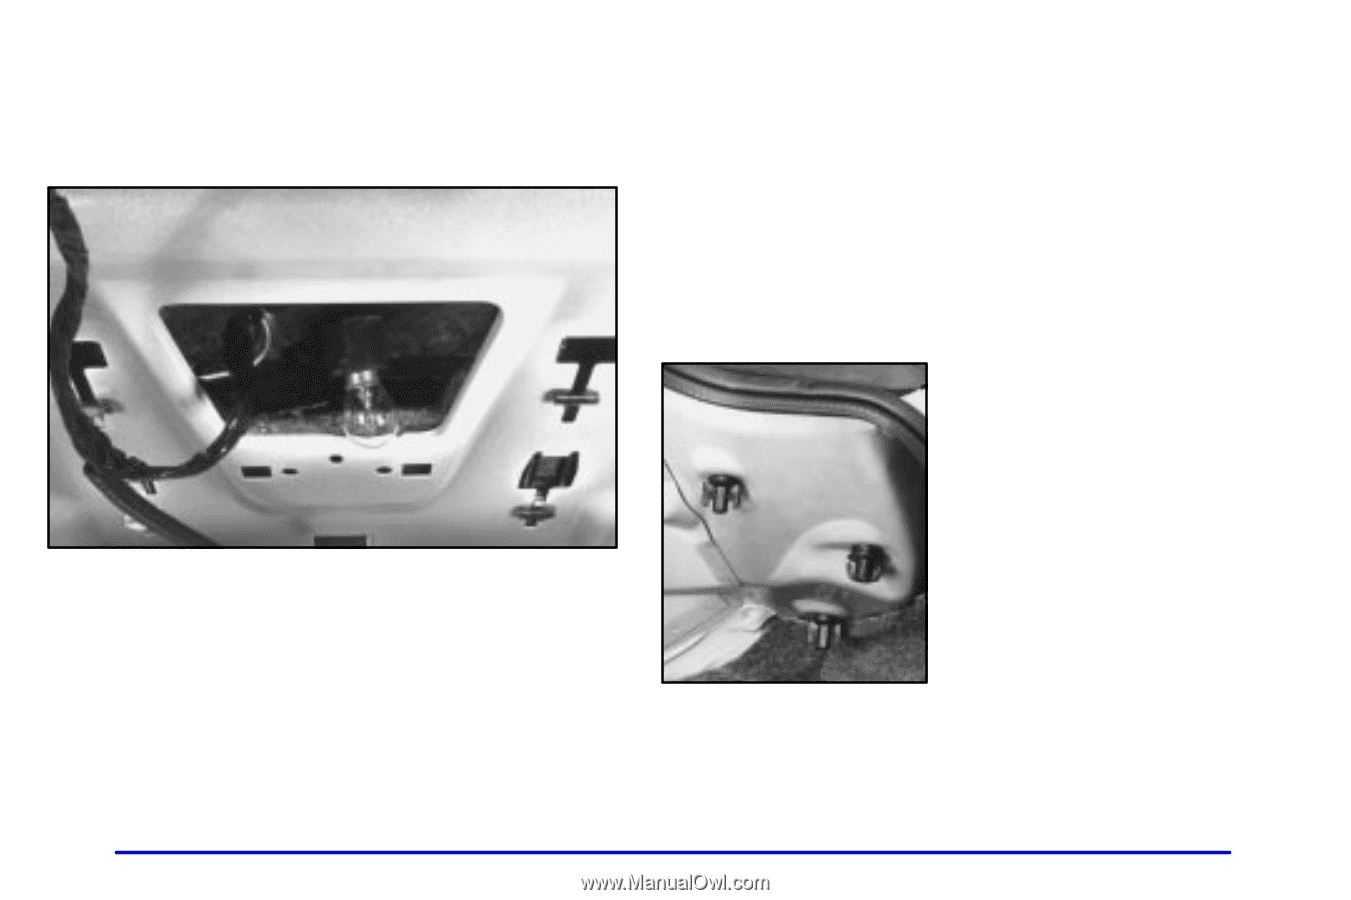
Center High-Mounted Stoplamp
To reach the center high
-
mounted stoplamp, you must
go through the trunk.
1.
Open the trunk lid. Locate the stoplamp behind the
rear seats, in front of the trunk hinges.
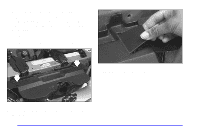
2.
Turn the socket counterclockwise until it stops and
pull the bulb and socket out of the assembly.
3.
Push in the bulb, turn it counterclockwise and pull it
out of the socket.
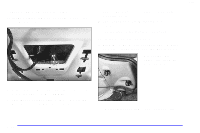
4.
Push the new bulb into the socket and turn
it clockwise.
5.
Replace the bulb and socket in the assembly.
Tail/Stop/Turn Signal Lamp
1.
Open the trunk. Remove the convenience net if you
have one. Unhook the net from the upper wing nut.
2.
Remove the upper
convenience net wing
nut, if equipped.
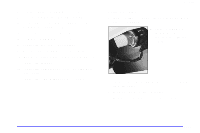
3.
Pull the carpet away from the rear of the vehicle.