ASRock A790GXH/128M User Manual - Page 25
Enjoy the benefit of CrossFireX
 |
View all ASRock A790GXH/128M manuals
Add to My Manuals
Save this manual to your list of manuals |
Page 25 highlights
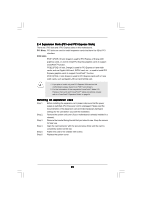
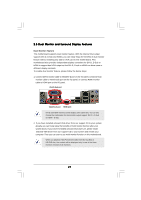
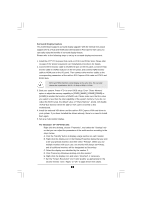
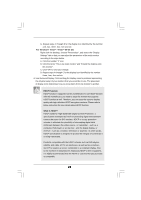
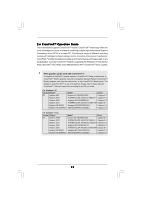
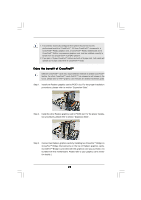
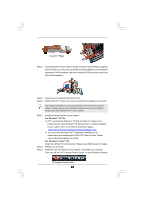
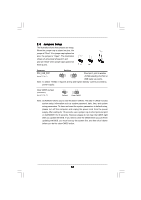
1. If a customer incorrectly configures their system they will not see the performance benefits of CrossFireXTM. All three CrossFireXTM components, a CrossFireXTM Ready graphics card, a CrossFireXTM Ready motherboard and a CrossFireXTM Edition co-processor graphics card, must be installed correctly to benefit from the CrossFireXTM multi-GPU platform. 2. If you pair a 12-pipe CrossFireTM Edition card with a 16-pipe card, both cards will operate as 12-pipe cards while in CrossFireXTM mode. Enjoy the benefit of CrossFireXTM Different CrossFireXTM cards may require different methods to enable CrossFireXTM feature. For other CrossFireXTM cards that ATITM has released or will release in the future, please refer to ATIXTM graphics card manuals for detailed installation guide. Step 1. Install one Radeon graphics card to PCIE1 slot. For the proper installation procedures, please refer to section "Expansion Slots". Step 2. Install the other Radeon graphics card to PCIE2 slot. For the proper installation procedures, please refer to section "Expansion Slots". Step 3. Connect two Radeon graphics cards by installing two CrossFireTM Bridge on CrossFireTM Bridge Interconnects on the top of Radeon graphics cards. (CrossFireTM Bridge is provided with the graphics card you purchase, not bundled with this motherboard. Please refer to your graphics card vendor for details.) 25
-
 1
1 -
2
-
3
-
4
-
5
-
6
-
7
-
8
-
9
-
10
-
11
-
12
-
13
-
14
-
15
-
16
-
17
-
18
-
19
-
 20
20 -
 21
21 -
 22
22 -
 23
23 -
 24
24 -
 25
25 -
 26
26 -
 27
27 -
 28
28 -
 29
29 -
 30
30 -
31
-
32
-
33
-
34
-
35
-
36
-
37
-
38
-
39
-
40
-
41
-
42
-
43
-
44
-
45
-
46
-
47
-
48
-
49
-
50
-
51
-
52
-
53
-
54
-
55
-
56
-
57
-
58
-
59
-
60
-
61
-
62
-
63
-
64
-
65
-
66
 |
 |