ASRock ALiveXFire-eSATA2 R3.0 RAID Installation Guide - Page 11
Log-in to WebPAM
 |
View all ASRock ALiveXFire-eSATA2 R3.0 manuals
Add to My Manuals
Save this manual to your list of manuals |
Page 11 highlights
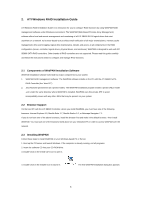
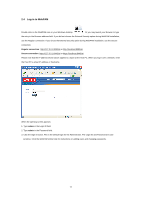
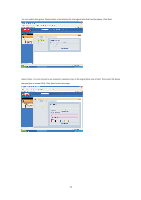
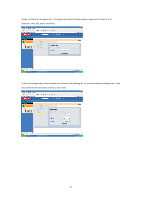
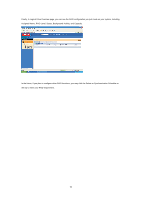
2.4 Log-in to WebPAM Double-click on the WebPAM icon on your Windows desktop. Or you may launch your Browser to type the entry in the Browser address field. If you did not choose the External Security option during WebPAM installation, use the Regular connection. If you chose the External Security option during WebPAM installation, use the Secure connection. Regular connection: http://127.0.0.1:8080/ati or http://localhost:8080/ati Secure connection: https://127.0.0.1:8443/ati or https://localhost:8443/ati Please note that the IP address shown above applies to a log-in at the Host PC. When you log in over a network, enter the Host PC's actual IP address or hostname. When the opening screen appears: 1. Type admin in the Login ID field. 2. Type admin in the Password field. 3. Click the Sign in button. This is the default login for the Administrator. The Login ID and Password are case sensitive. Click the WebPAM online help for instructions on adding users and changing passwords. 11
-
 1
1 -
2
-
3
-
4
-
5
-
 6
6 -
 7
7 -
 8
8 -
 9
9 -
 10
10 -
 11
11 -
 12
12 -
 13
13 -
 14
14 -
 15
15 -
 16
16
 |
 |