Acer AOD150 Aspire One 10.1-Inch Series (AOD) Quick Guide - Page 5
Network configuration - bluetooth
 |
UPC - 000100656015
View all Acer AOD150 manuals
Add to My Manuals
Save this manual to your list of manuals |
Page 5 highlights
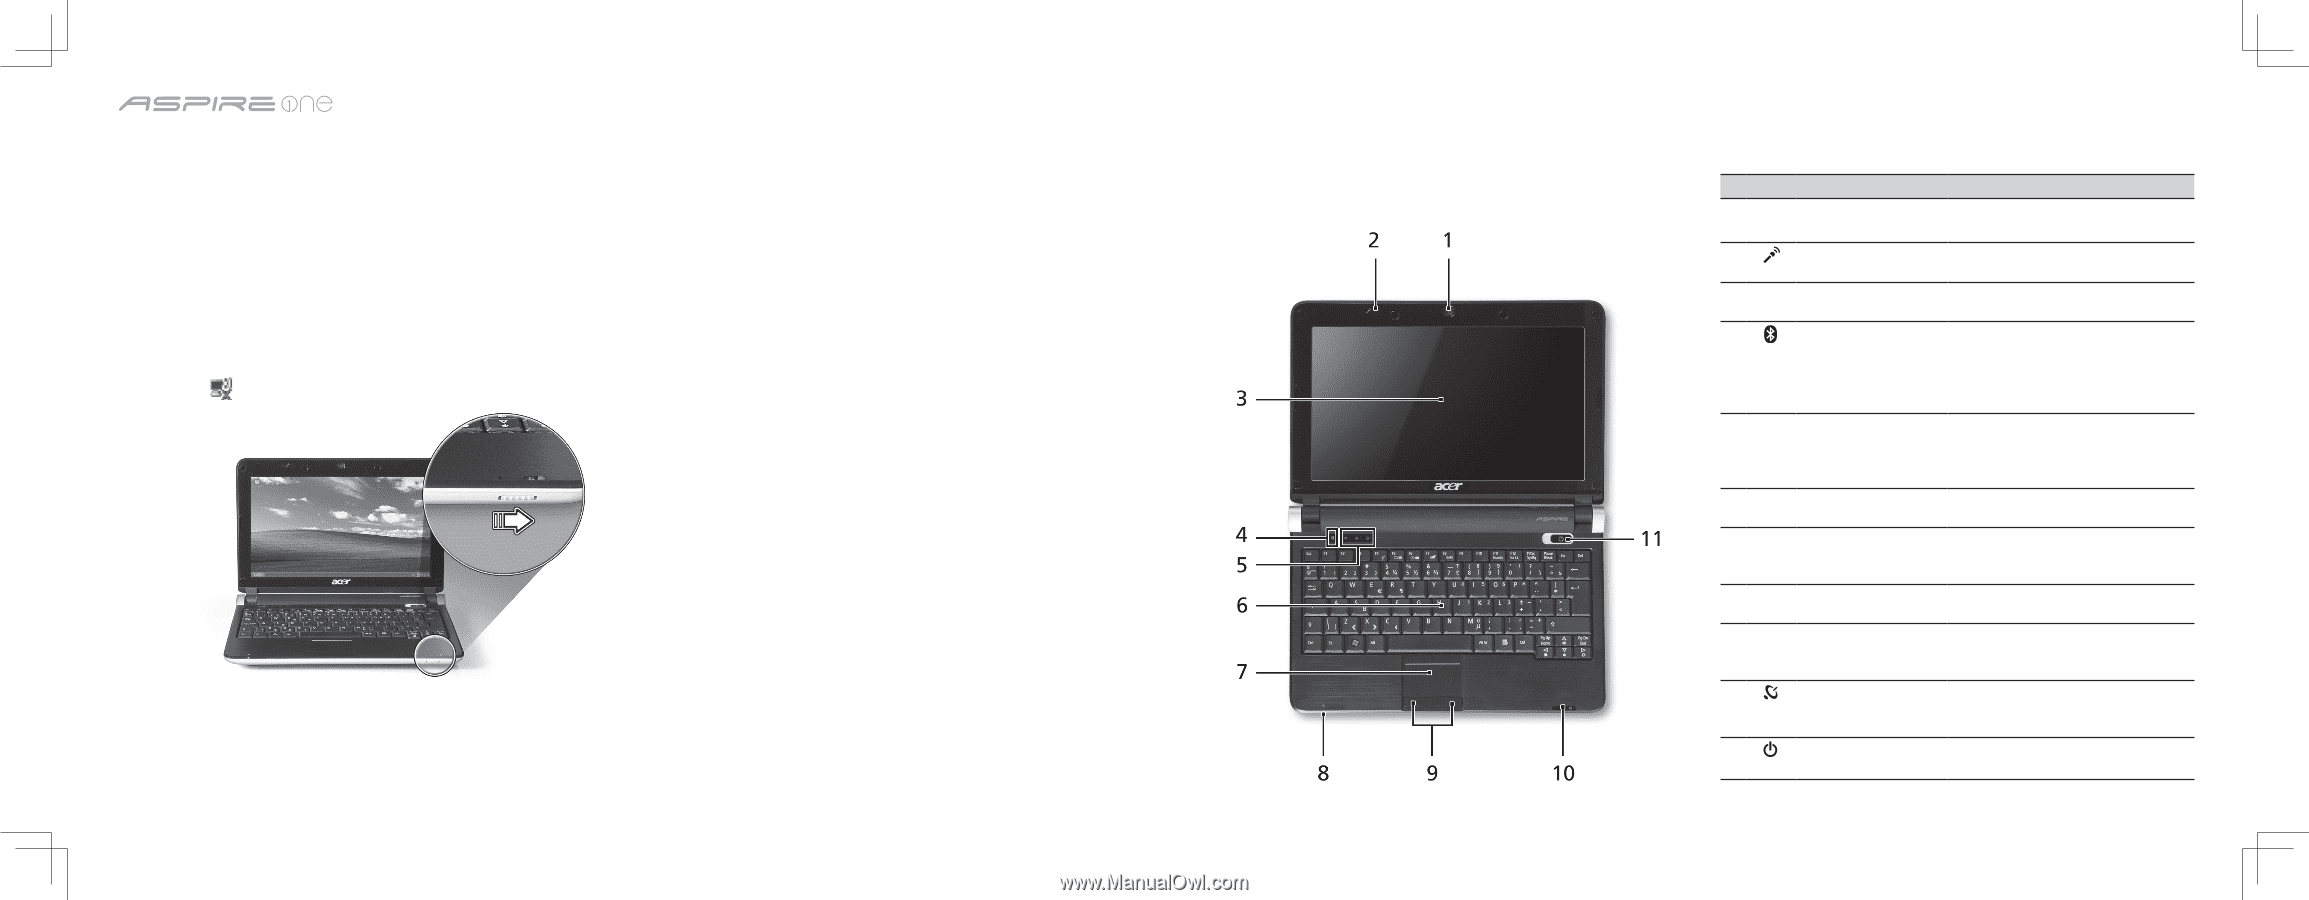
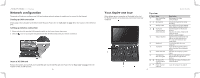
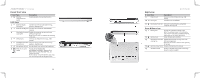
Series Network configuration This guide will help you configure your LAN and wireless network settings to enable you to connect to the Internet. Setting up LAN connection Simply plug in the LAN cable to the Ethernet (RJ-45) port. Please refer to "Left view" on page 10 for the location of the Ethernet port. Setting up wireless connection 1. Please switch on the wireless LAN using the switch on the front of your Aspire one. 2. Click the icon on your system tray and choose the wireless access point you want to connect to. Insert a 3G SIM card Remove the battery and carefully insert a 3G SIM card into the 3G SIM card slot. Please refer to "Base view" on page 11 for the location of the 3G SIM card slot. 8 Your Aspire one tour After setting up your computer as illustrated in the Just for Starters section, let us show you around your new Acer notebook. Top view # Icon Item 1 Acer Crystal Eye webcam 2 Microphone 3 Display screen 4 Bluetooth communication switch/indicator 5 Status indicators 6 7 8 9 10 11 9 Keyboard Touchpad Power Indicator Click buttons (left, and right) Wireless LAN communication indicator Power button/ indicator Quick Guide Description Web camera for video communication Internal microphone for sound recording. Also called Liquid-Crystal Display (LCD), displays computer output. Enables/disables the Bluetooth function. Indicates the status of Bluetooth communication. (only for certain models) Light-Emitting Diodes (LED) that light up to show the status of the computer's functions and components. For entering data into your computer. Touch-sensitive pointing device which functions like a computer mouse. Indicates the computer's power status. The left and right buttons function like the left and right mouse buttons. Indicates the status of wireless LAN communication. Turns the computer on and off.
-
 1
1 -
 2
2 -
 3
3 -
 4
4 -
 5
5 -
 6
6 -
 7
7
 |
 |