Acer Aspire 7736ZG Service Guide - Page 62
Removing the CPU - aspire 7736z battery
 |
View all Acer Aspire 7736ZG manuals
Add to My Manuals
Save this manual to your list of manuals |
Page 62 highlights
Removing the CPU NOTE: Aspire 7736/7736Z/7336 Series uses the Intel® processor, while Aspire 7540 Series uses the AMD® processor. But the process in removing the CPU are the same for all the models. 1. See "Removing the SD Dummy Card" on page 44. 2. See "Removing the Battery Pack" on page 45. 3. See "Removing the Back Cover" on page 46. 4. See "Removing the Hard Disk Drive Module" on page 48. 5. See "Removing the Wireless LAN Card" on page 50. 6. See "Removing the DIMM Module" on page 51. 7. See "Removing the Heatsink Module" on page 52. 8. Using a flat screwdriver, turn the CPU socket latch counter-clockwise to release the CPU. 9. Lift up carefully to remove the CPU. 54 Chapter 3
-
 1
1 -
2
-
3
-
4
-
5
-
6
-
7
-
8
-
9
-
10
-
11
-
12
-
13
-
14
-
15
-
16
-
17
-
18
-
19
-
20
-
21
-
22
-
23
-
24
-
25
-
26
-
27
-
28
-
29
-
30
-
31
-
32
-
33
-
34
-
35
-
36
-
37
-
38
-
39
-
40
-
41
-
42
-
43
-
44
-
45
-
46
-
47
-
48
-
49
-
50
-
51
-
52
-
53
-
54
-
55
-
56
-
 57
57 -
 58
58 -
 59
59 -
 60
60 -
 61
61 -
 62
62 -
 63
63 -
 64
64 -
 65
65 -
 66
66 -
 67
67 -
68
-
69
-
70
-
71
-
72
-
73
-
74
-
75
-
76
-
77
-
78
-
79
-
80
-
81
-
82
-
83
-
84
-
85
-
86
-
87
-
88
-
89
-
90
-
91
-
92
-
93
-
94
-
95
-
96
-
97
-
98
-
99
-
100
-
101
-
102
-
103
-
104
-
105
-
106
-
107
-
108
-
109
-
110
-
111
-
112
-
113
-
114
-
115
-
116
-
117
-
118
-
119
-
120
-
121
-
122
-
123
-
124
-
125
-
126
-
127
-
128
-
129
-
130
-
131
-
132
-
133
-
134
-
135
-
136
-
137
-
138
-
139
-
140
-
141
-
142
-
143
-
144
-
145
-
146
-
147
-
148
-
149
-
150
-
151
-
152
-
153
-
154
-
155
-
156
-
157
-
158
-
159
-
160
-
161
-
162
-
163
-
164
-
165
-
166
-
167
-
168
-
169
-
170
-
171
-
172
-
173
-
174
-
175
-
176
-
177
-
178
-
179
-
180
-
181
-
182
-
183
-
184
-
185
-
186
-
187
 |
 |
54
Chapter 3
Removing the CPU
NOTE:
Aspire 7736/7736Z/7336 Series uses the Intel® processor, while Aspire
7540 Series uses the AMD®
processor. But the process in removing the CPU are the same for all the models.
1.
See “Removing the SD Dummy Card” on page 44.
2.
See “Removing the Battery Pack” on page 45.
3.
See “Removing the Back Cover” on page 46.
4.
See “Removing the Hard Disk Drive Module” on page 48.
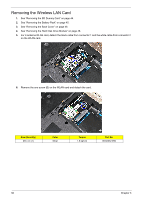
5.
See “Removing the Wireless LAN Card” on page 50.
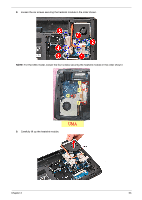
6.
See “Removing the DIMM Module” on page 51.
7.
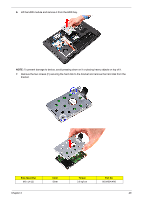
See “Removing the Heatsink Module” on page 52.
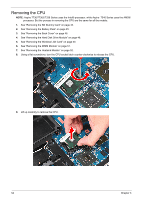
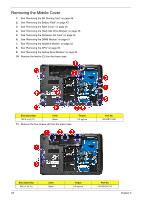
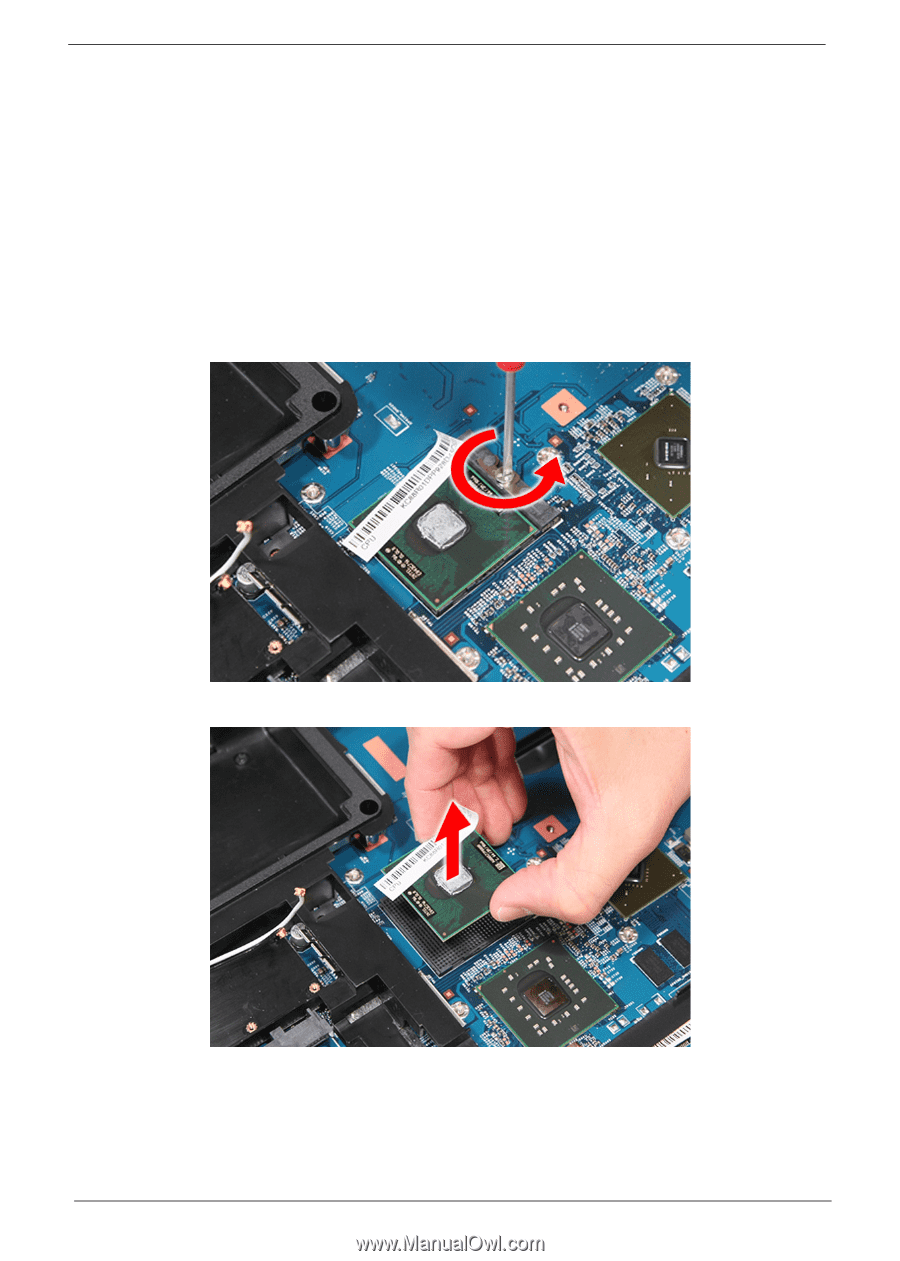
8.
Using a flat screwdriver, turn the CPU socket latch counter-clockwise to release the CPU.
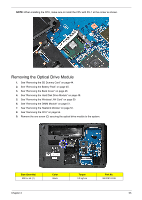
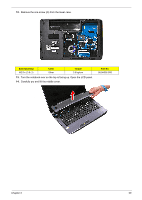
9.
Lift up carefully to remove the CPU.