Acer CM-01S User Manual - Page 1
Acer CM-01S Manual
 |
View all Acer CM-01S manuals
Add to My Manuals
Save this manual to your list of manuals |
Page 1 highlights
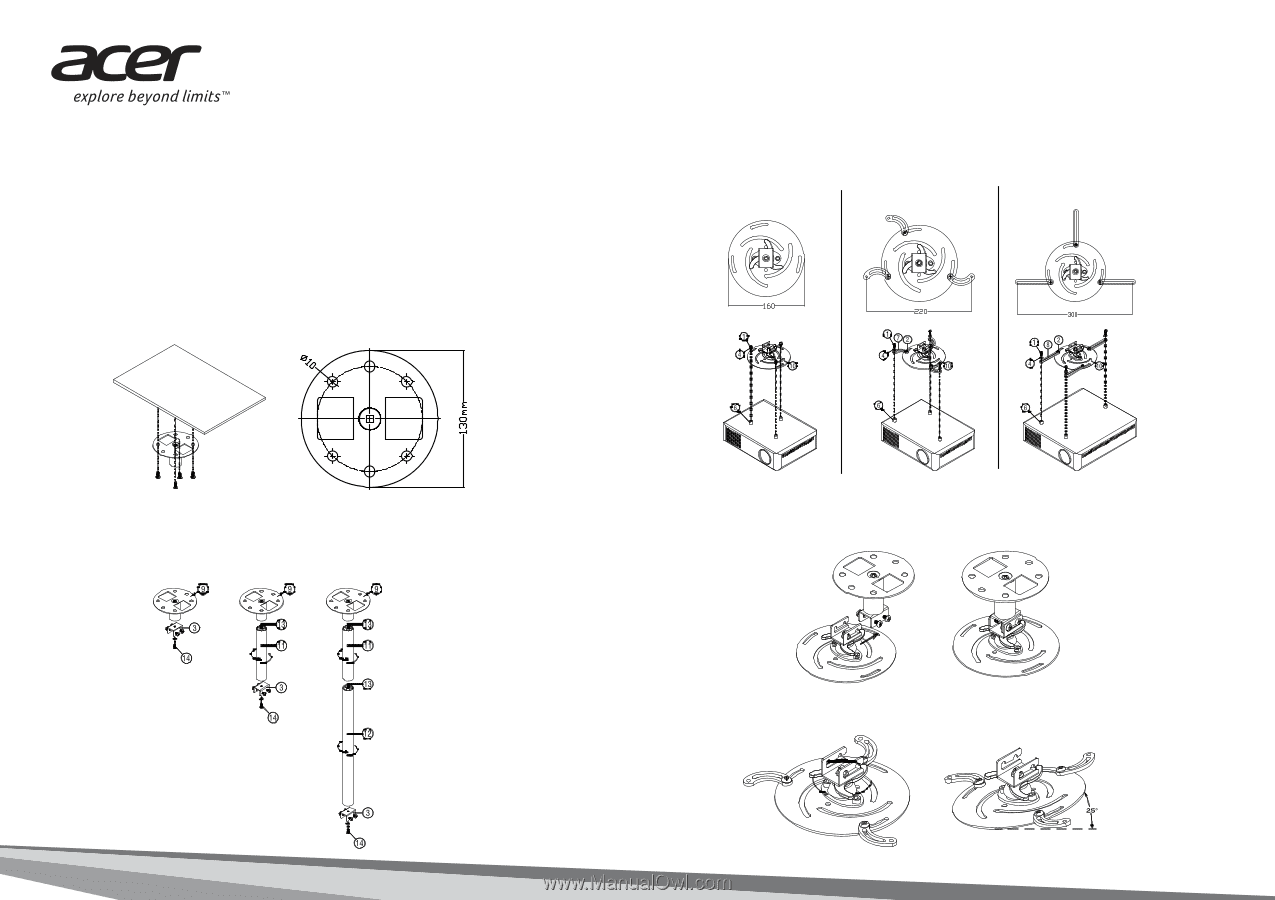
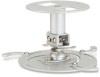
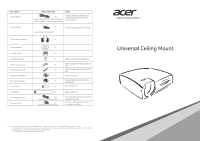
Just for starters... 1 . Drill four holes into a solid, structural ceiling member, and secure the ceiling mount base to the ceiling. 2 . Choose the length combination based on actual environment. (CM-01S doesn't include Type 2 and Type 3.) Type 1 Type 2 Type 3 3 . Type 1: For the standard size use three bracket screws to mount the projector to the ceiling mount bracket. Type 2 and Type 3: Alternatively, for the larger size, use the sliding extensions for more supports. Type 1: Type 2: Type 3: Note: It is recommended that you keep a reasonable space between the bracket and the projector to allow for proper heat distribution. 4 . Connect the main body connector to the projector bracket (illustration 1), and then screw up four screws (illustration 2). Illustration 1 5 . Adjust the angle and positioning as necessary. 360° Illustration 2
-
 1
1 -
 2
2
 |
 |