Acer E1900HQ User Manual - Page 17
Installation
 |
View all Acer E1900HQ manuals
Add to My Manuals
Save this manual to your list of manuals |
Page 17 highlights
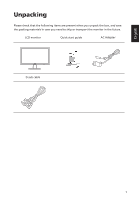
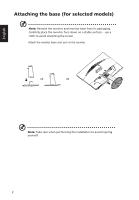
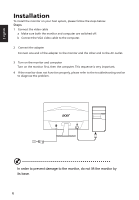
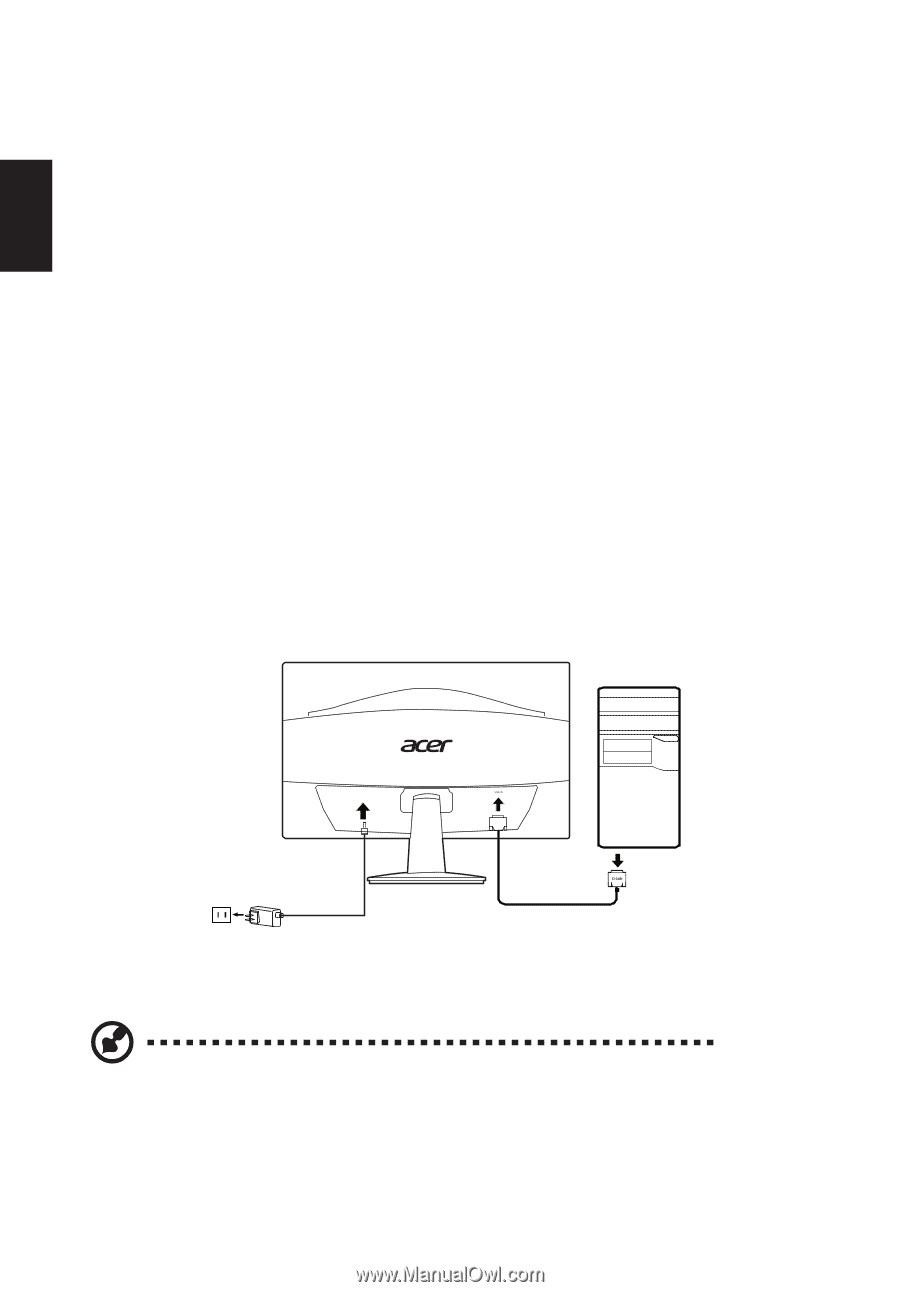
English Installation To install the monitor on your host system, please follow the steps below: Steps 1 Connect the video cable a Make sure both the monitor and computer are switched off. b Connect the VGA video cable to the computer. 2 Connect the adapter Connect one end of the adapter to the monitor and the other end to the AC outlet. 3 Turn on the monitor and computer Turn on the monitor first, then the computer. This sequence is very important. 4 If the monitor does not function properly, please refer to the troubleshooting section to diagnose the problem. DC-IN In order to prevent damage to the monitor, do not lift the monitor by its base. 6
-
 1
1 -
2
-
3
-
4
-
5
-
6
-
7
-
8
-
9
-
10
-
11
-
 12
12 -
 13
13 -
 14
14 -
 15
15 -
 16
16 -
 17
17 -
 18
18 -
 19
19 -
 20
20 -
 21
21 -
 22
22 -
23
-
24
-
25
 |
 |
English
Installation
To install the monitor on your host system, please follow the steps below:
Steps
1
Connect the video cable
a
Make sure both the monitor and computer are switched off.
b
Connect the VGA video cable to the computer.
3
Turn on the monitor and computer
Turn on the monitor first, then the computer. This sequence is very important.
4
If the monitor does not function properly, please refer to the troubleshooting section
to diagnose the problem.
In order to prevent damage to the monitor, do not lift the monitor by
its base.
6
DC-IN
Connect the adapter
2
Connect one end of the adapter to the monitor and the other end to the AC outlet.