Acer EK240YA User Manual - Page 22
Feature
 |
View all Acer EK240YA manuals
Add to My Manuals
Save this manual to your list of manuals |
Page 22 highlights
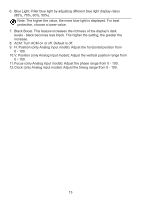
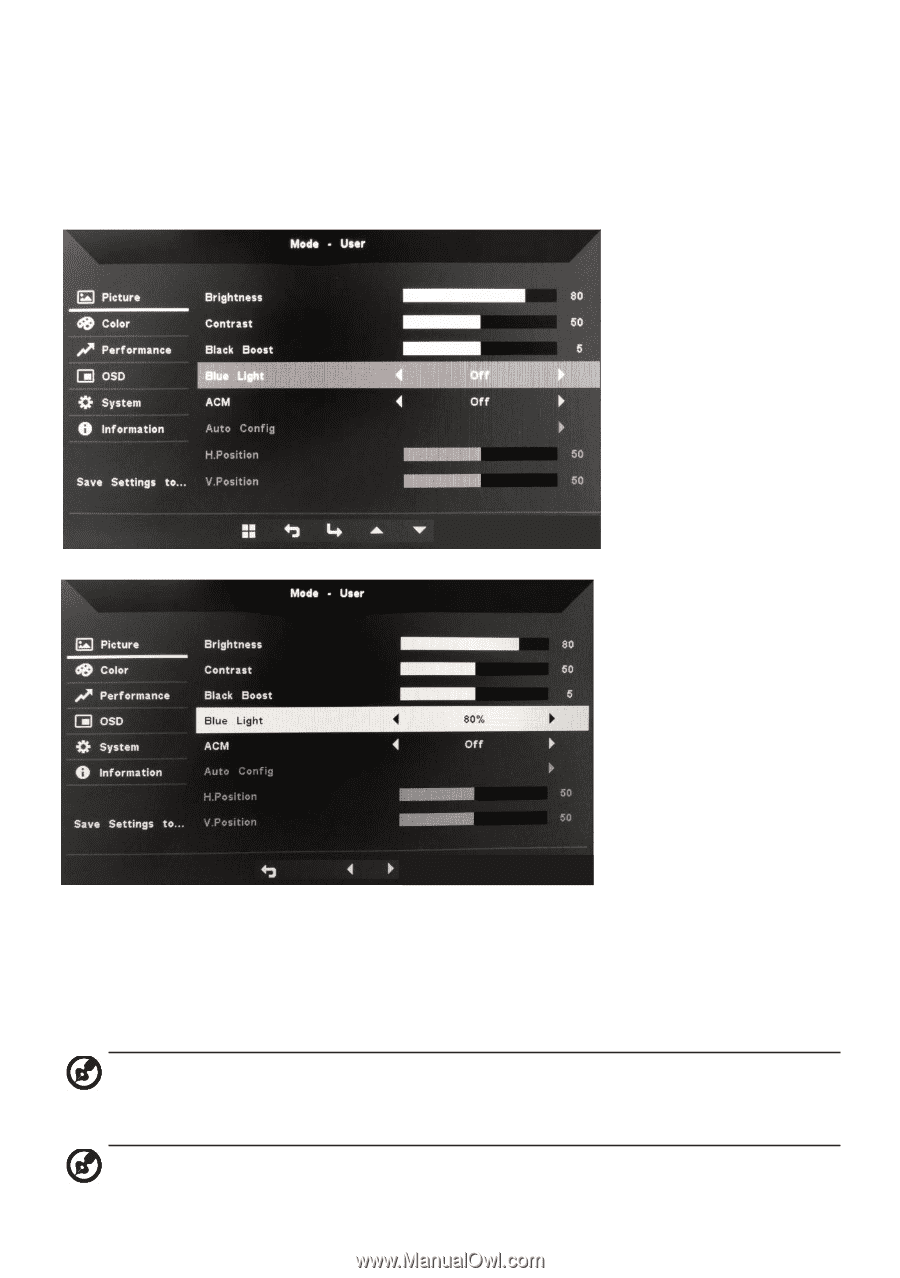
Feature page Double-press Button 1 to select the menu function, and then use Buttons 1/2/3/4 to adjust the settings you need. When finished, use Button 4 to return to the previous level or exit the menu. Picture adjustment 1. Double-press Button 1 to bring up the OSD. 2. Use Buttons 1/2 to select the Picture from the OSD. Then double-press Button 3 to navigate to the setting you want to adjust. 3. Use Buttons 1/2 to adjust the slider. 4. Brightness: Brightness can be adjusted from 0-100. Note: Adjusts the balance between light and dark. 5. Contrast: Contrast can be adjusted from 0 to 100. Note: Sets the degree of difference between light and dark areas. 12
-
 1
1 -
2
-
3
-
4
-
5
-
6
-
7
-
8
-
9
-
10
-
11
-
12
-
13
-
14
-
15
-
16
-
 17
17 -
 18
18 -
 19
19 -
 20
20 -
 21
21 -
 22
22 -
 23
23 -
 24
24 -
 25
25 -
 26
26 -
 27
27 -
28
-
29
-
30
 |
 |
12
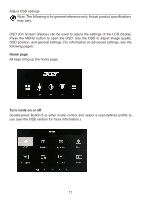
Feature page
Double-press Button 1 to select the menu function, and then use Buttons 1/2/3/4 to
adjust the settings you need. When finished, use Button 4 to return to the previous
level or exit the menu.
Picture adjustment
1. Double-press Button 1 to bring up the OSD.
2. Use Buttons 1/2 to select the Picture from the OSD. Then double-press
Button 3 to navigate to the setting you want to adjust.
3. Use Buttons 1/2 to adjust the slider.
4. Brightness: Brightness can be adjusted from 0-100.
Note: Adjusts the balance between light and dark.
5. Contrast: Contrast can be adjusted from 0 to 100.
Note: Sets the degree of difference between light and dark areas.