Acer P1273B User Manual (3D) - Page 8
Setting up a 3D environment, sequential 3D formats. Others - dlp projector
 |
View all Acer P1273B manuals
Add to My Manuals
Save this manual to your list of manuals |
Page 8 highlights
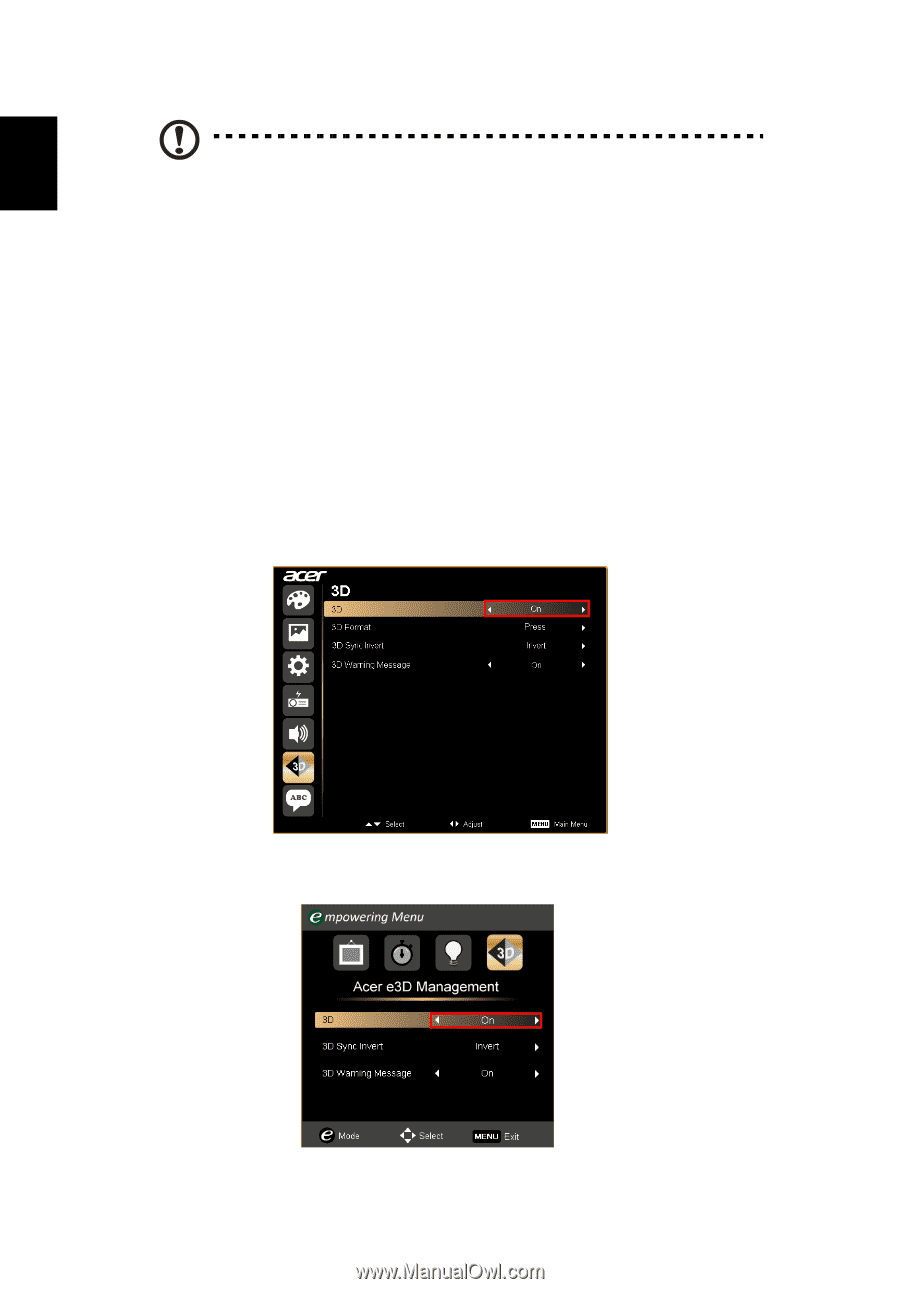
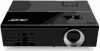
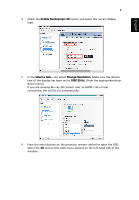
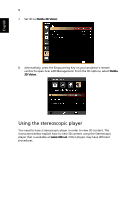
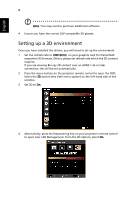
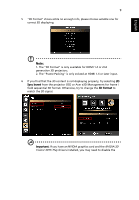
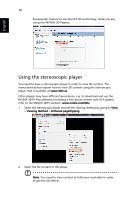
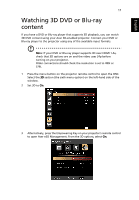
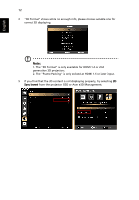
English 8 Note: You may need to purchase additional software. 4 Ensure you have the correct DLP-compatible 3D glasses. Setting up a 3D environment Once you have installed the drivers, you will need to set up the environment. 1 Set the refresh rate to 100/120 Hz on your graphics card for frame/field sequential 3D formats. Others, please set refresh rate which the 3D content requires. If you are viewing Blu-ray 3D content over an HDMI 1.4a or later connection, this will be set automatically. 2 Press the menu button on the projector remote control to open the OSD. Select the 3D section (the sixth menu option) on the left-hand side of the window. 3 Set 3D to On. 4 Alternatively, press the Empowering Key on your projector's remote control to open Acer e3D Management. From the 3D options, select On.
-
 1
1 -
2
-
 3
3 -
 4
4 -
 5
5 -
 6
6 -
 7
7 -
 8
8 -
 9
9 -
 10
10 -
 11
11 -
 12
12 -
 13
13
 |
 |