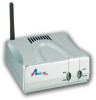
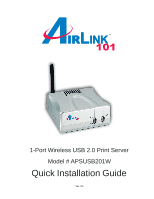
Airlink APSUSB201W Quick Installation Guide - Page 2
Connecting the Print Server - wireless
 |
View all Airlink APSUSB201W manuals
Add to My Manuals
Save this manual to your list of manuals |
Page 2 highlights
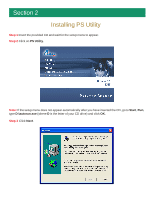
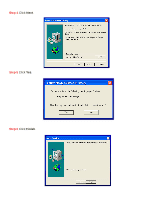
Section 1 Connecting the Print Server Warning: Only a USB printer may be connected to the USB port of the Print Server. Connecting any other USB device to the Print Server may damage the Print Server. Note: Do not plug the power cord to the Print Server until you have reached Step 4 of this section. Step 1Connect one end of the Ethernet cable to the RJ-45 port of the Print Server and attach the other end of the cable to a wireless router. You may disconnect the Ethernet cable after a wireless connection is established. Step 2 Make sure the printer is powered OFF, then connect one end of the USB cable to the USB port of the Print Server and attach the other end of the cable to the USB port of the printer. Step 3 Power ON the printer. Step 4 Plug one end of the power cord into the Print Server and the other end into an electrical outlet.
-
 1
1 -
 2
2 -
 3
3 -
 4
4 -
 5
5 -
 6
6 -
 7
7 -
 8
8 -
9
-
10
-
11
-
12
-
13
-
14
-
15
-
16
-
17
-
18
-
19
 |
 |
