Alpine KTX-TCM8-S Installation Manual - Page 3
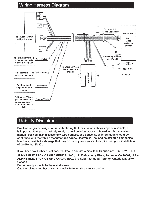
Steering Wheel Controls, brake and parking brake wires.
 |
View all Alpine KTX-TCM8-S manuals
Add to My Manuals
Save this manual to your list of manuals |
Page 3 highlights
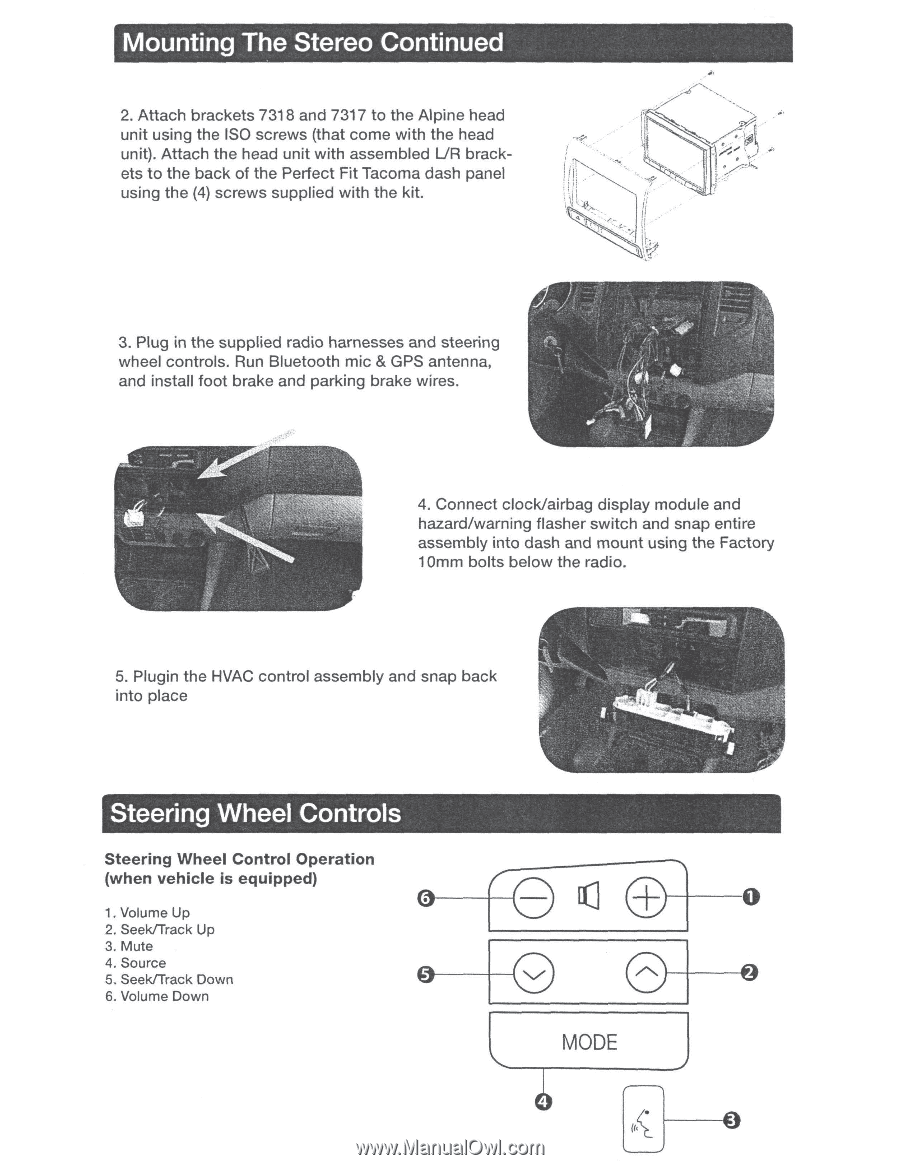
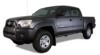
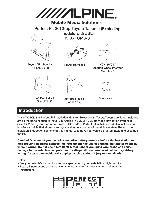
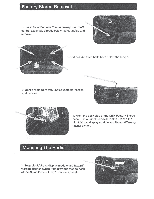
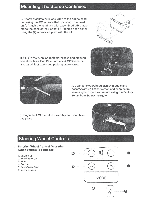
Mounting The Stereo Continued 2. Attach brackets 7318 and 7317 to the Alpine head unit using the ISO screws (that come with the head unit}. Attach the head unit with assembled UR brackets to the back of the Perfect Fit Tacoma dash panel using the (4) screws supplied with the kit. 3. Plug in the supplied radio harnesses and steering wheel controls. Run Bluetooth mic & GPS antenna, and install foot brake and parking brake wires. 4. Connect clock/airbag display module and hazard/warning flasher switch and snap entire assembly into dash and mount using the Factory 1Omm bolts below the radio. 5. Plugin the HVAC control assembly and snap back into place Steering Wheel Controls Steering Wheel Control Operation (when vehicle is equipped) 0 1. Volume Up 2. Seek/Track Up 3. Mute 4. Source 5. Seek/Track Down 0 6. Volume Down F8 EB] [(] 0 I 8 8 I fj MODE ~
-
 1
1 -
 2
2 -
 3
3 -
 4
4
 |
 |