Asko WCAM1812 User manual ASKO WCAM1812 UCG - Page 3
Installation Requirements - washer dryer
 |
View all Asko WCAM1812 manuals
Add to My Manuals
Save this manual to your list of manuals |
Page 3 highlights
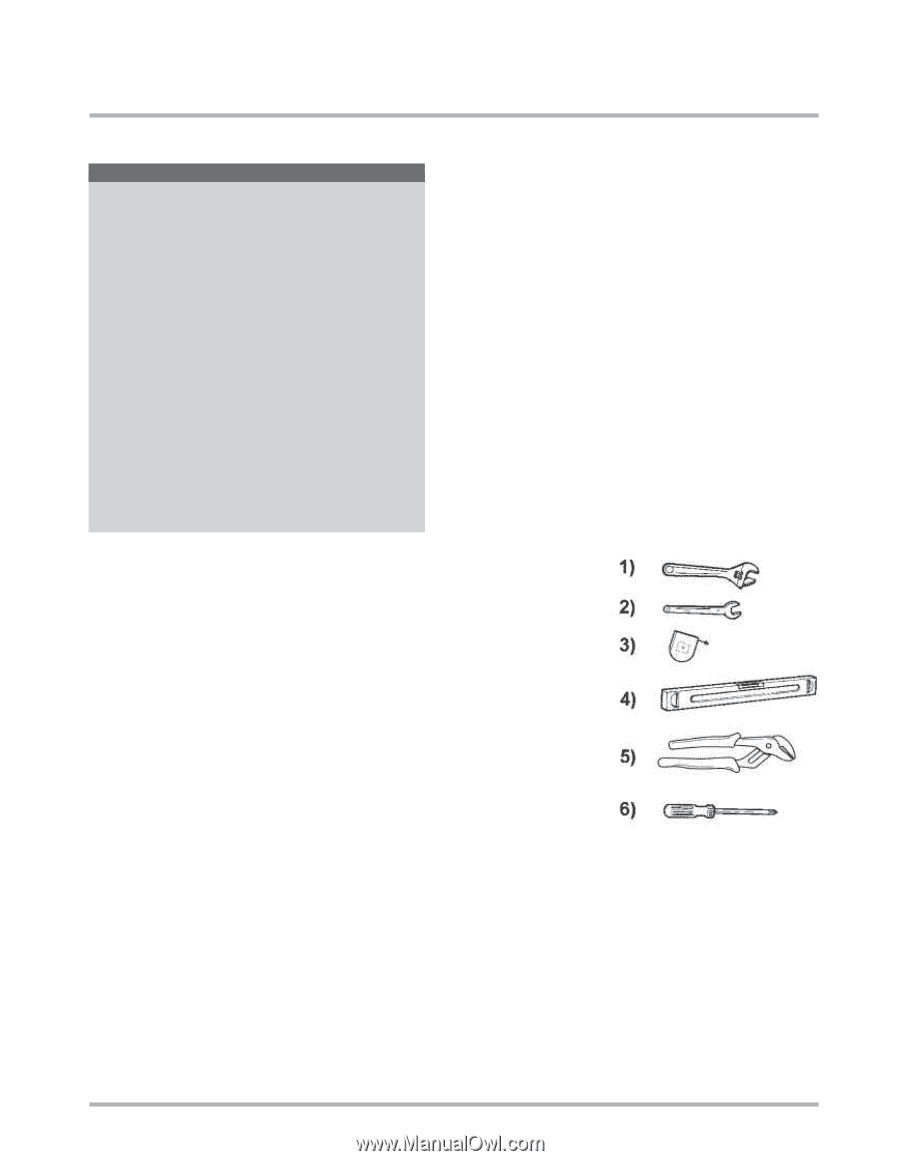
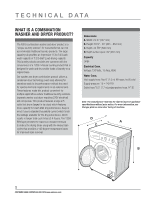
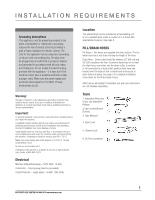
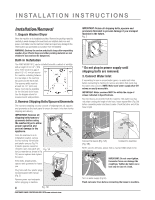
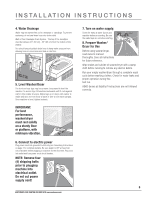
INSTALLATION REQUIREMENTS Grounding Instructions This appliance must be properly grounded. In the event of breakdown or malfunction, grounding reduces the risk of electric shock by providing a path of least resistance for electric current. The cord for this appliance has an equipment-grounding conductor and a grounding plug. The plug must be plugged into an outlet that is properly installed and grounded in accordance with all local codes and ordinances. Do not modify the electrical plug provided with the appliance - if it does not fit the electrical outlet, have a qualified electrician install a proper outlet. Make sure the power supply and electrical outlet support a 110/120V, 15 amp single-phase circuit. Warning! Improper connection of the equipment-grounding conductor may result in electric shock. If you are in doubt as to whether the appliance is properly grounded, check with a qualified electrician or service representative. Important! To prevent accidents, injury and fire, read instructions carefully before you install the machine. A qualified installer familiar with all local codes and ordinances for plumbing and electricity should do the installation and grounding. Incorrect installation may cause damage or injury. Install washer/dryer on a strong, level floor in a protected, dry and well-ventilated area with room for electrical cords and hoses behind the machine. Temperature should be not less than 38° F (3° C) Make sure power supply and outlet support a 110/120 V, 15 amp single-phase circuit. Do not use an extension cord. If integrity of the machine is in doubt, do not use it. Call Customer Care Center at 800-898-1879. Electrical Machine Voltage/Amperage - 120V, 60Hz, 15 Amp Connection - 3-prong plug (must be grounded) Circuit/Protector - single phase, 15 AMP, 120V, 60Hz Location The washer/dryer can be installed as a freestanding unit or in a recessed area, under a counter or in a closet with appropriate clearance. See page 4. FILL/DRAIN HOSES Fill Hoses - Two hoses are supplied with the machine. The hot water hose has a red stripe running the length of the hose. Drain Hose - Drain outlet should be between 23" (60 cm) and 35" (90 cm) above the floor. To prevent siphoning, do not seal the drain hose connection into the drain outlet. If machine is not connected to a drain outlet, position drain hose and bracket over the edge of sink or wash basin and secure in place before draining. See page 5 for complete installation instructions for the fill and drain hoses. ASKO denies all liability if installation use and care instructions are not followed completely. Tools 1. Adjustable Wrenches (if you use adjustable fittings) 2 Open-ended Wrench [10mm] 3. Tape Measure 4. Spirit Level 5. Channel Lock 6. 20 Torx screwdriver 3 CUSTOMER CARE CENTER 800.898.1879 www.askousa.com
-
 1
1 -
 2
2 -
 3
3 -
 4
4 -
 5
5 -
 6
6 -
 7
7 -
 8
8 -
 9
9 -
10
-
11
-
12
-
13
-
14
-
15
-
16
-
17
-
18
-
19
-
20
-
21
-
22
-
23
-
24
-
25
-
26
-
27
-
28
-
29
-
30
-
31
-
32
-
33
-
34
-
35
-
36
-
37
-
38
-
39
-
40
-
41
-
42
-
43
-
44
-
45
-
46
-
47
-
48
-
49
-
50
-
51
-
52
-
53
-
54
-
55
-
56
-
57
-
58
-
59
-
60
 |
 |