Asus G-SURF365 User Manual - Page 87
Hardware Monitor
 |
View all Asus G-SURF365 manuals
Add to My Manuals
Save this manual to your list of manuals |
Page 87 highlights
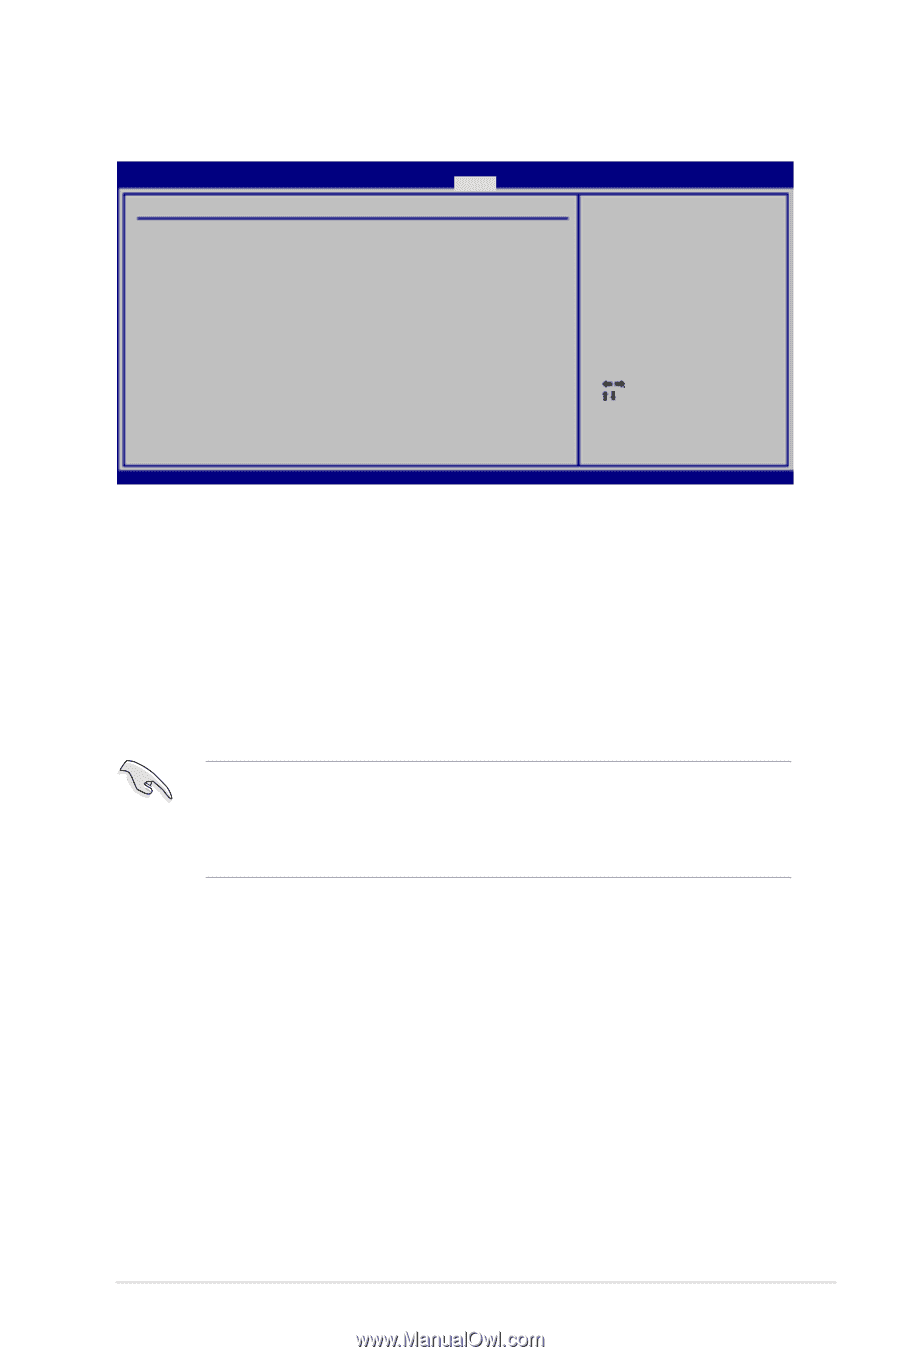
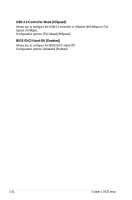
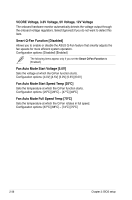
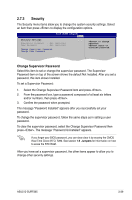
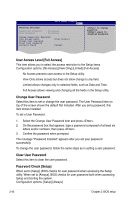
2.6.5 Hardware Monitor Hardware Monitor CPU Temperature MB Temperature BIOS SETUP UTILITY Power [33ºC/91ºF] [24ºC/75ºF] CPU Temperature CPU Fan Type [4 pin] CPU Fan Speed [3013RPM] Chassis Fan Speed [N/A] VCORE Voltage 3.3V Voltage 5V Voltage 12V Voltage [ 1.376V] [ 3.280V] [ 4.966V] [11.916V] Smart Q-FAN Function [Disabled] Select Screen Select Item Enter Go to Sub Screen F1 General Help F10 Save and Exit ESC Exit v02.61 (C)Copyright 1985-2007, American Megatrends, Inc. CPU Temperature [xxxºC/xxxºF]. MB Temperature [xxxºC/xxxºF] The onboard hardware monitor automatically detects and displays the motherboard and CPU temperatures. Select Ignored if you do not wish to display the detected temperatures. CPU Fan Type [4 pin] Allows you to select the CPU fan type you installed on the motherboard. Configuration options: [4 pin] [3 pin] • If you use a 4-pin fan but set this item to a 3-pin fan, the fan you installed may not work. • If you use a 3-pin fan but set this item to a 4-pin fan, the fan control will not work and the fan you installed will always run at full speed. CPU Fan Speed [xxxxRPM] or [Ignored] The onboard hardware monitor automatically detects and displays the CPU fan speed in rotations per minute (RPM). If the fan is not connected to the motherboard, the field shows N/A. Select Ignored if you do not wish to display the detected speed. Chassis Fan Speed [xxxxRPM] or [N/A] or [Ignored] The onboard hardware monitor automatically detects and displays the chassis fan speed in rotations per minute (RPM). If the fan is not connected to the chassis, the specific field shows N/A. Select Ignored if you do not wish to display the detected speed. ASUS G-SURF365 2-35
-
 1
1 -
2
-
3
-
4
-
5
-
6
-
7
-
8
-
9
-
10
-
11
-
12
-
13
-
14
-
15
-
16
-
17
-
18
-
19
-
20
-
21
-
22
-
23
-
24
-
25
-
26
-
27
-
28
-
29
-
30
-
31
-
32
-
33
-
34
-
35
-
36
-
37
-
38
-
39
-
40
-
41
-
42
-
43
-
44
-
45
-
46
-
47
-
48
-
49
-
50
-
51
-
52
-
53
-
54
-
55
-
56
-
57
-
58
-
59
-
60
-
61
-
62
-
63
-
64
-
65
-
66
-
67
-
68
-
69
-
70
-
71
-
72
-
73
-
74
-
75
-
76
-
77
-
78
-
79
-
80
-
81
-
 82
82 -
 83
83 -
 84
84 -
 85
85 -
 86
86 -
 87
87 -
 88
88 -
 89
89 -
 90
90 -
 91
91 -
 92
92 -
93
-
94
-
95
-
96
-
97
-
98
-
99
-
100
-
101
-
102
-
103
-
104
 |
 |