Asus L84Ce L8400 Series User Manual (English Version) - Page 38
Using the CD-ROM Drive
 |
View all Asus L84Ce manuals
Add to My Manuals
Save this manual to your list of manuals |
Page 38 highlights
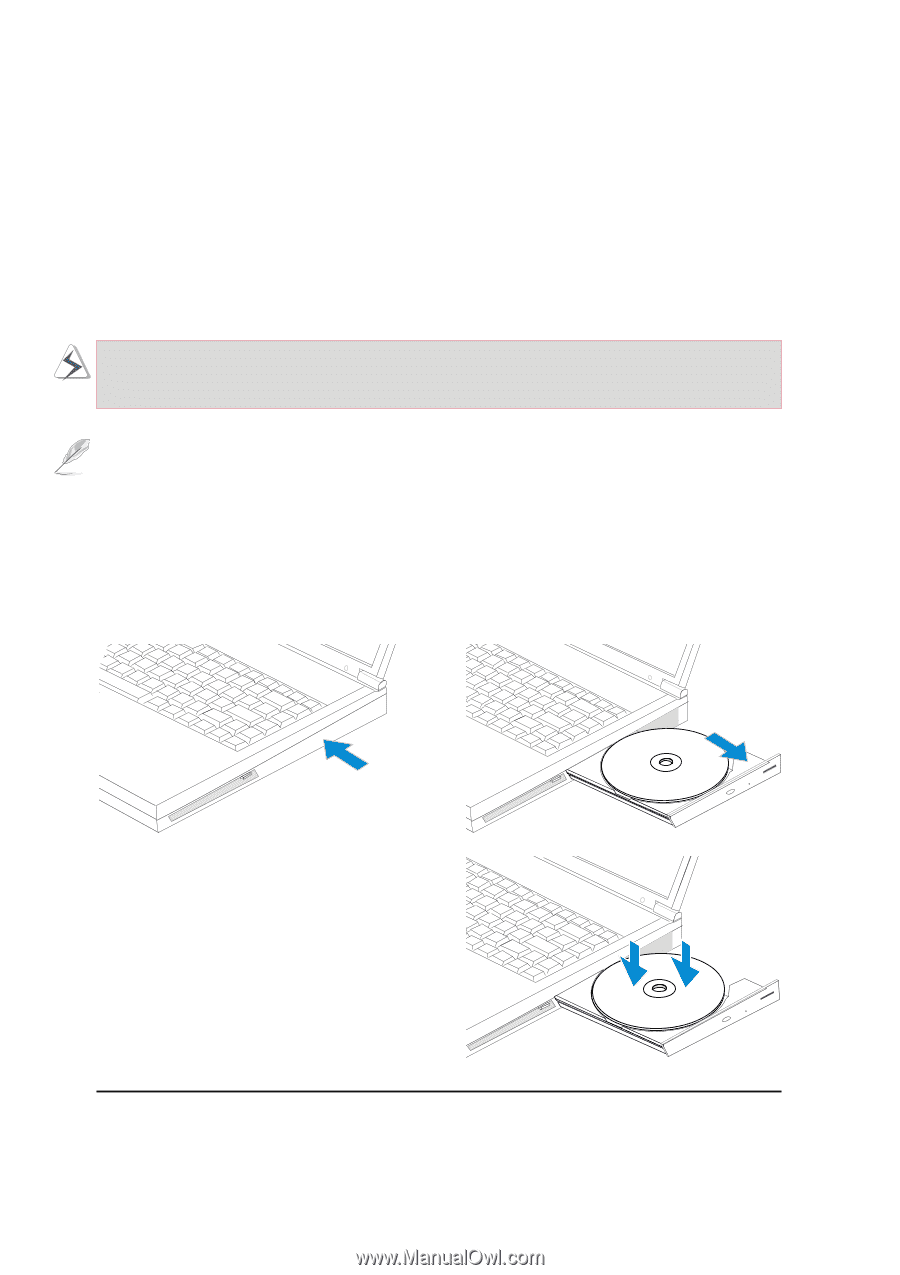
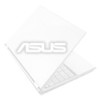
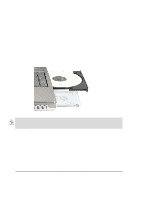
Using the CD-ROM Drive CD-ROM discs and equipment must be handled with care because of the precise mechanics involved. Keep in mind the important safety instructions from your CD suppliers. Unlike desktop CD-ROM drives, the Notebook PC uses a hub to hold the CD in place regardless of the angle. When inserting a CD, it is important that the CD be pressed onto the center hub or else the CD-ROM drive tray will scratch the CD. WARNING! If the CD disc is not properly locked onto the center hub, the CD can be damaged when the tray is closed. Always watch the CD closely while closing the tray slowly to prevent damage. NOTE: The CD drive eject button is electronic and requires that the Notebook PC be powered ON in order to eject the CD drive tray. Only one CD may be used at one time on this CD drive. Inserting a CD 1. While the Notebook PC's power is ON, press the CD drive eject button and the CD drive tray will eject out partially. 2. Hold the CD drive's front panel and slide the CD drive tray completely out. Be careful not to touch the CD drive's lens and other mechanisms. 3. Hold the CD by the edge and face the printed side up. Snap the CD onto the hub by pressing on both sides of the CD's center. The hub should be higher than the CD when correctly mounted. 4. Slowly push the CD drive tray back into the Notebook PC. The drive will begin reading the table of contents (TOC) on the CD. Once the drive stops, the CD is ready to be used. 38 4. Using the Notebook PC
-
 1
1 -
2
-
3
-
4
-
5
-
6
-
7
-
8
-
9
-
10
-
11
-
12
-
13
-
14
-
15
-
16
-
17
-
18
-
19
-
20
-
21
-
22
-
23
-
24
-
25
-
26
-
27
-
28
-
29
-
30
-
31
-
32
-
 33
33 -
 34
34 -
 35
35 -
 36
36 -
 37
37 -
 38
38 -
 39
39 -
 40
40 -
 41
41 -
 42
42 -
 43
43 -
44
-
45
-
46
-
47
-
48
-
49
-
50
-
51
-
52
-
53
-
54
-
55
-
56
-
57
-
58
-
59
-
60
-
61
-
62
-
63
-
64
-
65
-
66
-
67
-
68
-
69
-
70
-
71
-
72
-
73
-
74
-
75
-
76
-
77
-
78
-
79
-
80
-
81
-
82
-
83
-
84
-
85
-
86
-
87
-
88
-
89
-
90
-
91
-
92
-
93
-
94
-
95
-
96
 |
 |