Asus P7P55 LX JOOYON SI User Guide - Page 46
Booting the system in DOS environment, Backing up the current BIOS
 |
View all Asus P7P55 LX JOOYON SI manuals
Add to My Manuals
Save this manual to your list of manuals |
Page 46 highlights
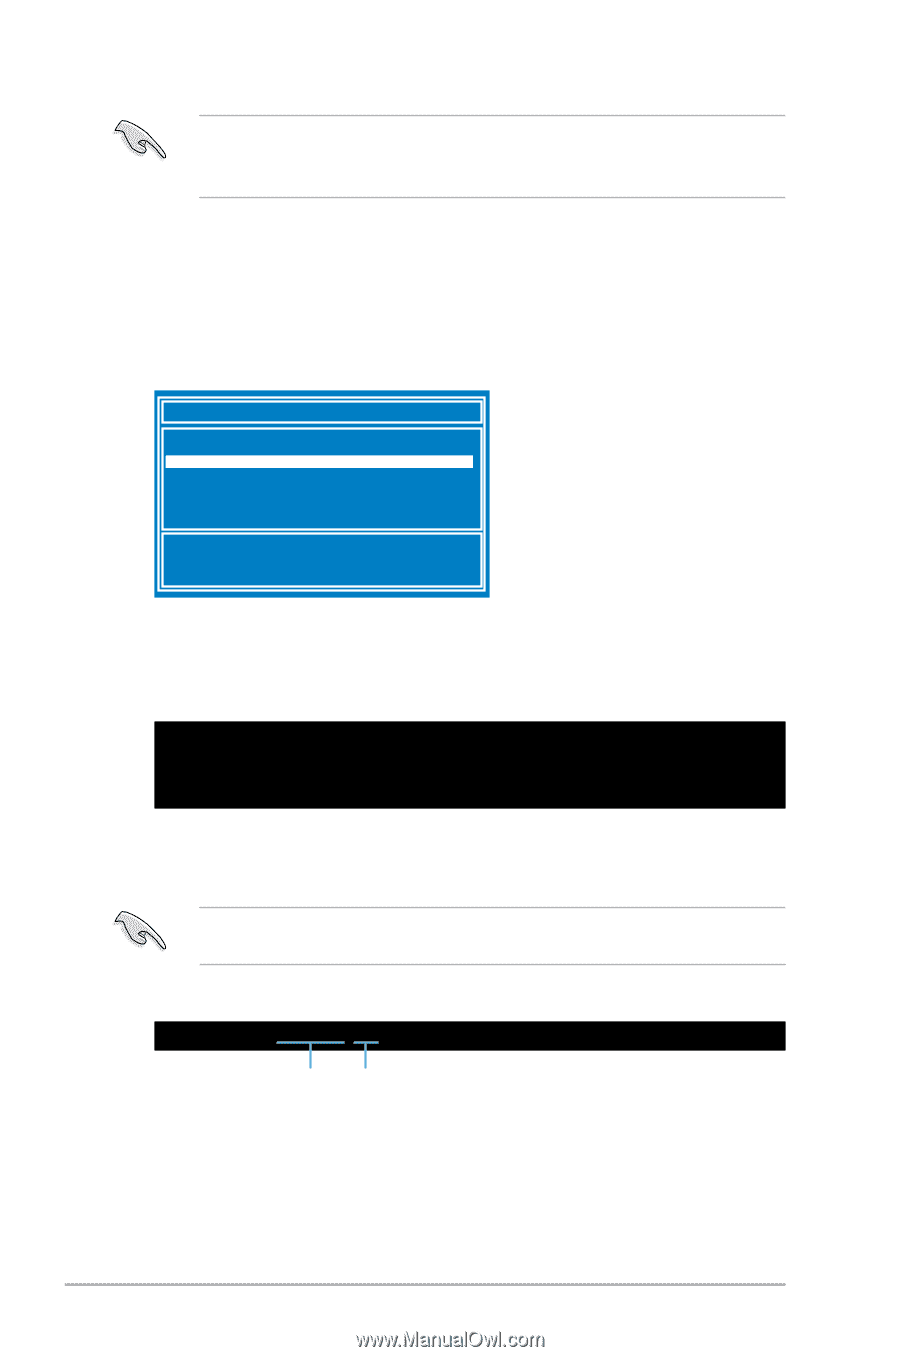
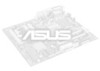
• NTFS is not supported under DOS environment. Do not save the BIOS file and BIOS Updater to a hard disk drive or USB flash drive in NTFS format. • Do not save the BIOS file to a floppy disk due to low disk capacity. 3. Turn off the computer and disconnect all SATA hard disk drives (optional). Booting the system in DOS environment 1. Insert the USB flash drive with the latest BIOS file and BIOS Updater to the USB port. 2. Boot your computer. When the ASUS Logo appears, press to show the BIOS Boot Device Select Menu. Insert the support DVD into the optical drive and select the optical drive as the boot device. Please select boot device: SATA:XXXXXXXXXXXXXXXX CDROM:XXXXXXXXXXXXXXX USB:XXXXXXXXXXXXXXXXX Network:XXXXXXXXXXXXX ↑ and ↓ to move selection ENTER to select boot device ESC to boot using defaults 3. When the Make Disk menu appears, select the FreeDOS command prompt item by pressing the item number. 4. At the FreeDOS prompt, type d: and press to switch the disk from Drive C (optical drive) to Drive D (USB flash drive). Welcome to FreeDOS (http://www.freedos.org)! C:\>d: D:\> Backing up the current BIOS To backup the current BIOS file using the BIOS Updater Ensure that the USB flash drive is not write-protected and has at least 1024KB free space to save the file. 1. At the FreeDOS prompt, type bupdater /o[filename] and press . D:\>bupdater /oOLDBIOS1.rom Filename Extension The [filename] is any user-assigned filename with no more than eight alphanumeric characters for the filename and three alphanumeric characters for the extension. 2. The BIOS Updater backup screen appears indicating the BIOS backup process. When BIOS backup is done, press any key to return to the DOS prompt. 2-4 ASUS P7P55 LX
-
 1
1 -
2
-
3
-
4
-
5
-
6
-
7
-
8
-
9
-
10
-
11
-
12
-
13
-
14
-
15
-
16
-
17
-
18
-
19
-
20
-
21
-
22
-
23
-
24
-
25
-
26
-
27
-
28
-
29
-
30
-
31
-
32
-
33
-
34
-
35
-
36
-
37
-
38
-
39
-
40
-
 41
41 -
 42
42 -
 43
43 -
 44
44 -
 45
45 -
 46
46 -
 47
47 -
 48
48 -
 49
49 -
 50
50 -
 51
51 -
52
-
53
-
54
-
55
-
56
-
57
-
58
-
59
-
60
-
61
-
62
-
63
-
64
-
65
-
66
-
67
-
68
-
69
-
70
 |
 |