Asus X5DIJ User Manual - Page 13
Camera on selected models, Display Panel, Power Switch, Microphone Built-in, Status Indicators top
 |
View all Asus X5DIJ manuals
Add to My Manuals
Save this manual to your list of manuals |
Page 13 highlights
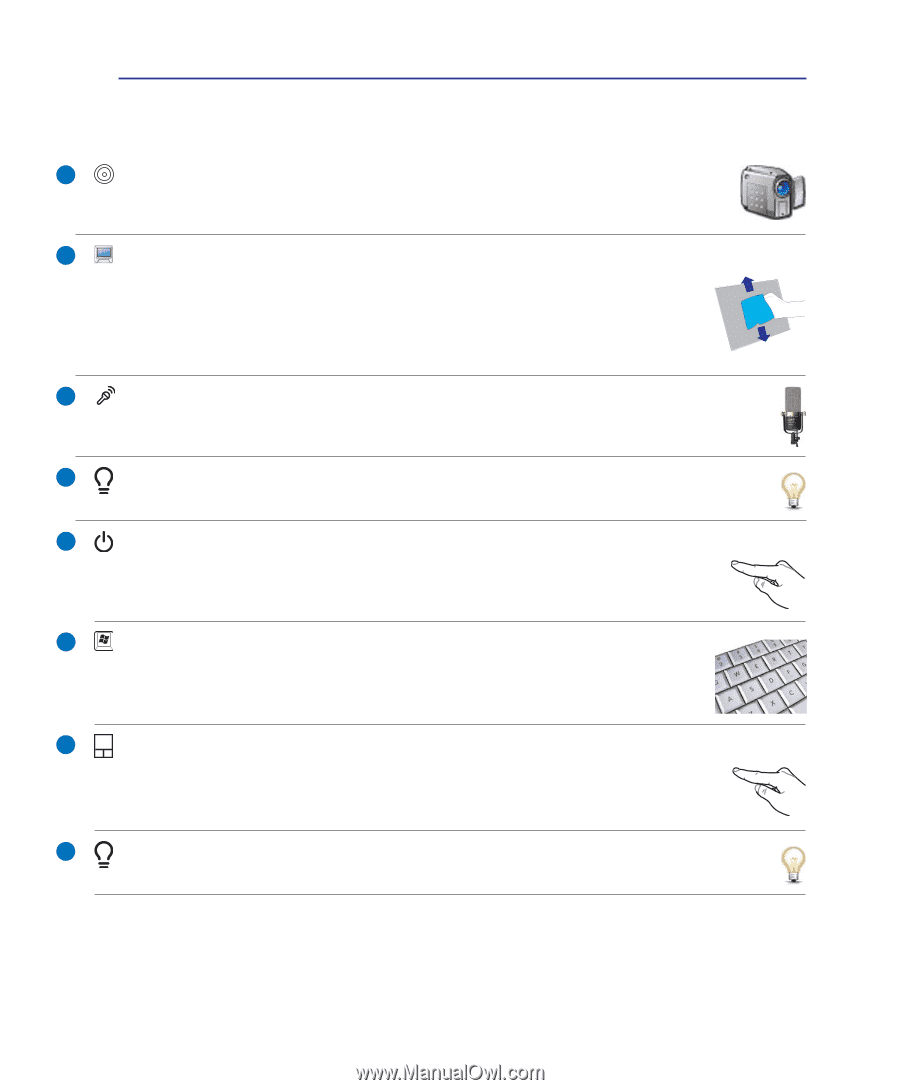
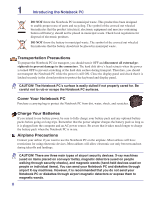
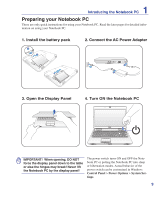
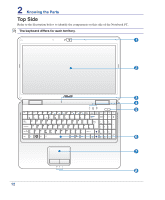
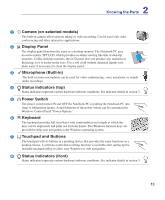
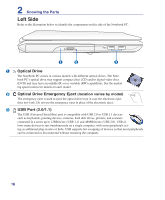
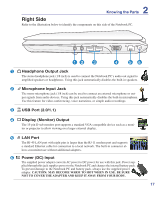
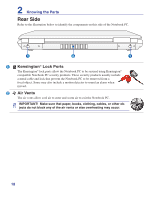
2 Knowing the Parts 1 Camera (on selected models) The built-in camera allows picture taking or video recording. Can be used with video conferencing and other interactive applications. 2 Display Panel The display panel functions the same as a desktop monitor. The Notebook PC uses an active matrix TFT LCD, which provides excellent viewing like that of desktop monitors. Unlike desktop monitors, the LCD panel does not produce any radiation or flickering, so it is easier on the eyes. Use a soft cloth without chemical liquids (use plain water if necessary) to clean the display panel. 3 Microphone (Built-in) The built-in mono microphone can be used for video conferencing, voice narrations, or simple audio recordings. 4 Status Indicators (top) Status indicators represent various hardware/software conditions. See indicator details in section 3. 5 Power Switch The power switch turns ON and OFF the Notebook PC or putting the Notebook PC into sleep or hibernation modes. Actual behavior of the power switch can be customized in Windows Control Panel "Power Options." 6 Keyboard The keyboard provides full-sized keys with comfortable travel (depth at which the keys can be depressed) and palm rest for both hands. Two Windows function keys are provided to help ease navigation in the Windows operating system. 7 Touchpad and Buttons The touchpad with its buttons is a pointing device that provides the same functions as a desktop mouse. A software-controlled scrolling function is available after setting up the included touchpad utility to allow easy Windows or web navigation. 8 Status Indicators (front) Status indicators represent various hardware/software conditions. See indicator details in section 3. 13
-
 1
1 -
2
-
3
-
4
-
5
-
6
-
7
-
 8
8 -
 9
9 -
 10
10 -
 11
11 -
 12
12 -
 13
13 -
 14
14 -
 15
15 -
 16
16 -
 17
17 -
 18
18 -
19
-
20
-
21
-
22
-
23
-
24
-
25
-
26
-
27
-
28
-
29
-
30
-
31
-
32
-
33
-
34
-
35
-
36
-
37
-
38
-
39
-
40
-
41
-
42
-
43
-
44
-
45
-
46
-
47
-
48
-
49
-
50
-
51
-
52
-
53
-
54
-
55
-
56
-
57
-
58
-
59
-
60
-
61
-
62
-
63
-
64
-
65
-
66
-
67
-
68
-
69
-
70
-
71
-
72
-
73
-
74
-
75
-
76
-
77
-
78
 |
 |