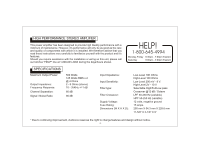
Audiovox AXT-550 Owners Manual - Page 5
Installation Instructions, Installation Diagram
 |
View all Audiovox AXT-550 manuals
Add to My Manuals
Save this manual to your list of manuals |
Page 5 highlights
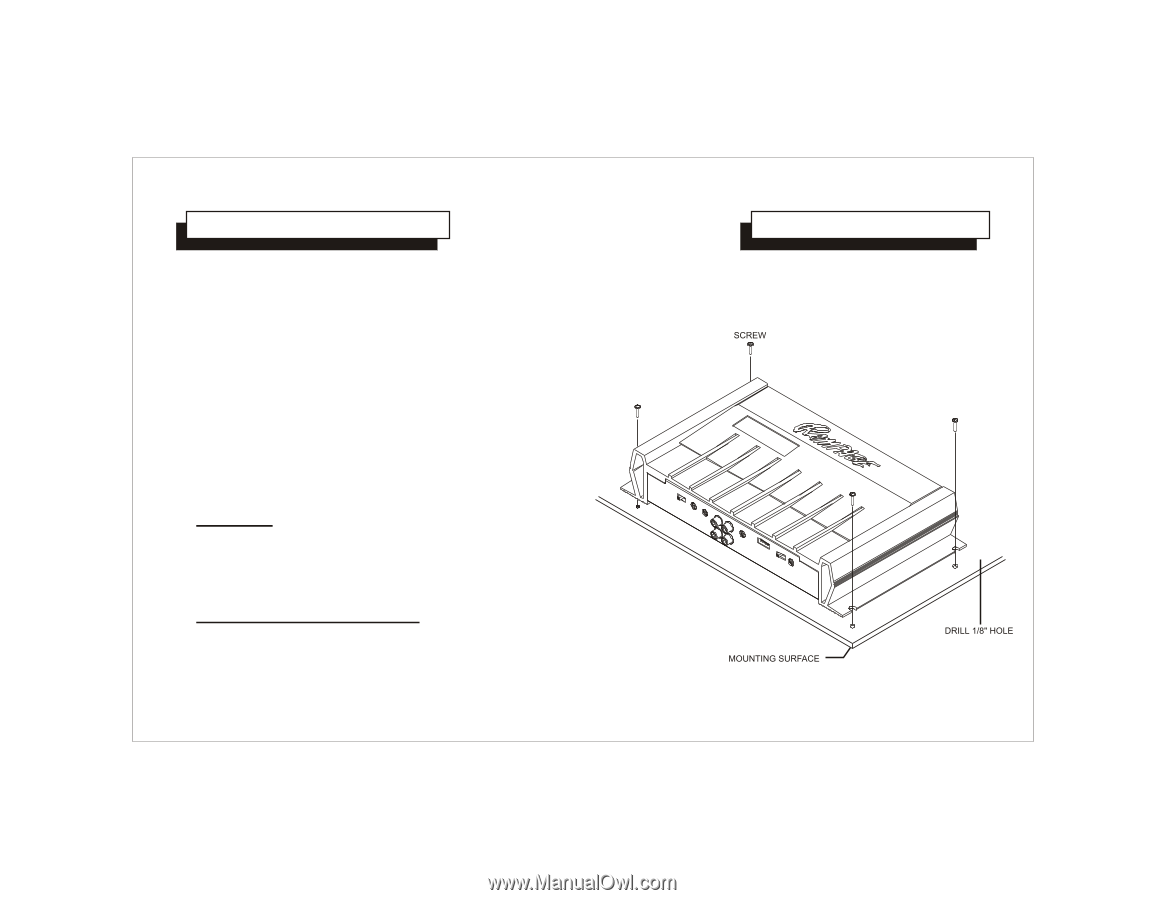
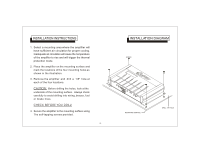
INSTALLATION INSTRUCTIONS 1. Select a mounting area where the amplifier will have sufficient air circulation for proper cooling. Inadequate air circulation will cause the temperature of the amplifier to rise and will trigger the thermal protection mode. 2. Place the amplifier on the mounting surface and mark the locations of the four mounting holes as shown in the illustration. 3. Remove the amplifier and drill a 1/8" hole at each of the four locations. CAUTION: Before drilling the holes, look at the underside of the mounting surface. Always check carefully to avoid drilling into wiring, braces, fuel or brake lines. CHECK BEFORE YOU DRILL! 4. Secure the amplifier to the mounting surface using The self-tapping screws provided. -5- INSTALLATION DIAGRAM
-
 1
1 -
 2
2 -
 3
3 -
 4
4 -
 5
5 -
 6
6 -
 7
7 -
 8
8 -
 9
9 -
 10
10 -
 11
11 -
12
-
13
-
14
 |
 |