Audiovox SIRHK1A Installation Guide - Page 6
Mounting the Antenna, Installing the Shuttle on the Cradle
 |
UPC - 044476018183
View all Audiovox SIRHK1A manuals
Add to My Manuals
Save this manual to your list of manuals |
Page 6 highlights
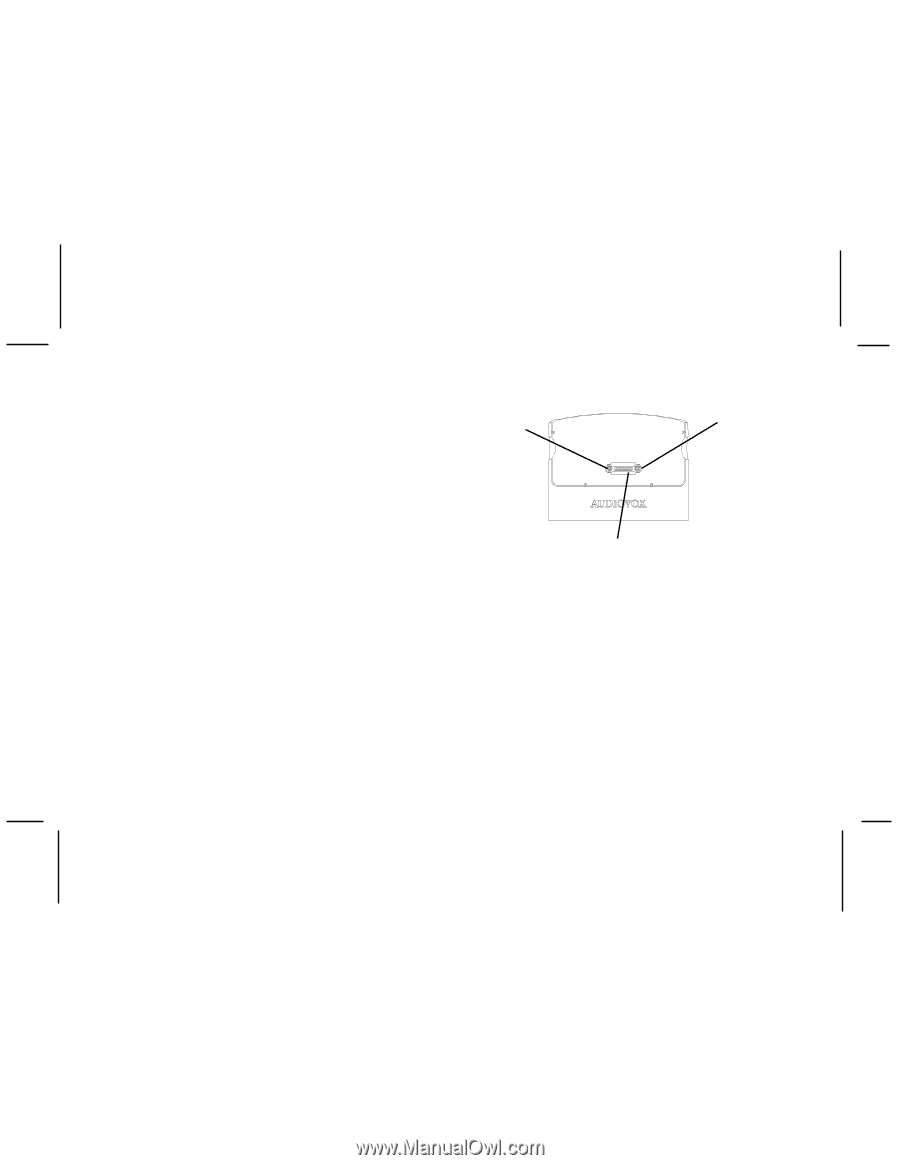
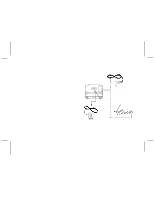
b. You can also place the antenna outside (on the SAT. (MAIN) roof structure), provided it is clear of any RF CONNECTOR overhead obstructions. TERR. RF CONNECTOR NOTE: Because of the orbiting characteristics of the Sirius Satellites, the strength of the received signal may change over time. In most cases however, the signal should be available continuously. If you experience a loss of signal or audio, reposition the antenna inside the home or outside as necessary. 5. Installing the Shuttle on the Cradle Place the Shuttle in the cradle so that the Shuttle connectors are lined up; use the SAT and TERR RF connectors as guides. Then gently press in on the bottom of the Shuttle to engage the connectors. 16-PIN SYSTEM CONNECTOR 7. Mounting the Antenna The antenna should be placed on a relatively flat surface whenever possible. To mount the antenna: a. Plug the antenna into the SAT. (MAIN) connector on the back of the cradle. b. Place the antenna at the preferred location inside or outside the home. -6- 128-6814 6 of 8
-
 1
1 -
 2
2 -
 3
3 -
 4
4 -
 5
5 -
 6
6 -
 7
7 -
 8
8
 |
 |