Belkin F1U109 F1U109 User Manual (Win95/98/Me) - Page 3
One Computer Using Two Printers - switch settings
 |
View all Belkin F1U109 manuals
Add to My Manuals
Save this manual to your list of manuals |
Page 3 highlights
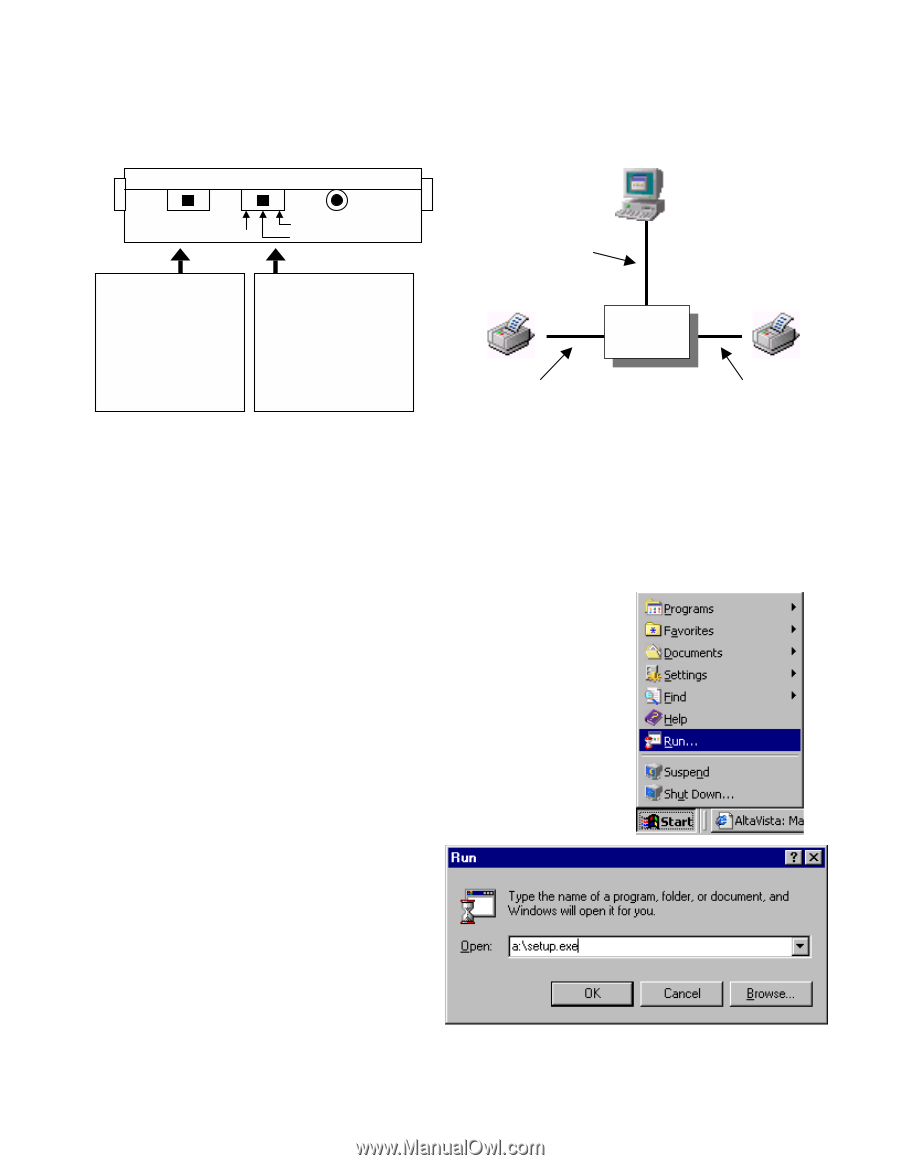
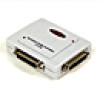
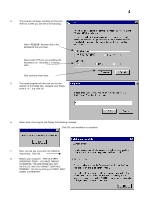
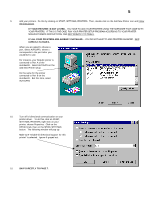
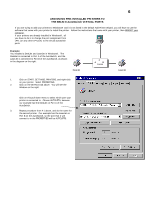
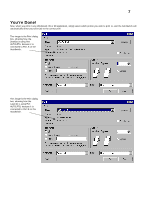
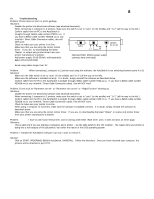
3 One Computer Using Two Printers Set the Switches on the AutoSwitch, and connect the PC, and the printers to the AutoSwitch as follows: B A AUTO FD 142 FE (SPARE) DC 3.6-9V Set this switch to the AUTO (middle) position. Setting to "A" or "B" is a manual override, and locks the AutoSwitch to that port. Set this switch to the 1 4 2 (left) position. The "FD" and "FE" positions will not work for your configuration. F3D111-XX Printer A C A B F1U109 F2A032-XX Printer B F2A032-XX Important Notes: • Take note which printer is connected to which port on the AutoSwitch. • Make sure the cables you are using are not file-transfer cables, otherwise the setup will not work. • We recommend Belkin Components® cables for best results: ! F3D111-XX Belkin Pro Series DB25 M/M, straight through ! F2A032-XX Belkin Pro Series DB25 M/Centronics 36 M parallel printer cable "XX" is the length of the cable in feet • Avoid using any status monitoring software, status toolbox, or bi-directional printer drivers. As much as possible, please use "output-only" or "Raster" drivers. This is so that it will not lock up the AutoSwitch. • Check the end of this manual for information on disabling bi-directional communication on your specific printer. Software Installation - Windows® 95 and 98 only. The software will not work in Windows® 3.1 or NT. 1. Insert the software disk into your floppy drive. 2. Click START, RUN. 3. Enter "a:\setup.exe", and click OK.
-
 1
1 -
 2
2 -
 3
3 -
 4
4 -
 5
5 -
 6
6 -
 7
7 -
 8
8 -
 9
9 -
10
-
11
 |
 |