Beretta A300 Outlander Camo Beretta Owner Manual A300 Outlander - Page 24
Disassembly
 |
View all Beretta A300 Outlander Camo manuals
Add to My Manuals
Save this manual to your list of manuals |
Page 24 highlights
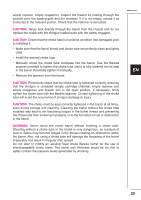
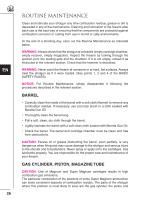
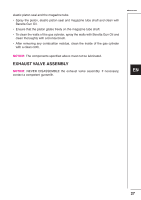
EN 22 DISASSEMBLY WARNING: Always check that the shotgun is unloaded (empty cartridge chamber, empty receiver, empty magazine). Inspect the firearm by looking through the ejection port, the loading gate and the chamber. If it is not empty, unload it as instructed in the relevant section. Check that the hammer is decocked. WARNING: Never point the firearm at someone or at hard, flat surfaces. Always treat the shotgun as if it were loaded. (See points 1, 2 and 4 of the BASIC SAFETY RULES.) NOTICE: It is advisable to carry out the disassembly operations over a table to catch components should they drop. BARREL • Check that the carrier stop push button is pressed all the way down. If it is not, push it all the way down (Fig. 6). • Pull the breech bolt all the way back so that it remains open (Fig. 22). • Unscrew the front cap of fore-end in an anticlockwise direction (Fig. 23). • Holding the shotgun by the barrel, pull the fore-end straight out toward the muzzle (Fig. 24). • Pull the barrel out of the stock-receiver assembly while holding the piston inside the gas cylinder (Fig. 25). NOTICE: NEVER STRIP the spring of the valve or the valve retaining nut. The valve device is self-cleaning and requires no maintenance. If necessary, contact a competent gunsmith. BREECH BOLT ASSEMBLY (Breech bolt, connecting rod with sleeve) WARNING: The breech bolt assembly need only to be disassembled in order to clean its components. • Keeping the index or middle finger of the left hand on the cocking handle, press the release button and allow the breech bolt to move forward slowly until it stops (Fig. 26). • Extract the cocking handle from the breech bolt, pulling forcefully (Fig. 27). • Over a flat surface, with the ejection port pointed upwards, slide the connecting rod with sleeve forward off the magazine tube shaft to extract the breech bolt assembly from the receiver (Fig. 28). • The breech bolt assembly, no longer held by the connecting rod with sleeve, will divide into (Fig. 29):
-
 1
1 -
2
-
3
-
4
-
5
-
6
-
7
-
8
-
9
-
10
-
11
-
12
-
13
-
14
-
15
-
16
-
17
-
18
-
 19
19 -
 20
20 -
 21
21 -
 22
22 -
 23
23 -
 24
24 -
 25
25 -
 26
26 -
 27
27 -
 28
28 -
 29
29 -
30
-
31
-
32
-
33
-
34
-
35
-
36
-
37
 |
 |