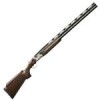
Beretta SV10 Prevail I TRAP Beretta SV10 Perennia/Preveil User Manual - Page 28
Adjustable, Stock, Memory, System
 |
View all Beretta SV10 Prevail I TRAP manuals
Add to My Manuals
Save this manual to your list of manuals |
Page 28 highlights
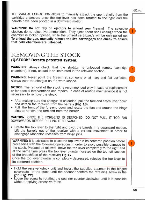
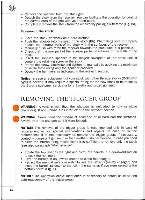
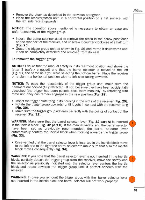
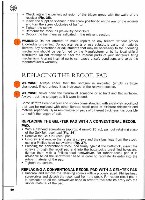
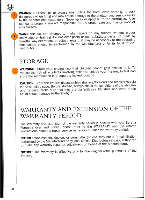
• With a flathead screwdriver (approx. 4 mm/0.15 in.), pull out retaining clasp of the Gel•Tek recoil pad and line up the bushings and screws with their respective seats. • Insert bushings in their seats in the stock and securely tighten all screws using a Phillips-head screwdriver. • Place the Gel•Tek pad on the stock, and make sure that all bushings are placed in the proper holes. • While securely pushing the Gel•Tek pad against the stock. push retaining clasp back, until it disappears in the pad assembly. Be sure that the Gel•Tek pad fits flush to the stock without movement. NAM( ADJUSTABLE STOCK WITH MEMORY SYSTEM (For Beretta over and unders supplied with adjustable stock) WARNING: Always check that the shotgun is unloaded (empty cartridge chambers). If not, unload it as instructed in the relevant section. WARNING: Never point the firearm at someone or at hard and flat surfaces. Always treat the shotgun as if it were loaded. The adjustable stock features a device called Memory System that can be used to adjust the stock by modifying the drop (at comb and at heel) and the cast (cast•on/cast-off). The adjustable stock of your shotgun is preset at the factory with standard drop and cast values. ADJUSTING THE CAST • Unscrew the two side screws of the adjustable comb using the hexagonal key provided (Fig. 38). NOTICE: In case the two screws have been loosened excessively they are designed to release the internal retaining nuts in order to avoid possible damages to the stock. To reestablish the original assembly condition, it is sufficient to manually realign the internal locking stem of the screws and retightening them. • Remove the adjustable comb from the stock. • Loosen the screws of the adjustment mechanism (Fig. 39, arrows A and B) and move it to the right or to the left to get the required cast. • Tighten the screws of the adjustment mechanism, always using the special key provided. • Reassemble the adjustable comb on the stock. • Screw the two side screws of the adjustable comb to block it in the required position. • Fully tighten the two screws using only the key supplied. 60
-
 1
1 -
2
-
3
-
4
-
5
-
6
-
7
-
8
-
9
-
10
-
11
-
12
-
13
-
14
-
15
-
16
-
17
-
18
-
19
-
20
-
21
-
22
-
 23
23 -
 24
24 -
 25
25 -
 26
26 -
 27
27 -
 28
28 -
 29
29 -
 30
30 -
 31
31 -
 32
32
 |
 |
