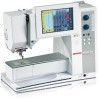
Bernina Artista 730 Manual - Page 35
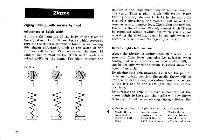
Needlc, deflection, centre, width, Stitch, length, Stift, iength, nearly
 |
View all Bernina Artista 730 manuals
Add to My Manuals
Save this manual to your list of manuals |
Page 35 highlights
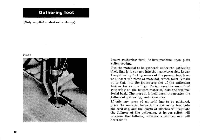
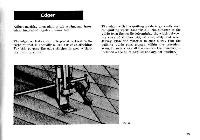
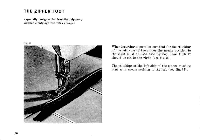
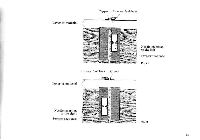
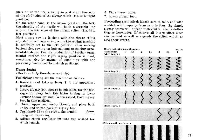
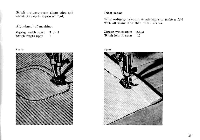
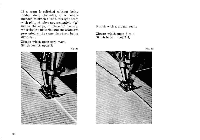
piercing of the needle being in a straight line only at the right edge of the zigzag stitch (fig. 36b, right position). On the other hand, if the arrow points to the left, the piercing of the needle will be in a straight line only at the left edge of the zigzag stitch fig. 36e, left position). Most zigzag sewing is done with the zigzag stitch adjusted in centre position, while the sewing machine is generally set to the left position when making buttonholes, sewing on buttons, and producing ornamental stitches. For the production of further ornamental stitches the right zigzag position is used, sometimes also by means of combining with the previously mentioned two stitch positions. Zigzag Sewing (Use 2-- or 3-ply threads; never 6-ply) For zigzag sewing set the machine as follows: 1. Raise thread take-up lever 7 to its uppermost position. 2. Insert zigzag foot (not to be mistaken for the zig- zag embroidery foot, this latter having its lower surface hollow ground). When raised, leave zigzag foot in this position. 3. Thread upper and under thread, and place both under and to the back of zigzag foot. 4. Turn knob 23 to the right, the symbol M being set on sewing. 5. Adjust stitch regulator 22 onto two wished for stitch length. 6. Fix slide-on table. 7. Lower zigzag foot. Proceeding from stitch length zero to four, and with a stitch width equally from zero to four, the simple zigzag seams will appear with central needle deflection as hereunder. Of course all intermediate sizes can be used as well as regards the stitch width, as also their length. Needlc deflection from the centre Seam width 1 1,5 2 2.6 Stitch length 1 Fig. 27 5.5 4 Stitch length 2 Stift), iength Stitch length 4 Stitch length nearly c,•re 55 I I I I 33
-
 1
1 -
2
-
3
-
4
-
5
-
6
-
7
-
8
-
9
-
10
-
11
-
12
-
13
-
14
-
15
-
16
-
17
-
18
-
19
-
20
-
21
-
22
-
23
-
24
-
25
-
26
-
27
-
28
-
29
-
 30
30 -
 31
31 -
 32
32 -
 33
33 -
 34
34 -
 35
35 -
 36
36 -
 37
37 -
 38
38 -
 39
39 -
 40
40 -
41
-
42
-
43
-
44
-
45
-
46
-
47
-
48
-
49
-
50
-
51
-
52
-
53
-
54
-
55
-
56
-
57
-
58
-
59
-
60
-
61
-
62
-
63
-
64
-
65
-
66
-
67
-
68
-
69
-
70
-
71
-
72
-
73
-
74
-
75
-
76
-
77
-
78
-
79
-
80
-
81
-
82
-
83
-
84
 |
 |
