Binatone Action 950 User Manual - Page 2
Installation - two ways
 |
View all Binatone Action 950 manuals
Add to My Manuals
Save this manual to your list of manuals |
Page 2 highlights
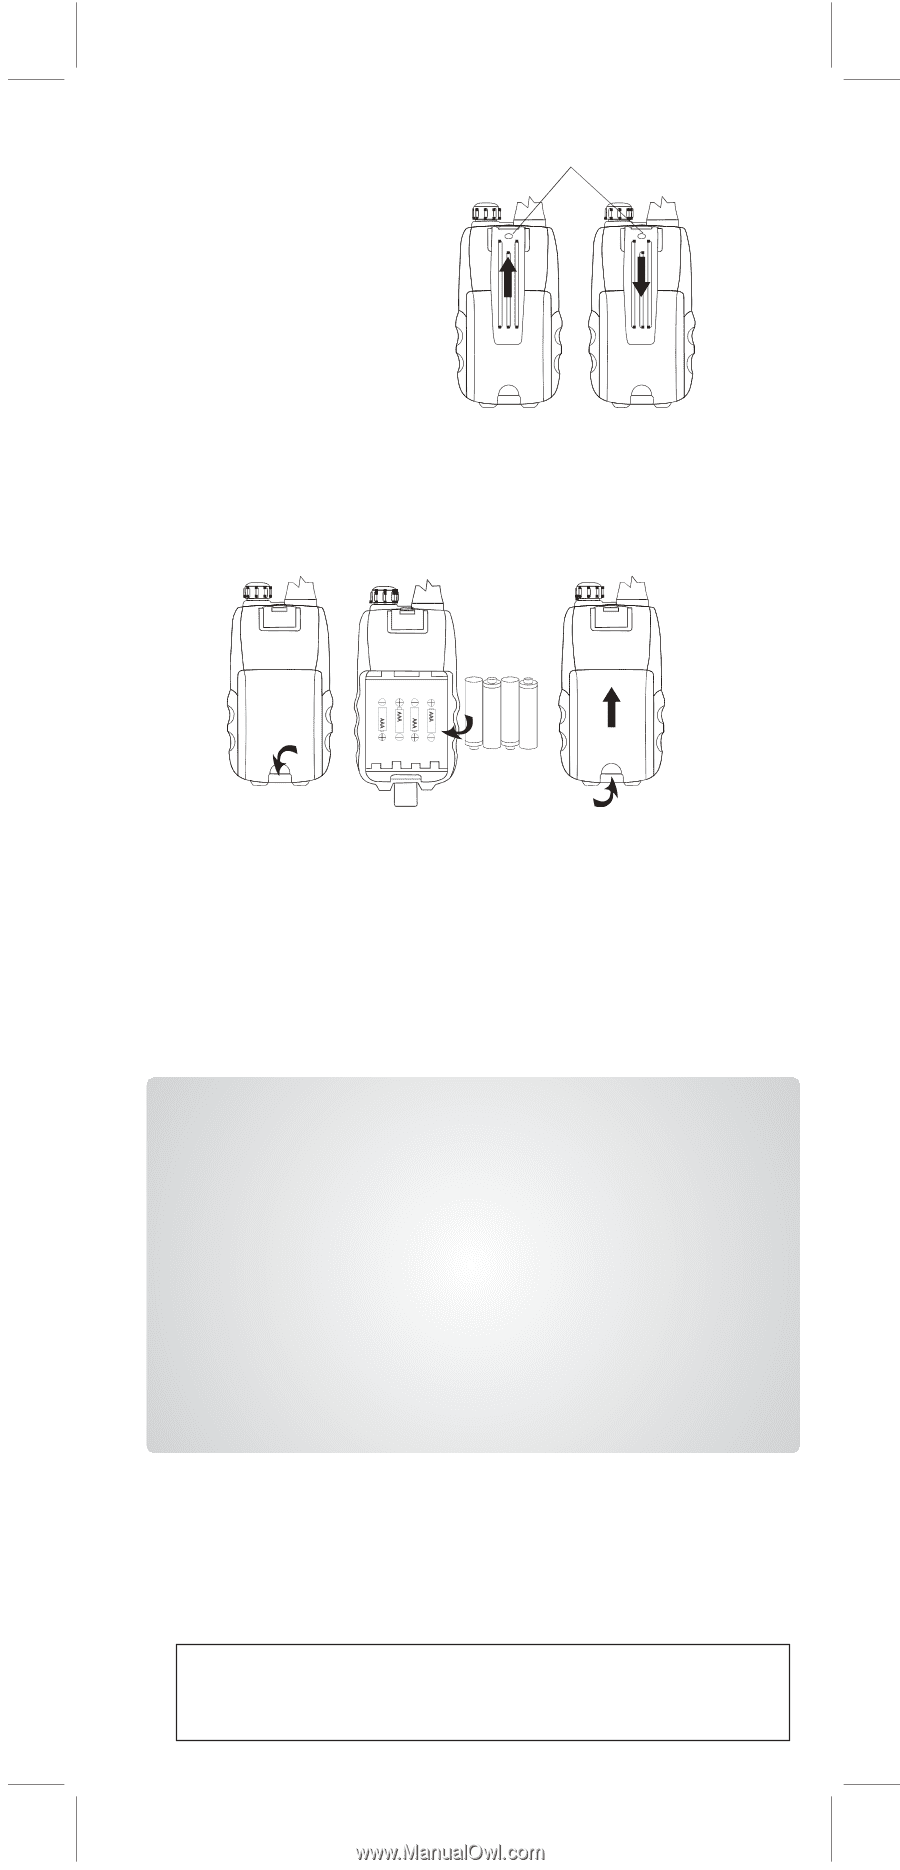
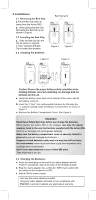
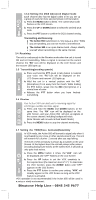
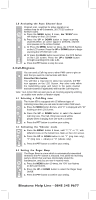
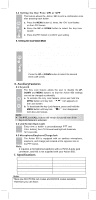
2. Installation 2.1 Removing the Belt Clip a. Pull the Belt Clip latch up (away from the Action 950) b. While pulling the Belt Clip latch,slide the Belt Clip up as shown in Figure1. 2.2 Installing the Belt Clip a. Slide the Belt Clip into the slot as shown in Figure2. A "click" indicates the Belt Clip is locked into position. 2.3 Installing the Batteries Belt Clip latch Figure 1 Figure 2 Figure 3 Figure 4 Caution: Observe the proper battery polarity orientation when installing batteries. Incorrect positioning can damage both the batteries and the unit. a. Unclip the battery cover latch at the bottom of the cover, and lift the battery cover off. b. Insert the 4 "AAA" size rechargeable batteries by following the + /- polarity marking inside the Battery Compartment as shown in Figure 3. c. Replace the Battery Compartment Cover. See Figure 4. Important Read these Safety Warnings before you charge the batteries. When placing the Action 950 in the charger, use only the power supplies listed in the user instructions supplied with the Action 950. Don't try to recharge non-rechargeable batteries. Make sure the battery compartment cover is securely locked in place when you are charging the batteries. Dispose of used batteries safely and in a way that will not harm the environment- never try to burn them or put them anywhere they could get burnt or punctured. Don't leave dead batteries in your Action 950 units. They might leak if you do. 2.4 Charging the Batteries a. Insert the small plug on the end of the mains adaptor into the Power-in Connection Jack at the back of the desktop charger. b. Plug the mains adaptor into a 240V AC, 50Hz main socket with the switch on the socket set to OFF. c. Switch ON the mains socket. Use only the mains adaptor provided. Using any other adaptor will result in non-compliance with EN60950-1 and will invalidate any approvals & warranty.
-
 1
1 -
 2
2 -
 3
3 -
 4
4 -
 5
5 -
 6
6 -
 7
7 -
 8
8 -
9
-
10
 |
 |