Bissell Little Green Pro Portable Carpet Cleaner 2505 User Guide 1 - Page 7
Operati²s
 |
View all Bissell Little Green Pro Portable Carpet Cleaner 2505 manuals
Add to My Manuals
Save this manual to your list of manuals |
Page 7 highlights
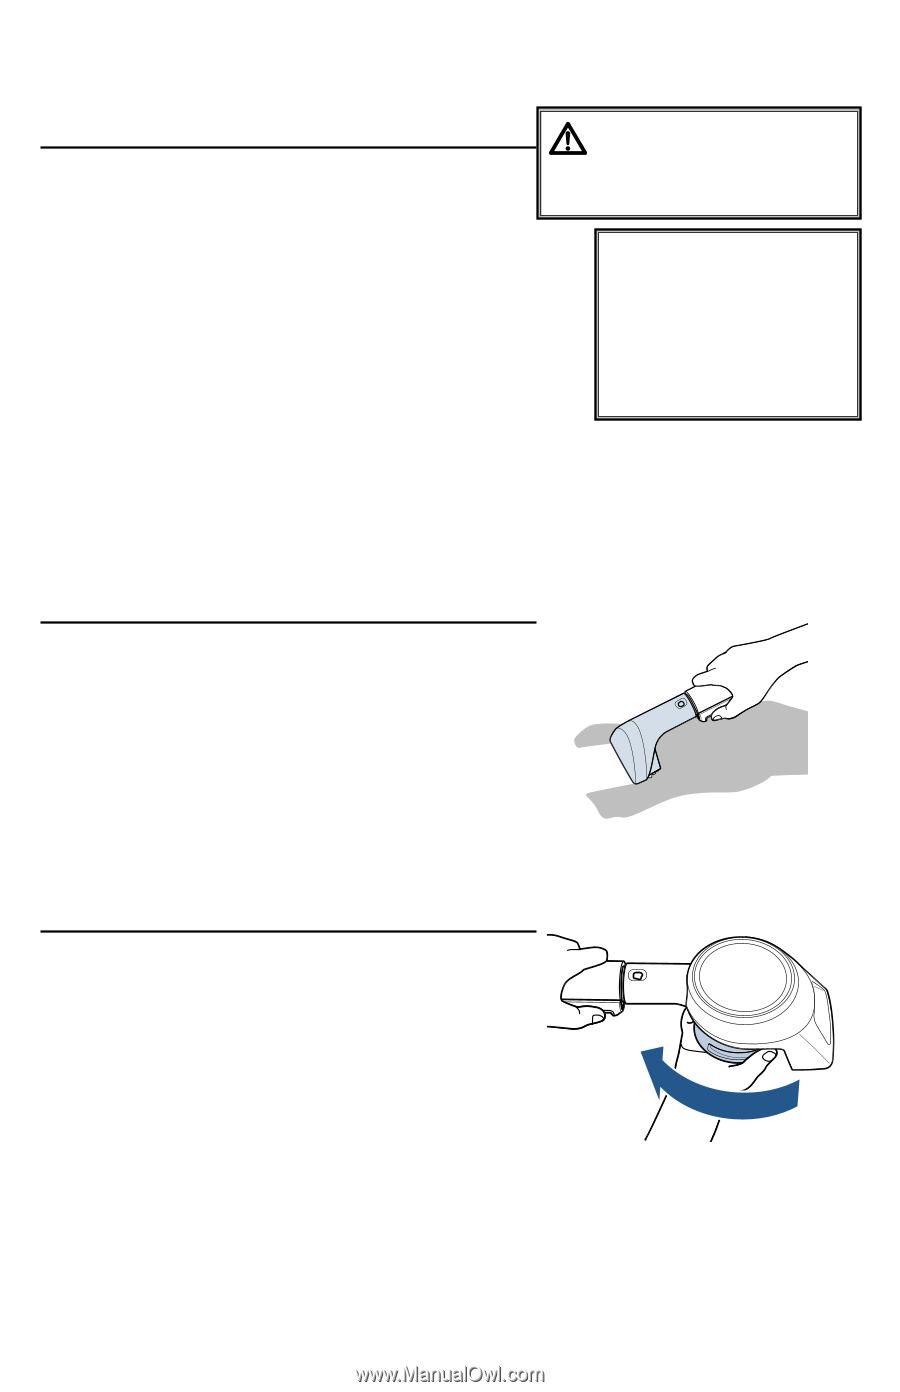
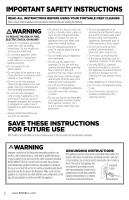
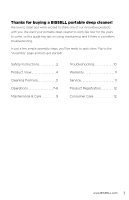
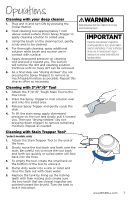
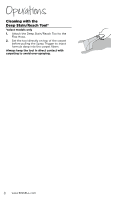
Operations Cleaning with your deep cleaner 1. Plug unit in and turn ON by pressing the Power Button. 2. Hold cleaning tool approximately 1 inch above soiled surface. Press Spray Trigger to apply cleaning solution to soiled area. 3. Using the brush on the cleaning tool, gently scrub area to be cleaned. 4. For thorough cleaning, spray additional solution while brush and suction are in contact with surface. 5. Apply downward pressure on cleaning tool and pull it toward you. The suction will remove the dirt and cleaning solution. Continue until no more dirt can be removed. 6. As a final step, use "drying strokes" (by not pressing the Spray Trigger) to remove as much liquid/moisture as possible. Repeat this step as often as necessary. WARNING Keep spray away from face. Failure to do so may result in personal injury. IMPORTANT Check the manufacturer's tag before cleaning upholstery. Test a small, hidden area for colorfastness. If color is affected, do not use. If manufacturer's tag is missing or not coded, check with your furniture dealer. Cleaning with 3"/4"/6" Tool 1. Attach the 3"/4"/6" Tough Stain Tool to the Flex Hose. 2. Press the Spray Trigger to mist solution over and onto the soiled area. 3. Release Spray Trigger and gently scrub the stain. 4. To lift the stain away, apply downward pressure on the tool and slowly pull it toward you. Then use "drying strokes" (by not pressing down trigger) to remove remaining moisture. Repeat as needed. Cleaning with Stain Trapper Tool* *select models only 1. Attach the Stain Trapper Tool to the end of the hose. 2. Slowly move the tool back and forth over the stain. Be careful not to move the tool back and forth too quickly or soiled water will flow back into the hose. 3. To empty the tool, rotate the small tank on the bottom of the tool to unlock it. 4. Dump dirty water into a sink or toilet and rinse the tank out with clean water. 5. Replace the tank by lining up the locking teeth with their mating slots (make sure the two teeth that are closest together are pointed toward the brush). Turn the tank to lock it into place. www.BISSELL.com 7
-
 1
1 -
 2
2 -
 3
3 -
 4
4 -
 5
5 -
 6
6 -
 7
7 -
 8
8 -
 9
9 -
 10
10 -
 11
11 -
 12
12 -
13
-
14
-
15
-
16
-
17
-
18
-
19
-
20
-
21
-
22
-
23
-
24
 |
 |