Bissell Momentum Vacuum User Guide - English - Page 6
Notice, Caution - hepa filter
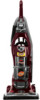 |
View all Bissell Momentum Vacuum manuals
Add to My Manuals
Save this manual to your list of manuals |
Page 6 highlights
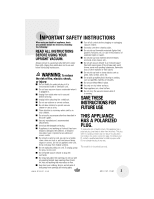
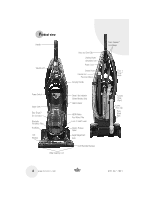
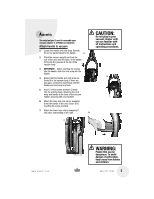
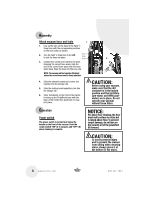
Assembly Attach vacuum hose and tools 1. 1. Line up the tabs on the base of the Twist 'n Snap hose with the corresponding notches on the hose collar as shown. 2. Turn the Twist 'n Snap hose to the left to lock the hose into place. Twist 'n Snap Hose 6. 3. Connect the curved hose wand to the hose. Grasping the curved hose wand, slide the end of the curved hose wand onto the hose wand base. Snap the hose into the hose clip. NOTE: The vacuum will not operate effectively unless the curved hose wand is firmly attached. 4. Slide the extension wand and crevice tool together into the storage clip. 5. Slide the dusting brush/upholstery tool into the storage clip. 6. Store TurboBrush on the front of the handle by lining up the TurboBrush base with the base of the holder then push back to snap into place. CAUTION: Before using your vacuum, make sure that the dirt container is in the locked position and that all filters (pre-motor and HEPA postmotor) are in place. Do not operate your vacuum without these filters. Operation Power switch The power switch is located just below the handle on the front of the vacuum. Push the rocker switch "ON" (I) to vacuum, and "OFF" (O) when cleaning is complete. NOTICE: For above floor cleaning, the floor brush will continue to rotate but is raised above floor. To prevent carpet damage, do not lean on the vacuum or let the powerfoot tilt forward. CAUTION: To avoid personal injury and to prevent the cleaner from falling when cleaning stairs, always place it at the bottom of the stairs. 6 www.bissell.com 800.237.7691
-
 1
1 -
 2
2 -
 3
3 -
 4
4 -
 5
5 -
 6
6 -
 7
7 -
 8
8 -
 9
9 -
 10
10 -
 11
11 -
 12
12 -
13
-
14
-
15
-
16
-
17
-
18
-
19
-
20
 |
 |
