Bissell VAC&shine Vac & Shine User's Guide - Page 5
Charging, Filling the Clean Tank - vac & shine wet dry mop
 |
View all Bissell VAC&shine manuals
Add to My Manuals
Save this manual to your list of manuals |
Page 5 highlights
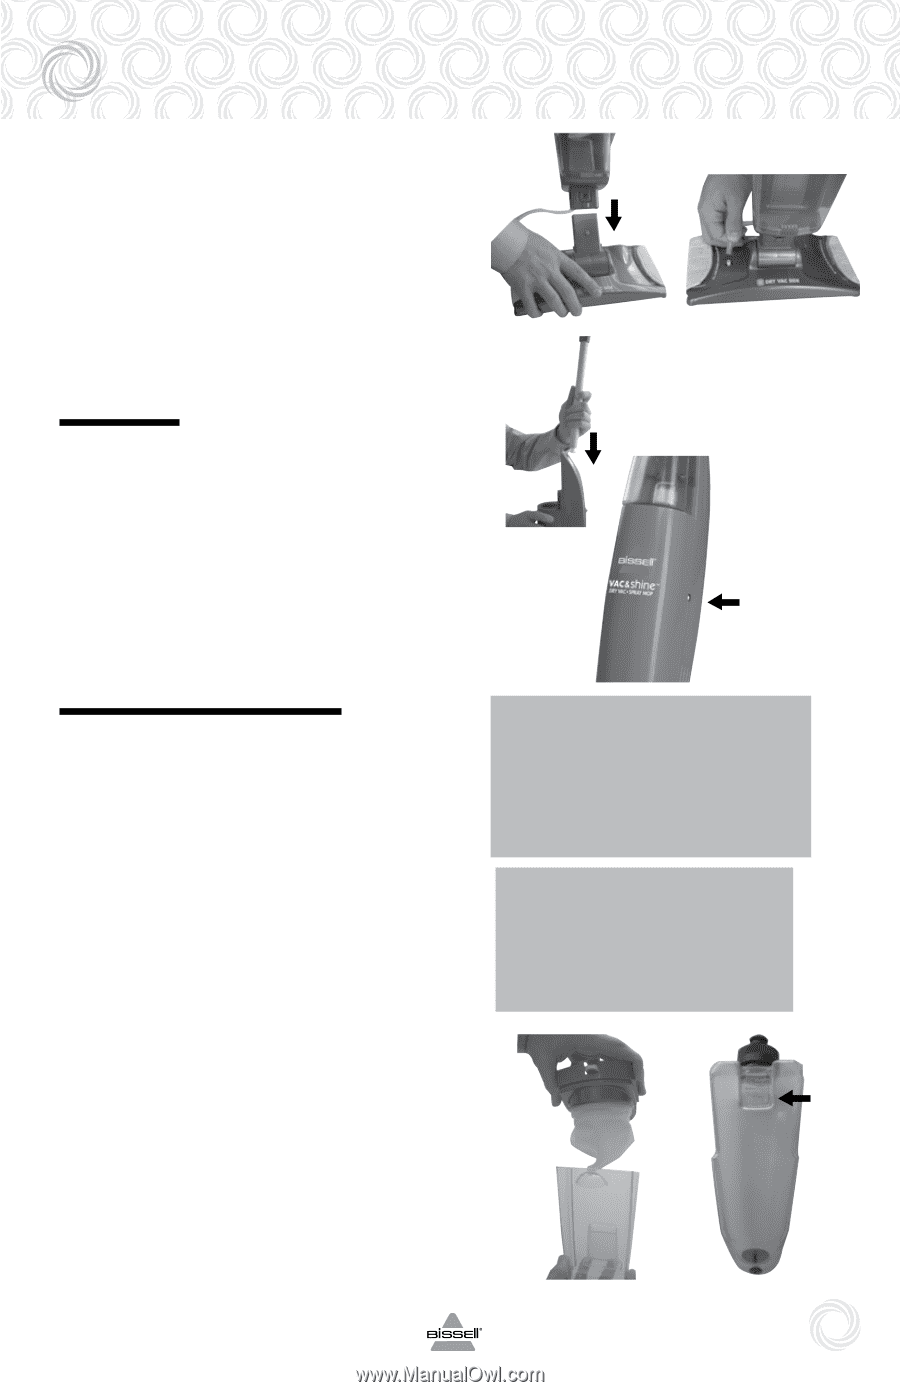
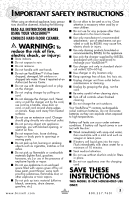
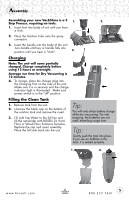
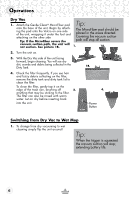
Assembly Assembling your new Vac&Shine is a 3 Step Process, requiring no tools. 1. 2. 1. Insert foot into body of unit until you hear a click. 2. Place the Solution Tube onto the spray connector. 3. Insert the handle into the body of the unit. Turn handle until key in handle falls into position until you hear a "click". 3. Charging Note: The unit will come partially charged. Charge completely before using 12 hours or overnight. A. Average run time for Dry Vacuuming is 12 minutes. A. To charge, place the charger plug into the Charging Port on the side of the unit. Make sure it is in securely and the charge indicator light is illuminated. Make sure power switch is in the "off" position. Filling the Clean Tank 1. Remove tank from the unit. 2. Unscrew the black cap on the bottom of the solution tank and remove the insert. 3. Fill with Tap Water to the full line and fill the remainder with BISSELL 2x Hard Floor or Wood Floor Solutions formulas. Replace the cap and insert assembly. Place the full tank back into the unit. Tip: You will only utilize battery charge while dry vacuuming. For wet mopping, the batteries are not used, extending usage time. Tip: Gently push the tank into place. If you see air bubbles in the tank, it is seated properly. 1. 2. w w w. b i s s e l l . c o m 5 800.237.7691
-
 1
1 -
 2
2 -
 3
3 -
 4
4 -
 5
5 -
 6
6 -
 7
7 -
 8
8 -
 9
9 -
 10
10 -
 11
11 -
12
 |
 |