Bissell Versus Cordless Bare Floor Vacuum User Guide - English - Page 7
Cleaning the filters continued - and replacement filter
 |
View all Bissell Versus Cordless Bare Floor Vacuum manuals
Add to My Manuals
Save this manual to your list of manuals |
Page 7 highlights
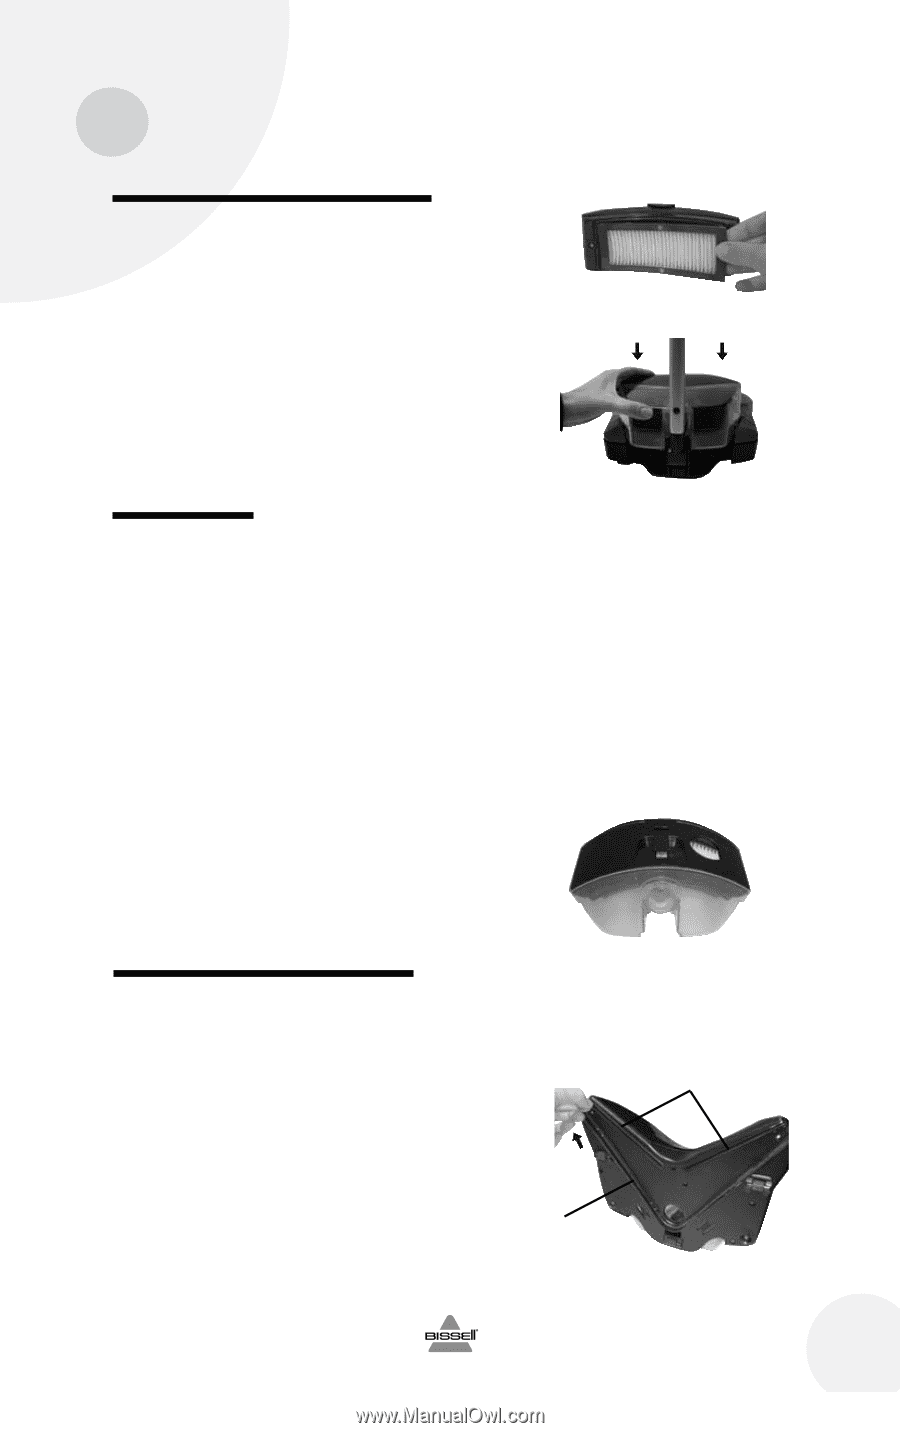
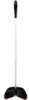
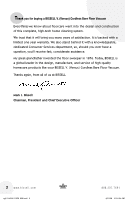
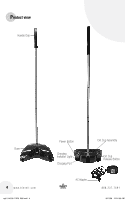
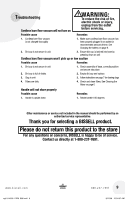
Maintenance and care Cleaning the filters (continued) 5. To wash foam filter hold under running water. Mild detergent may also be used if desired. Air dry thoroughly before replacing. 6. To clean pleated filter tap gently against trash bin. 7. To reassemble, snap filter assembly back into dirt cup. 8. Replace dirt cup and filter assembly by gently pressing it into unit until assembly clicks into place. Make sure the dirt cup and filter assembly are secure before turning unit on. Clearing clogs Low suction or poor pickup may be due to a clog in dirt cup. If this occurs, follow these steps to check for and clear clog: 1. Unplug unit from electrical outlet. Ensure power is OFF. 2. Check foam filter and clean as necessary (see Cleaning the filters on page 6.) 3. Check pleated filter and replace if necessary (see Cleaning the filters on page 6.) 4. Check to see if dirt cup is full. Empty if needed. 5. Check to see if air duct in dirt cup and exhaust inlet to motor are clear of all debris. Clear debris if needed. 6. Replace filter and dirt cup assembly. Brush and wiper maintenance Regularly check rear angle brush and front wipers on underside of the unit to keep clean. Wipe any debris that has accumulated on angled brush or front wipers with a damp cloth. 1. Unsnap rear angled brush by pulling up from one side. Replace with a new brush by snapping into track. 2 . To remove wipers, slide old wiper out and insert new wiper. Note: Any other servicing should be performed by an authorized service representative. 6. 8. 5. Brush www.bissell.com ug110-4038_21R9_608.indd 7 Wipers 800.237.7691 7 8/12/08 10:54:55 AM
-
 1
1 -
 2
2 -
 3
3 -
 4
4 -
 5
5 -
 6
6 -
 7
7 -
 8
8 -
 9
9 -
 10
10 -
 11
11 -
 12
12
 |
 |