Brother International ™ QL-570 Setup & Operation Guide - English - Page 16
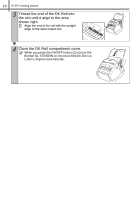
Thread the end of the DK Roll into, the slot until it align to the area, shown right.
 |
View all Brother International ™ QL-570 manuals
Add to My Manuals
Save this manual to your list of manuals |
Page 16 highlights
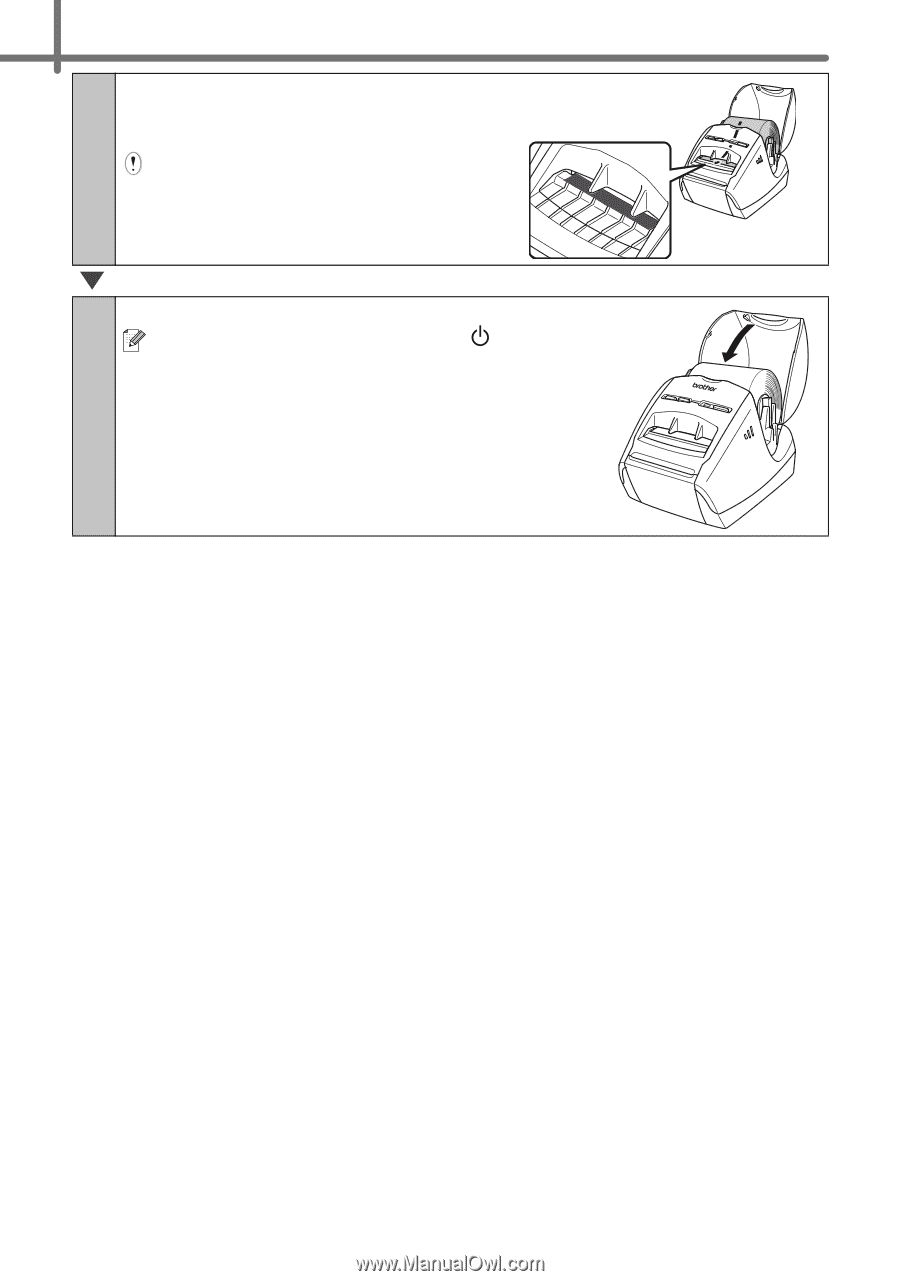
10 STEP1 Getting started 3 Thread the end of the DK Roll into the slot until it align to the area shown right. Align the end of the roll with the upright edge of the label output slot. 4 Close the DK Roll compartment cover. When you press the ON/OFF button ( ) to turn the Brother QL-570/580N on, the end of the DK Die-cut Label is aligned automatically.
-
 1
1 -
2
-
3
-
4
-
5
-
6
-
7
-
8
-
9
-
10
-
 11
11 -
 12
12 -
 13
13 -
 14
14 -
 15
15 -
 16
16 -
 17
17 -
 18
18 -
 19
19 -
 20
20 -
 21
21 -
22
-
23
-
24
-
25
-
26
-
27
-
28
-
29
-
30
-
31
-
32
-
33
-
34
-
35
-
36
-
37
-
38
-
39
-
40
-
41
-
42
-
43
-
44
-
45
-
46
-
47
-
48
-
49
-
50
-
51
-
52
-
53
-
54
-
55
-
56
-
57
-
58
-
59
-
60
-
61
-
62
-
63
-
64
-
65
-
66
-
67
-
68
-
69
-
70
-
71
-
72
-
73
-
74
-
75
-
76
-
77
-
78
-
79
-
80
-
81
-
82
-
83
-
84
-
85
-
86
-
87
-
88
-
89
-
90
-
91
-
92
-
93
-
94
-
95
-
96
-
97
-
98
-
99
-
100
 |
 |
STEP1 Getting started
10
3
Thread the end of the DK Roll into
the slot until it align to the area
shown right.
Align the end of the roll with the upright
edge of the label output slot.
4
Close the DK Roll compartment cover.
When you press the ON/OFF button (
) to turn the
Brother QL-570/580N on, the end of the DK Die-cut
Label is aligned automatically.