Brother International BES-1260BC Thread Tensions - English - Page 3
Main Tensioners, Pre-tensioners, Thread Tree Tensioners
 |
View all Brother International BES-1260BC manuals
Add to My Manuals
Save this manual to your list of manuals |
Page 3 highlights
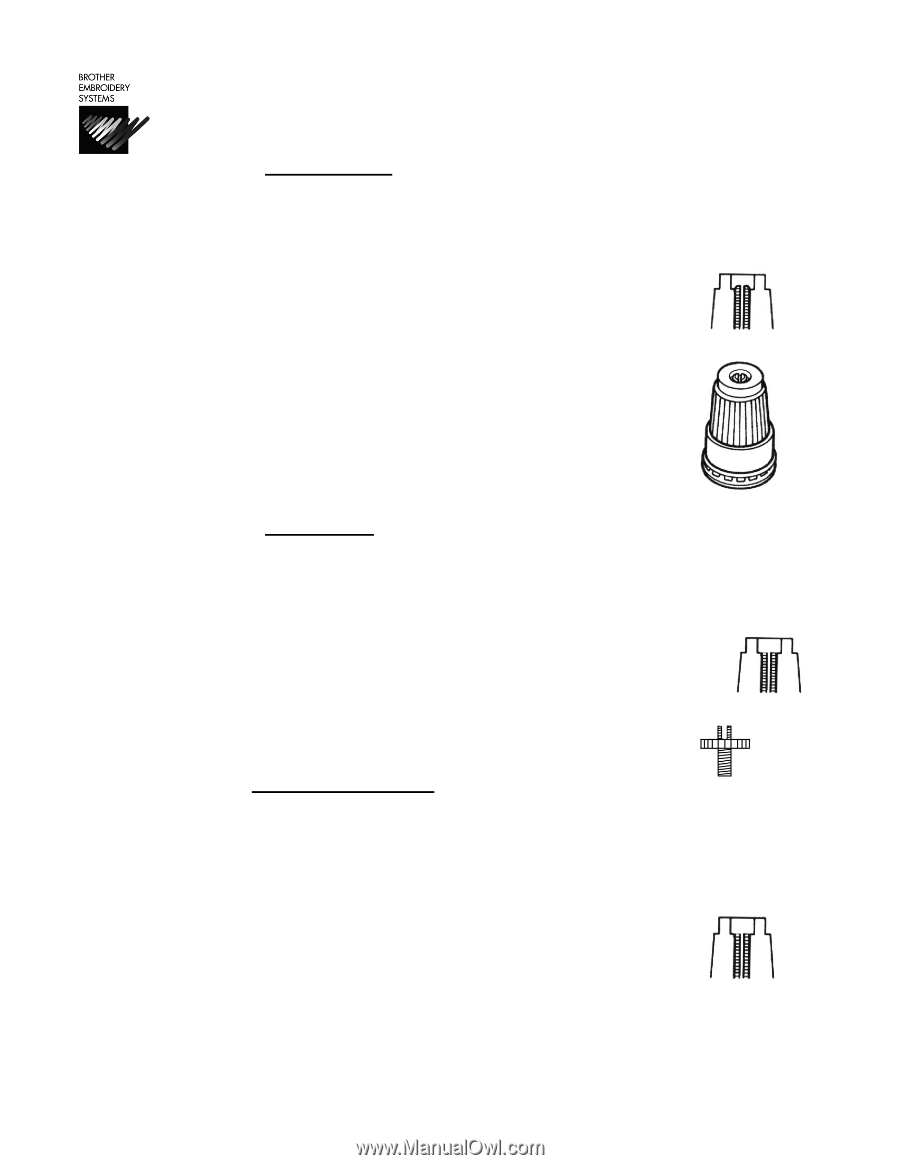
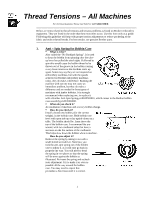
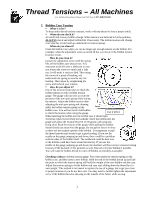
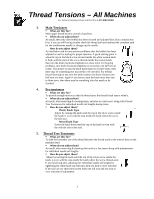
Thread Tensions - All Machines For Technical Assistance Please Call Toll Free 1-877-4BROTHER 3. Main Tensioners !" What are they for? Main upper thread tension control of machine. !" When do you adjust them? At install, then only after bobbin has been cleaned and adjusted first. Run a tension test first, if you are still having trouble check the thread path and rethread the complete path for the troublesome needle or change out the needle. • How do you adjust them? At installation and for any tension problems after the bobbin has been adjusted as well as testing for proper tensions. A good starting point is when the top of the black screw located inside the white tension knob is flush with the start of the screw threads inside the tension knob, then turn the knob clockwise (tighten) two more turns. For looping problems, turn knob clockwise (tighten) no more than one half turn at a time. If you have to turn the knob more than two to three turns, then there may be something else that needs to be checked. For bobbin thread showing on top, turn the knob counter clockwise (loosen) one half turn at a time. Again if you have to turn the knob more than two to three turns, then there may be something else that needs to be checked. 4. Pre-tensioners !" What are they for? To provide enough tension so that the thread turns the thread break sensor wheels. !" When do you adjust them? At install, after removing & cleaning them, and also as a last resort along with Thread Tree Tensioners for individual needle tail lengths during trims. !" How do you adjust them? o Plastic Knob Type Adjust by turning the knob until the top of the silver screw inside the knob, is even with the step inside the knob where the screw threads start. o Metal Knob Type Screw the knob down until the top of the knob is even with the with the slot in the stud. 5. Thread Tree Tensioners !" What are they for? To take the looseness out of the thread between the thread stand to the tension base on the machine head. !" When do you adjust them? At install, after removing & cleaning them and as a last resort along with pretensioners for individual needle tail lengths. !" How do you adjust them? Adjust by turning the knob until the top of the silver screw inside the knob, is even with the step inside the knob where the screw threads start. If you have long tails, adjusting for individual needle tail lengths by tightening the white knob one full turn, then test trim to view outcome. If the tails are too short then loosen knob one full turn and test trim to view outcome of adjustment. 3
-
 1
1 -
 2
2 -
 3
3 -
 4
4 -
 5
5
 |
 |