Brother International BES-1260BC Knife Adjustments - English - Page 3
Moving Knife, Adjustment Screws
 |
View all Brother International BES-1260BC manuals
Add to My Manuals
Save this manual to your list of manuals |
Page 3 highlights
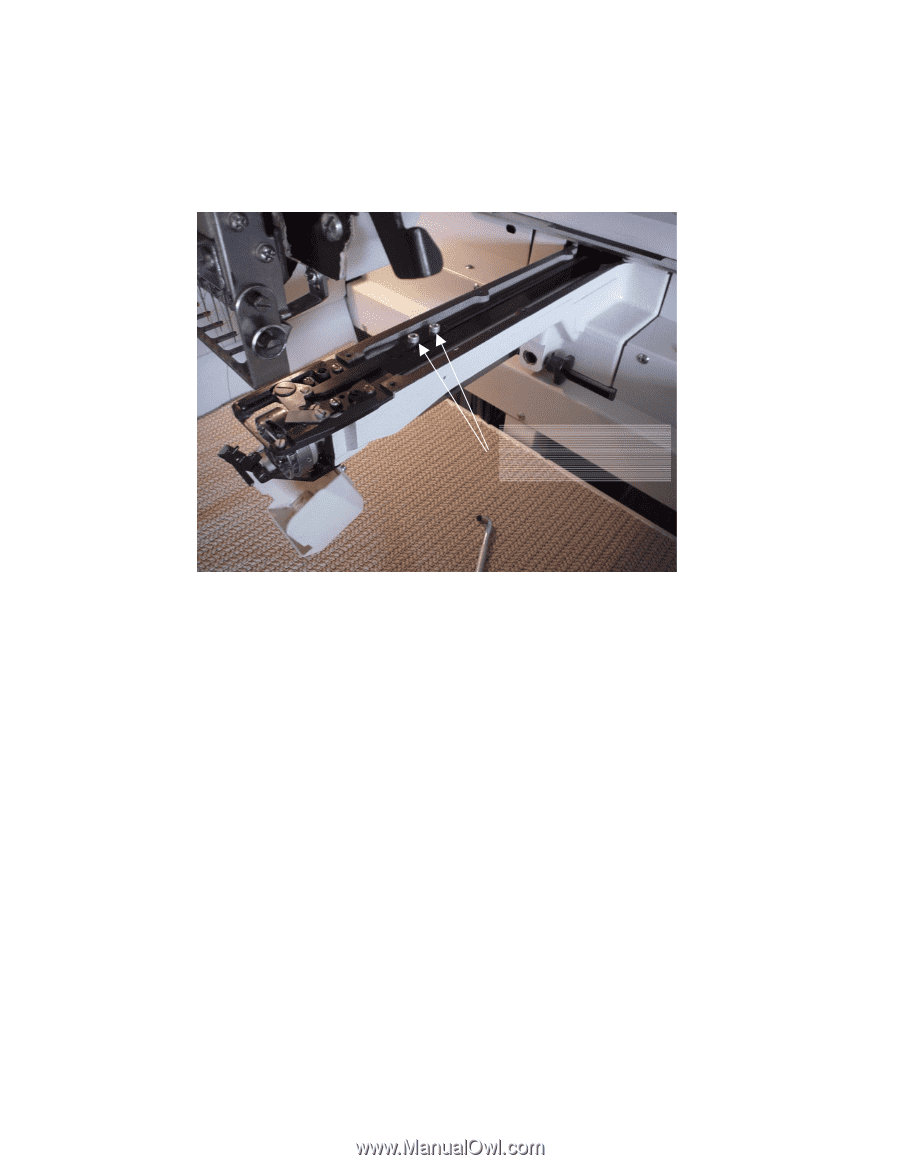
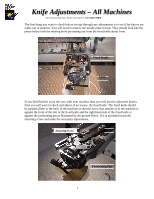
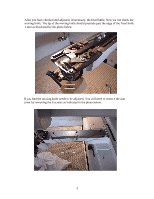
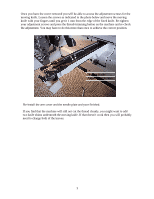
Once you have the cover removed you will be able to access the adjustment screws for the moving knife. Loosen the screws as indicated in the photo below and move the moving knife with your fingers until you get it 1 mm from the edge of the fixed knife. Re-tighten your adjustment screws and press the thread-trimming button on the machine and re-check the adjustment. You may have to do this more than once to achieve the correct position. Moving Knife Adjustment Screws Re-install the arm cover and the needle plate and your finished. If you find that the machine will still not cut the thread cleanly, you might want to add two knife shims underneath the moving knife. If that doesn't work then you will probably need to change both of the knives. 3
-
 1
1 -
 2
2 -
 3
3
 |
 |