Brother International CP2160P Sewing Guide - Page 21
the free arm, make sure that the fabric, Slide the item that you wish to sew onto
 |
View all Brother International CP2160P manuals
Add to My Manuals
Save this manual to your list of manuals |
Page 21 highlights
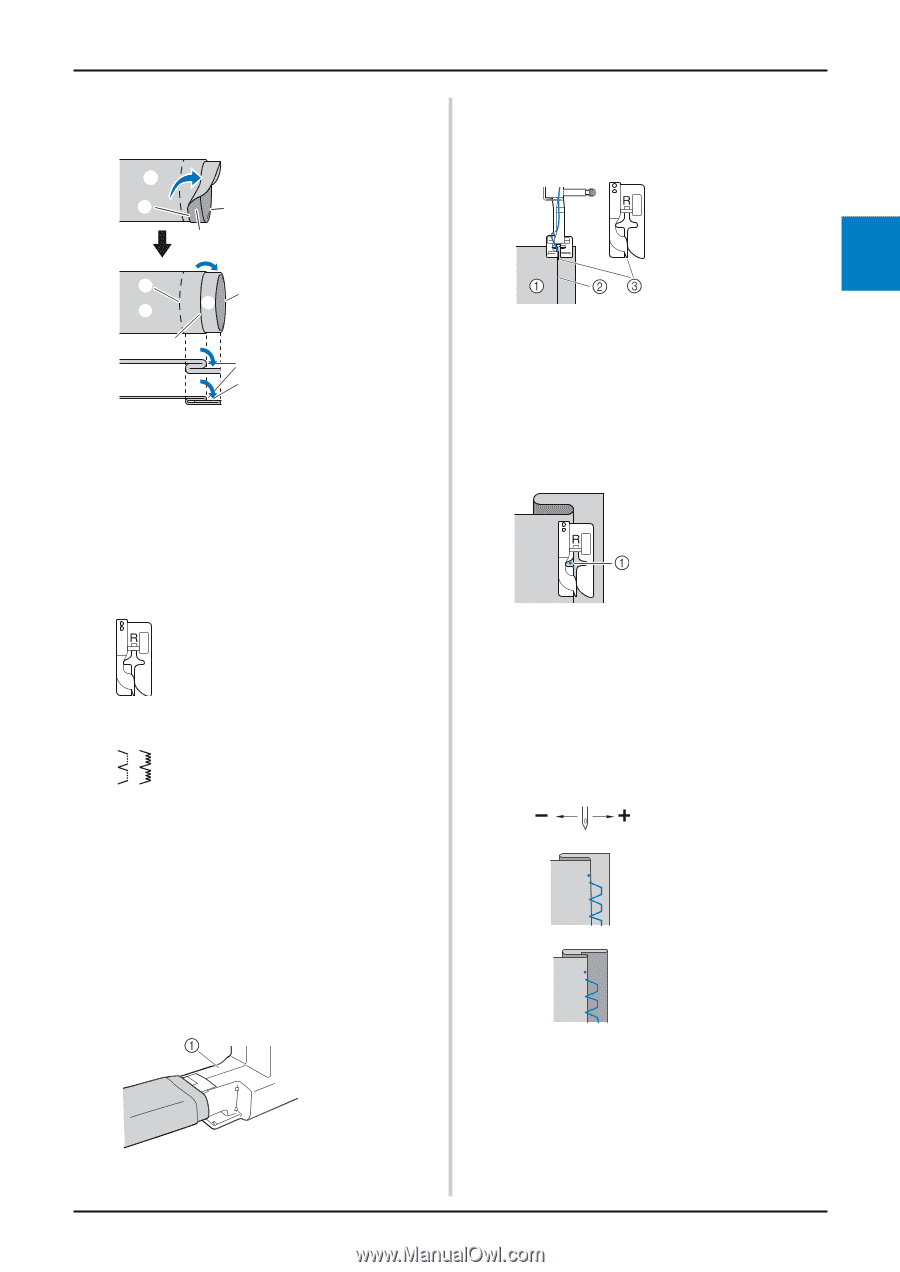
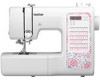
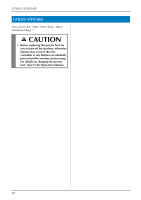
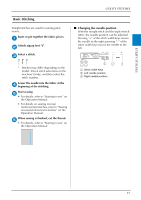
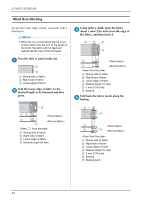
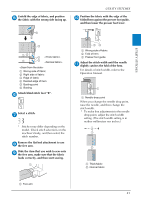
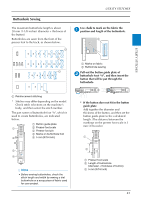
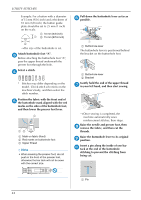
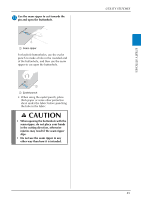
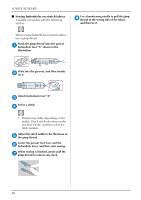
UTILITY STITCHES Unfold the edge of fabric, and position e the fabric with the wrong side facing up. a c f b d a ac af a a e b 1 Wrong side of fabric 2 Right side of fabric 3 Edge of fabric 4 Desired edge of hem 5 Basting point 6 Basting Attach blind stitch foot "R". f Select a stitch. g * Stitches may differ depending on the model. Check stitch selections on the machine's body, and then select the stitch number. Remove the flat bed attachment to use h the free arm. Slide the item that you wish to sew onto i the free arm, make sure that the fabric feeds correctly, and then start sewing. UTILITY STITCHES Position the fabric with the edge of the j folded hem against the presser foot guide, and then lower the presser foot lever. 1 Wrong side of fabric 2 Fold of hem 3 Presser foot guide Adjust the stitch width until the needle k slightly catches the fold of the hem. For details of stitch width, refer to the Operation Manual. 1 Needle drop point When you change the needle drop point, raise the needle, and then change the stitch width. * To make fine adjustments to the needle drop point, adjust the stitch width setting. (The stitch width setting is in neither millimeters nor inches.) a b 1 Thick fabric 2 Normal fabric 1 Free arm 21
-
 1
1 -
2
-
3
-
4
-
5
-
6
-
7
-
8
-
9
-
10
-
11
-
12
-
13
-
14
-
15
-
 16
16 -
 17
17 -
 18
18 -
 19
19 -
 20
20 -
 21
21 -
 22
22 -
 23
23 -
 24
24 -
 25
25 -
 26
26 -
27
-
28
-
29
-
30
-
31
-
32
-
33
-
34
-
35
-
36
-
37
-
38
-
39
-
40
-
41
-
42
-
43
-
44
-
45
-
46
-
47
-
48
 |
 |