Brother International MFC-4300 Quick Setup Guide - English - Page 2
MFC 4300 MFL StartCard - user manual
 |
View all Brother International MFC-4300 manuals
Add to My Manuals
Save this manual to your list of manuals |
Page 2 highlights
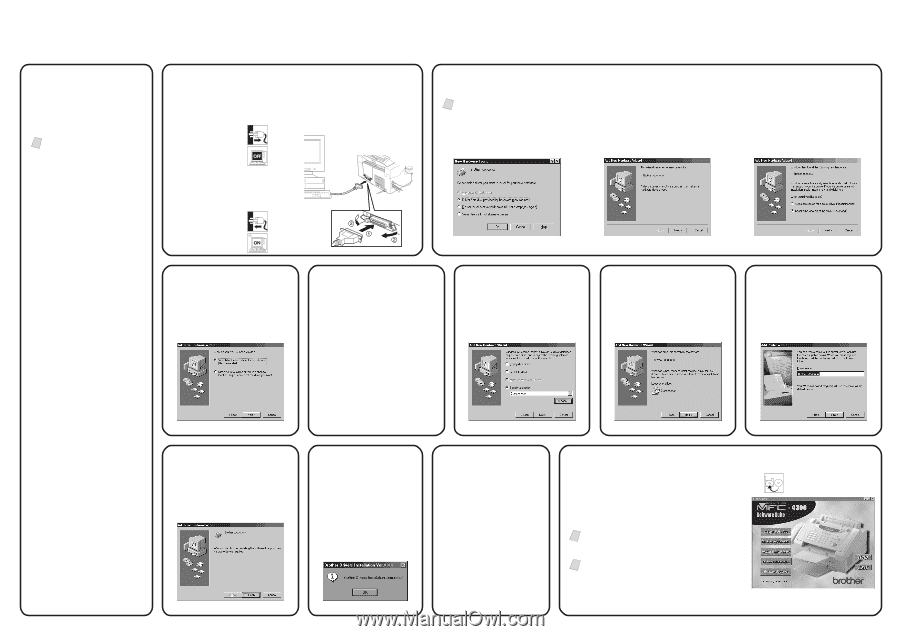
Brother MFC 4300 MFL StartCard For Windows Users Only 1 Check your Computer The following are the minimum Computer requirements you need to set up and operate the MFC. Note If you are using Windows® 3.1x, Windows NT® Workstation Version 4.0 and Windows® 2000 Professional, see Owner's Manual Chapter 11. Windows® Operating System 3.1, 3.11, 95, 98, 98SE, Me, NT® Workstation Version 4.0 or 2000 Professional CPU 486/66MHz or higher for Windows® 3.1, 3.11, 95, 98, 98SE Pentium 75MHz or higher for Windows NT® Workstation Version 4.0 Pentium 133MHz or higher for Windows® 2000 Professional Pentium 150MHz or higher for Windows® Me RAM 8MB or higher for Windows® 3.1, 3.11 (16MB recommended) 24MB or higher for Windows® 95, 98, 98SE (32MB recommended) 32MB or higher for Windows NT® Workstation Version 4.0 or Windows® Me (64MB recommended) 64MB or higher for Windows® 2000 Professional (128MB recommended) Hard Disk Space for MFC drivers 40MB for Windows® 3.1, 3.11 50MB for Windows® 95, 98, 98SE, Me, 2000 Professional and Windows NT® Workstation Version 4.0 Please see Owner's Manual for more information. 2 Connect the MFC to the PC Before you can connect the MFC to your computer, you must purchase a bi-directional IEEE 1284-compliant parallel cable that is no longer than 6 feet. A. Unplug the MFC. B. Turn off the PC. C. Connect one end of the parallel cable to the parallel port of the MFC, and then the other end to the parallel port of the PC. D. Plug in the MFC. E. Turn on the PC. 3a Install the Scanner and Printer drivers Note Each operating system has a different dialog box. Some text may be different depending on which operating system you are using. The instructions in steps 3b to 3i are for Windows® 98SE. For Windows® 95 user: Select "Driver from disk provided by hardware manufacturer," and then click OK. For Windows® 95OSR2, 98, 98SE user: When the Add New Hardware Wizard screen appears, click Next. For Windows® Me user: Select "Specify the location of the driver (Advanced)," and then click Next. 3b Select (Recommended) and click Next. 3c A. Insert the MFL Pro CD-ROM into your CD-ROM drive. B. Select Specify a location and remove the other check marks, and then click Browse to locate the file. C. Double-click on the CD icon and click on the "X:\w9x\para" folder. (X: is the drive letter for your CD-ROM drive), and then click OK. 3d Make sure Specify a location is selected, and then click Next. 3e Make sure your printer driver name is displayed, and click Next. 3f You can type a name for this printer, or you can use the name supplied on the screen. When you have finished, click Finish. 3g When the Add New Hardware Wizard appears, click Finish. 3h A. After the Setup window appears and the status bar reaches 100%, the remaining drivers will be copied. B. Click OK. 3i All the drivers are now installed. Now you can print and scan. If you want to install PaperPort® or MFL Pro, go to Step 4. 4 Install the Remote Setup and True Type Fonts A. Insert the Brother CD-ROM into your CD-ROM drive. A window appears listing the following options: (If this window does not appear, please use Windows Explorer to run the setup.exe program from the root directory of the Brother CD.) Note Please note that the software will automatically detect the operating system you are using and it will be displayed at the bottom of the screen. Note If you are using Windows® 2000 Professional or Windows NT® 4.0, you must be logged on as the Administrator, before you can install the software. B. Click on the first button "Install MFL-Pro", and follow instructions.
-
 1
1 -
 2
2
 |
 |