Brother International MFC-7360N Advanced Users Manual - English - Page 13
Security features, Security, TX Lock (MFC-7360N and MFC-7460DN), Setting up the password - scan multiple pages
 |
UPC - 012502627005
View all Brother International MFC-7360N manuals
Add to My Manuals
Save this manual to your list of manuals |
Page 13 highlights
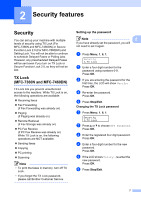
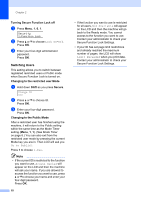
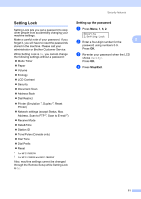
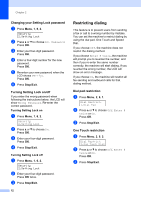
2 Security features 2 Security 2 You can set up your machine with multiple levels of security using TX Lock (For MFC-7360N and MFC-7460DN) or Secure Function Lock 2.0 (For MFC-7860DW) and Setting Lock. You will not be able to continue to schedule Delayed Faxes or Polling jobs. However, any prescheduled Delayed Faxes will be sent even if you turn on TX Lock or Secure Function Lock 2.0, so they will not be lost. TX Lock (MFC-7360N and MFC-7460DN) 2 TX Lock lets you prevent unauthorized access to the machine. While TX Lock is on, the following operations are available: Receiving faxes Fax Forwarding (if Fax Forwarding was already on) Paging (if Paging was already on) Remote Retrieval (if Fax Storage was already on) PC Fax Receive (if PC Fax Receive was already on) While TX Lock is on, the following operations are NOT available: Sending faxes Copying PC printing Scanning Note • To print the faxes in memory, turn off TX Lock. • If you forget the TX Lock password, please call Brother Customer Service. Setting up the password 2 Note 2 If you have already set the password, you will not need to set it again. a Press Menu, 1, 6, 1. Security 1.TX Lock b Enter a four-digit number for the password using numbers 0-9. Press OK. c If you are entering the password for the first time, the LCD will show Verify: Press OK. d Re-enter the password. Press OK. e Press Stop/Exit. Changing the TX Lock password a Press Menu, 1, 6, 1. Security 1.TX Lock b Press a or b to choose Set Password. Press OK. c Enter the registered four-digit password. Press OK. d Enter a four-digit number for the new password. Press OK. e If the LCD shows Verify:, re-enter the new password. Press OK. f Press Stop/Exit. 7
-
 1
1 -
2
-
3
-
4
-
5
-
6
-
7
-
 8
8 -
 9
9 -
 10
10 -
 11
11 -
 12
12 -
 13
13 -
 14
14 -
 15
15 -
 16
16 -
 17
17 -
 18
18 -
19
-
20
-
21
-
22
-
23
-
24
-
25
-
26
-
27
-
28
-
29
-
30
-
31
-
32
-
33
-
34
-
35
-
36
-
37
-
38
-
39
-
40
-
41
-
42
-
43
-
44
-
45
-
46
-
47
-
48
-
49
-
50
-
51
-
52
-
53
-
54
-
55
-
56
-
57
-
58
-
59
-
60
-
61
-
62
-
63
-
64
-
65
-
66
-
67
-
68
-
69
-
70
-
71
-
72
-
73
-
74
-
75
-
76
 |
 |