Bushnell Chuck Adams Rangefinder Owner's Manual - Page 6
Inserting The Battery, Operational Summary
 |
View all Bushnell Chuck Adams Rangefinder manuals
Add to My Manuals
Save this manual to your list of manuals |
Page 6 highlights
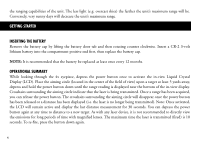
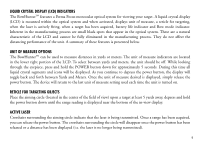
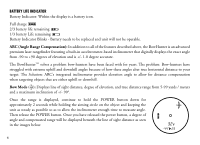
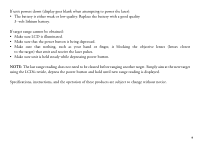
the ranging capabilities of the unit. The less light (e.g. overcast skies) the farther the unit's maximum range will be. Conversely, very sunny days will decrease the unit's maximum range. GETTING STARTED INSERTING THE BATTERY Remove the battery cap by lifting the battery door tab and then rotating counter clockwise. Insert a CR-2 3-volt lithium battery into the compartment positive end first, then replace the battery cap. NOTE: It is recommended that the battery be replaced at least once every 12 months. OPERATIONAL SUMMARY While looking through the 4x eyepiece, depress the power button once to activate the in-view Liquid Crystal Display (LCD). Place the aiming circle (located in the center of the field of view) upon a target at least 5 yards away, depress and hold the power button down until the range reading is displayed near the bottom of the in-view display. Crosshairs surrounding the aiming circle indicate that the laser is being transmitted. Once a range has been acquired, you can release the power button. The crosshairs surrounding the aiming circle will disappear once the power button has been released or a distance has been displayed (i.e. the laser is no longer being transmitted). Note: Once activated, the LCD will remain active and display the last distance measurement for 30 seconds. You can depress the power button again at any time to distance to a new target. As with any laser device, it is not recommended to directly view the emissions for long periods of time with magnified lenses. The maximum time the laser is transmitted (fired) is 10 seconds. To re-fire, press the button down again. 4
-
 1
1 -
 2
2 -
 3
3 -
 4
4 -
 5
5 -
 6
6 -
 7
7 -
 8
8 -
 9
9 -
 10
10 -
 11
11 -
 12
12 -
13
-
14
-
15
-
16
-
17
-
18
-
19
-
20
-
21
-
22
-
23
-
24
-
25
-
26
-
27
-
28
-
29
-
30
-
31
-
32
-
33
-
34
-
35
-
36
-
37
-
38
-
39
-
40
-
41
-
42
-
43
-
44
-
45
-
46
-
47
-
48
-
49
-
50
-
51
-
52
-
53
-
54
-
55
-
56
-
57
-
58
-
59
-
60
-
61
-
62
-
63
-
64
-
65
-
66
-
67
-
68
-
69
-
70
-
71
-
72
-
73
-
74
-
75
-
76
 |
 |
