Canon 3211B001 ZoomBrowser EX 6.5 for Windows Instruction Manual - Page 9
Mastering the Basics, Transferring Images, Transferring Images by Connecting the Camera to a Computer
 |
UPC - 013803100952
View all Canon 3211B001 manuals
Add to My Manuals
Save this manual to your list of manuals |
Page 9 highlights
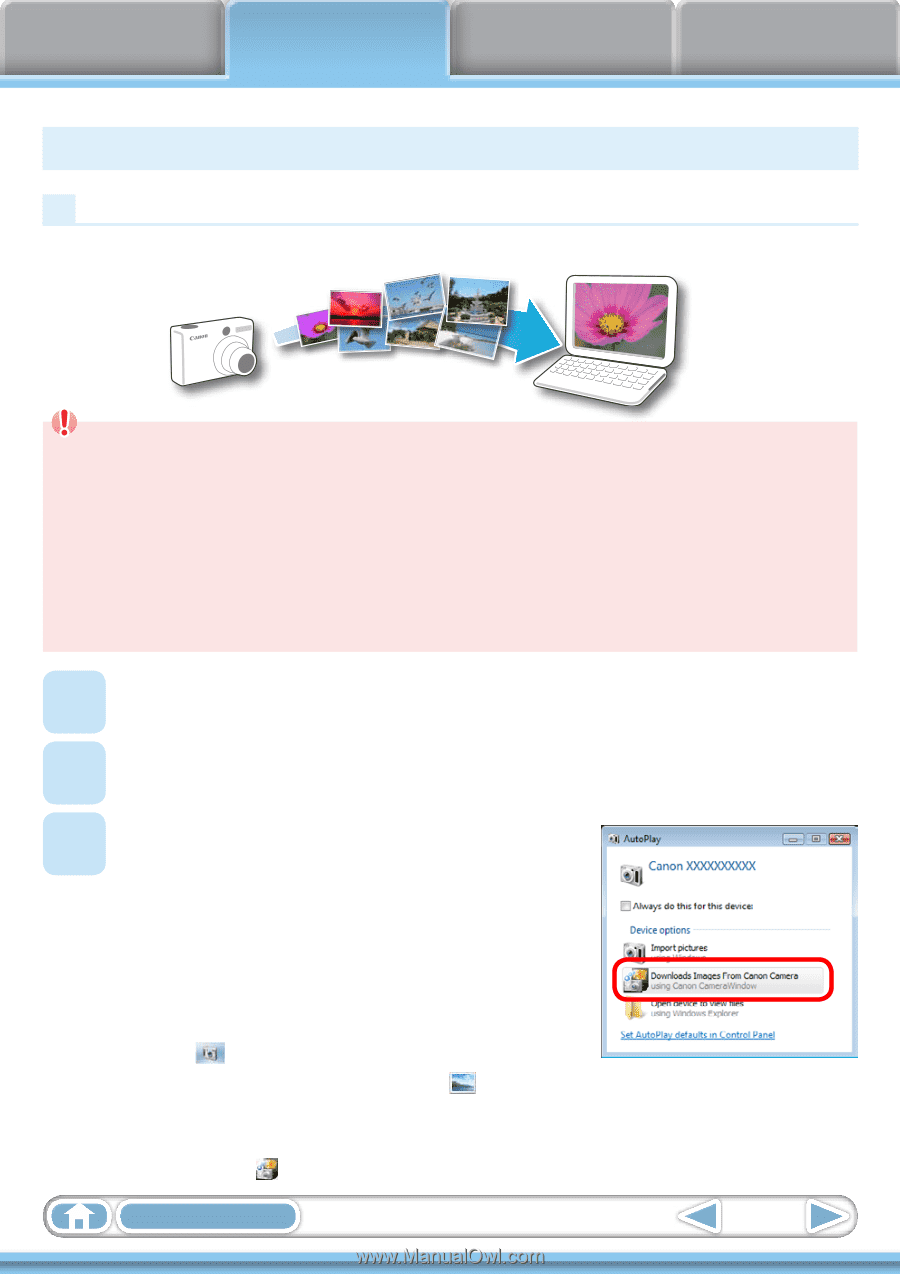
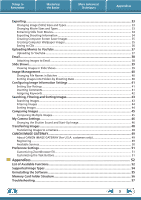
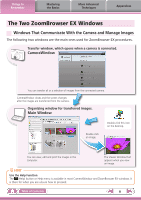
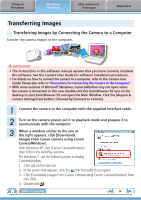
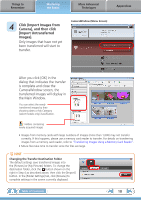
Things to Remember Mastering the Basics More Advanced Techniques Appendices Transferring Images Transferring Images by Connecting the Camera to a Computer Transfer the camera images to the computer. IMPORTANT • The instructions in this software manual assume that you have correctly installed the software. See the Camera User Guide for software installation procedures. • For details on how to connect the camera to a computer, refer to the Camera User Guide. Please also refer to "Precautions for Connecting the Camera to the Computer". • With some versions of Microsoft Windows, CameraWindow may not open when the camera is connected. In this case, double-click the ZoomBrowser EX icon on the desktop to start ZoomBrowser EX and open the Main Window. Click the [Acquire & Camera Settings] task button, followed by [Connect to Camera]. 1 Connect the camera to the computer with the supplied interface cable. 2 Turn on the camera power, set it to playback mode and prepare it to communicate with the computer. 3 When a window similar to the one at the right appears, click [Downloads Images From Canon Camera using Canon CameraWindow]. With Windows XP, click [Canon CameraWindow] then [OK] in the AutoPlay window. For Windows 7, use the following steps to display CameraWindow. 1. Click on the task bar. 2. In the screen that appears, click the link to modify the program. 3. Click [Downloads Images From Canon Camera using Canon CameraWindow], then click [OK]. 4. Double click . Table of Contents 9
-
 1
1 -
2
-
3
-
 4
4 -
 5
5 -
 6
6 -
 7
7 -
 8
8 -
 9
9 -
 10
10 -
 11
11 -
 12
12 -
 13
13 -
 14
14 -
15
-
16
-
17
-
18
-
19
-
20
-
21
-
22
-
23
-
24
-
25
-
26
-
27
-
28
-
29
-
30
-
31
-
32
-
33
-
34
-
35
-
36
-
37
-
38
-
39
-
40
-
41
-
42
-
43
-
44
-
45
-
46
-
47
-
48
-
49
-
50
-
51
-
52
-
53
-
54
-
55
-
56
-
57
-
58
-
59
-
60
 |
 |